

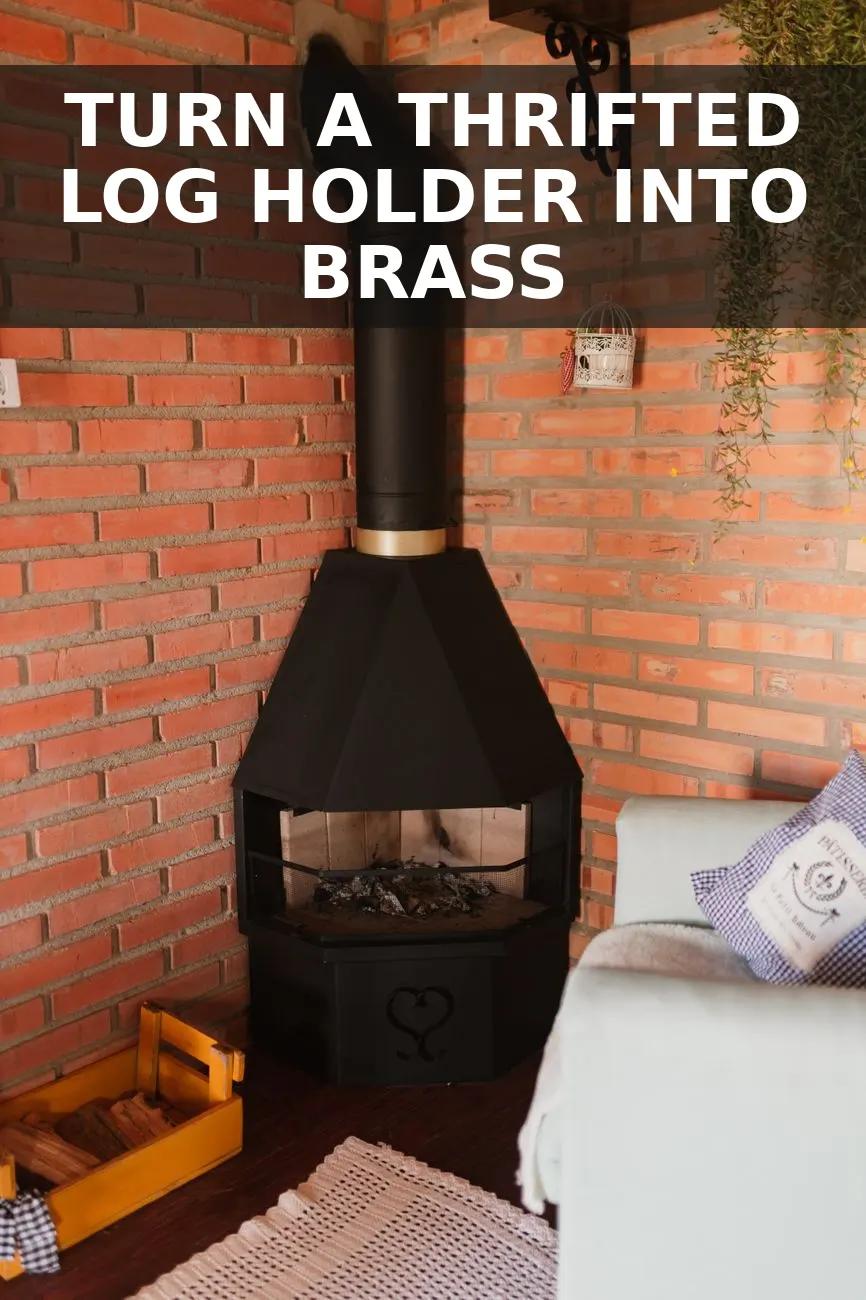
Tucked in the corner of almost every thrift store basement is a bent, soot-stained metal firewood cradle that looks like it belongs behind someone shed. I walked past them for years until I saw a solid unlacquered brass hearth basket in a high-end catalog priced at four hundred and twenty dollars. The silhouette was identical to the cheap curved wrought-iron cradles sitting on the bottom shelf at Goodwill for twelve bucks. That afternoon, I brought one home and set out to build the exact same warmth and heirloom patina myself.
What to Look for on the Thrift Shelves
You do not need solid brass to get the look. What you need is good lines. When browsing the hardware and fireplace aisles at your local thrift shop, look for curved tubular steel, wrought-iron bar frames, or arched hoop log holders. Avoid cheap wire racks with flimsy solder joints that flex under your thumb. You want something with weight and clean welds.
- Check the joints: Give the frame a firm wiggle to make sure no welds have cracked loose from years of heavy oak logs.
- Simple silhouettes win: Look for classic half-moon hoops, clean cradle arches, or low English curved slings without fussy plastic handles.
- Surface grime is fine: Dust, dried sap, and soot clean off easily with warm water and dish soap, so do not let surface gunk scare you away.
The Prep Work That Makes It Look Real
The secret to turning cold black steel into warm vintage brass is all in the surface texture. If you spray shiny gold paint directly over slick metal, it looks like yellow plastic. We want an authentic brushed warmth that looks like it sat beside an English fireplace for forty years.
- Scrub the metal: Wash the entire frame with hot water and grease-cutting dish soap. Use coarse steel wool to scrub off ash, stickers, and any surface rust down to clean, smooth iron.
- Dry completely: Wipe it down with a dry towel and let it air out in the sun so no moisture stays trapped around the joints.
- Lay down a bonding base: Spray two light coats of dark gray or flat black clean-metal primer. This gives your finish tooth to bite into and creates the deep shadow undertone that makes brass look aged rather than neon bright.
Layering the Brass Finish
After your primer has dried for about an hour, it is time for the transformation. I like using a two-step metallic wax technique. You get far more control with wax than a spray can because you can vary the depth by hand, leaving deeper shadows in the recesses and bright highlights on the curved top bars where light hits naturally.
- Apply the base metallic: Squeeze a pea-sized dab of antique gold wax paste onto an old lint-free cloth or your gloved fingertip. Work it across the metal in small, overlapping circles. A little bit goes an incredibly long way.
- Highlight the curves: Use slightly more pressure along the top carrying rails and side handles. Those are the spots that would see the most natural hand-wear on real vintage brass, so letting them catch the light sells the illusion.
- Add age with dark wax: Take a tiny smudge of dark paste wax or walnut wax on a clean rag and dab it into the corners, screw heads, and bottom joints. Buff it softly so it blends into the gold like natural tarnish.
- Buff to a soft sheen: Let the wax set for thirty minutes until tacky, then take a clean microfiber cloth and buff the entire piece briskly. The dull wax will suddenly glow with a silky, satin metal luster.
Project Budget Breakdown
I tracked every receipt for this project down to the penny. If you already have sandpaper or dark wax in your garage cabinet, your out-of-pocket cost will be even lower.
| Item | Price |
|---|---|
| Thrifted metal log cradle | $12.00 |
| Rust-Oleum clean-metal primer | $5.50 |
| Antique gold finish wax | $6.00 |
| Steel wool pad | $2.50 |
All in, this came out to about $26. Compare that to the catalog versions selling for four hundred dollars or more, and you have got a stunning living room focal point for the price of takeout lunch.
How to Style It in Your Living Room
While this looks incredible filled with clean white birch logs by a fireplace, you do not even need a working hearth to show it off. It works just as beautifully tucked beside an armchair holding rolled knit throws, linen quilts, or vintage hardcovers. Much like the curved metal frame we repurposed in our vintage brass plate cradle project, this shape brings sculptural interest and rich metallic warmth to a flat floor space.
If you prefer an outdoor garden feel, you can also fill the bottom with dried moss and potted ivy, similar to how we styled an aged zinc garden planter. Or park it beside an upholstered chair packed with folded wool blankets, just like the layered styling beside our vintage English bedside trunk. However you fill it, that rich hand-buffed brass finish makes your entire living room feel grounded, collected, and quietly expensive.
You Might Also Like
- How to Turn a $15 Thrifted Round Table into a $450 English Country Skirted Table for $32
- How to Turn a $10 Thrifted Wooden Wall Sconce into a $340 Vintage Mirrored Candle Sconce for $22
- How to Turn a $12 Thrifted Floor Lamp into a $480 Vintage English Fluted Floor Lamp for $27
Frequently Asked Questions
Can I still use this next to an active wood fireplace
Yes, as long as it sits at a safe clearance from direct sparks and intense flame radiant heat, since the finish is decorative.
What if my thrifted log rack has light rust patches
Scrub the rusted spots down to bare metal with medium steel wool before priming so the paint bonds smoothly and will not flake later.
Will the brass finish rub off on my blankets
Not once you buff the wax thoroughly with a clean rag and let it cure for twenty-four hours before filling the basket.


0 Comments