

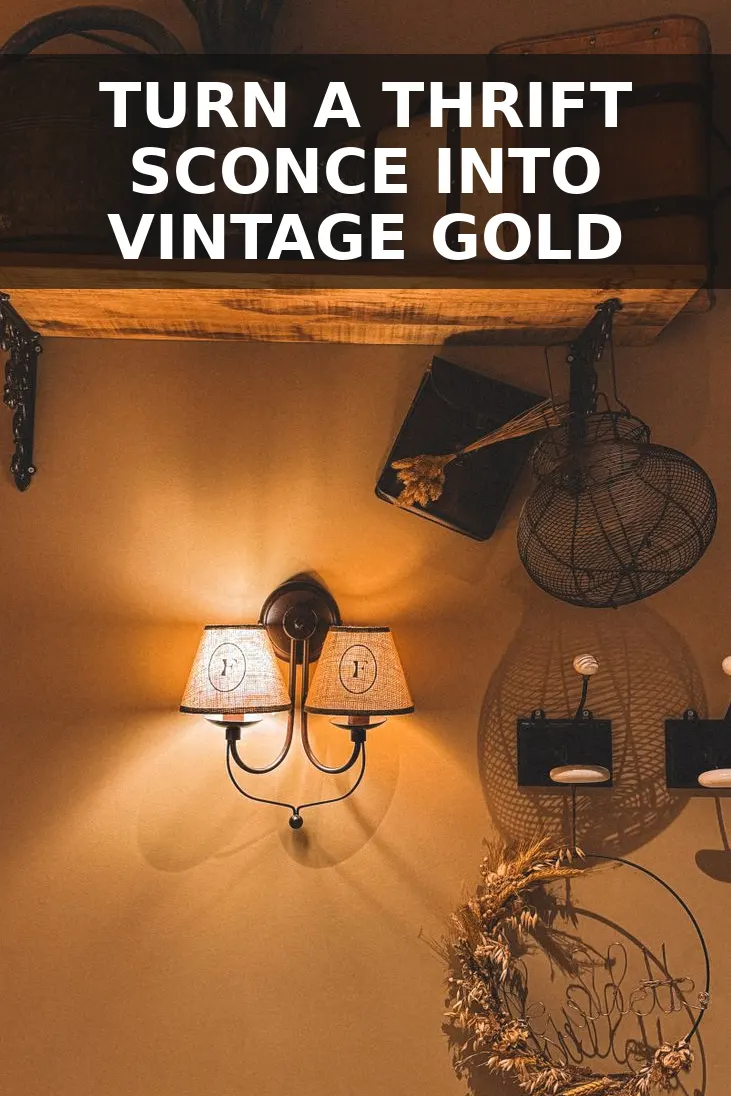
Every thrift store has an entire shelf dedicated to those heavy 1980s oak wall sconces with orange tinted varnish and clumsy metal drip pans. Designers charge hundreds for genuine antique mirrored candle brackets because the reflective backing bounces soft candlelight into dim room corners. With ten dollars and an afternoon, you can turn one of those dated wooden wall holders into an authentic English country statement piece.
What to Look for at the Thrift Store
When scanning the wood decor aisle, skip the flat pressed-board plaques and search for solid wood sconces with interesting silhouettes. Look for turned spindles, scalloped crests, or arched backplates that measure at least twelve to sixteen inches tall. If the piece has a dated glossy finish or tarnished hardware, that actually works in your favor because it brings the thrift store price tag down to single digits.
Check the back of the sconce to make sure the keyhole hanger or bracket is sturdy. As long as the wood frame is structurally solid, the rest is just surface work. Similar to how we stripped down old hardware when building our vintage index box, removing that thick factory clear-coat is the secret to making 80s pine look like a hundred-year-old heirloom.
Materials and Budget Breakdown
You do not need specialized workshop tools for this project. Most supplies are standard items from your local hardware store, craft aisle, or hardware bin.
| Item | Price |
|---|---|
| Thrifted solid wood wall sconce | $10.00 |
| Self-adhesive bevel mirror tile (5x7 inch) | $3.50 |
| Dark walnut wax polish | $4.50 |
| Solid brass candle cup insert | $2.50 |
| Rub-on antiquing fluid or dark glaze | $1.50 |
All in, this came out to about $22 for a piece that looks like it came straight out of an upscale heritage catalog.
Step-by-Step Transformation
- Strip the original finish: Unscrew any original metal brackets or candle cups. Apply a coat of citrus-based paint stripper across the entire wooden surface, working it deep into any decorative grooves. Let it sit for twenty minutes until the thick amber lacquer bubbles, then scrape it away with a putty knife and medium steel wool. Wipe the wood completely clean with mineral spirits.
- Sand and raise the wood grain: Once the wood is dry, lightly sand the entire surface with 120-grit sandpaper followed by 220-grit. Pay special attention to edges where authentic vintage pieces naturally show softer curves. Wipe away all dust with a damp rag.
- Apply dark aging wax: Rub a generous layer of dark walnut paste wax directly into the bare raw wood using a clean cotton rag. Let the wax settle into the recesses of turned spindles and carved details to create instant depth. After fifteen minutes, buff the surface vigorously with a dry rag until you get a soft, hand-rubbed satin glow.
- Prep and age the mirror backplate: Measure the flat vertical center of your sconce. Cut your glass mirror tile to size using a basic glass scoring wheel, or use a pre-sized 4x6 bevel tile that fits the inner recess. To age the mirror, use a fine mist of dilute bleach or mirror antiquing fluid along the edges to create subtle vintage foxing before adhering it with silicone glue.
- Install brass hardware and secure the candle shelf: Drill a small pilot hole centered on the candle ledge and screw in a solid brass candle cup. This gives the sconce weighted authenticity and catches any stray wax. If your sconce has room for a glass chimney, seat a simple six-inch glass cylinder around the candle cup.
Styling Your Mirrored Sconce
Hang your finished sconce at eye level in an entryway, next to a bedroom reading chair, or on either side of an existing focal point. Because the antiqued glass backing catches room light even during the day, it adds dimension to narrow walls without taking up floor space.
- Flank a gallery wall: Use the sconce to anchor one side of an art arrangement, balancing out heavier furniture like our fluted floor lamp in an opposite corner.
- Pair with beeswax tapers: Real ribbed beeswax or hand-dipped ivory tapers give the dark wax finish an organic, collected feel.
- Use timer-based LED candles: If you want the ambiance every evening without lighting matches, slim silicone-dipped LED tapers with built-in four-hour timers fit right into the brass cup.
- Incorporate seasonal greenery: Tuck a small sprig of dried rosemary, olive leaves, or boxwood right behind the brass candle cup for subtle texture throughout the seasons.
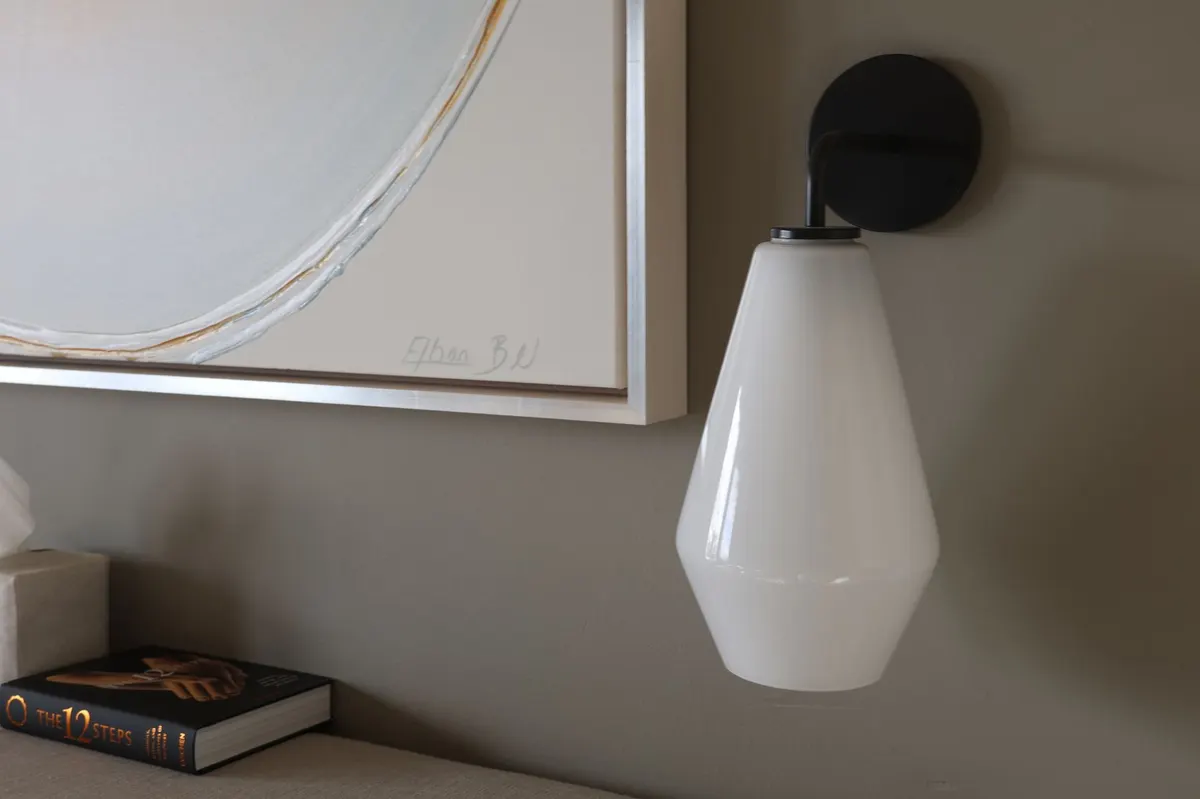
It is easy to walk past dated pine pieces at the thrift store, but seeing past that glossy factory varnish gives you access to custom accents on a tiny budget. Once that rich dark wax cures, this wall sconce brings warm, vintage character to your living room walls for years to come.
You Might Also Like
- How to Turn a $12 Thrifted Floor Lamp into a $480 Vintage English Fluted Floor Lamp for $27
- How to Turn an $11 Thrifted Metal Plant Stand into a $420 Aged Stone Martini Table for $25
- How to Turn an $11 Thrifted CD Tower into a $480 Vintage English Pillar Bookshelf for $27
Frequently Asked Questions
Can I use a real burning candle in this sconce
You can if you use a glass chimney, but battery-operated LED tapers with timers are much safer and will not cause soot buildup on the aged mirror.
What kind of adhesive holds the mirror tile to raw wood best
Standard clear silicone adhesive or construction adhesive works best because it grips both smooth glass and porous wood without reacting to temperature shifts.
How do I strip wood with detailed turned spindle carvings
Apply chemical stripping gel generously, let it bubble, and use a stiff nylon detail brush or medium steel wool to pull the old lacquer out of deep grooves without scratching the grain.


0 Comments