

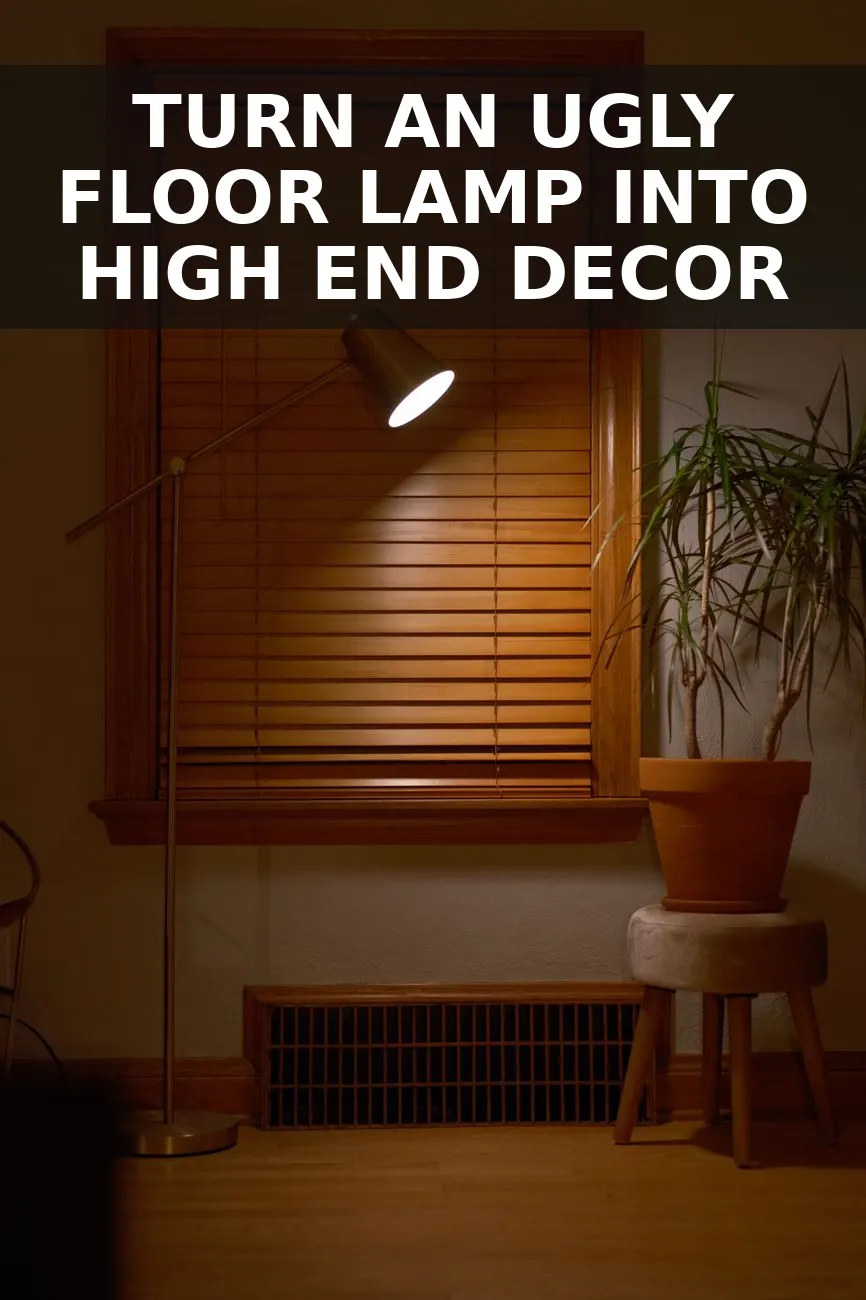
I spotted a skinny brass floor lamp at Goodwill for $12 with a crooked base, yellowed wiring, and a faded pleated shade that looked like it survived three decades in a smoky attic. Most shoppers walked right past it because thin metal lamp poles look cheap and dated. But beneath that dull brass finish was a sturdy steel center rod and a heavy iron base weight. By wrapping the thin metal stem in flexible fluted wood trim and applying a creamy textured paint, I turned that forgotten pole into a heavy architectural floor lamp that looks like a $480 designer piece.
Why Thrifted Floor Lamps Are the Ultimate DIY Project
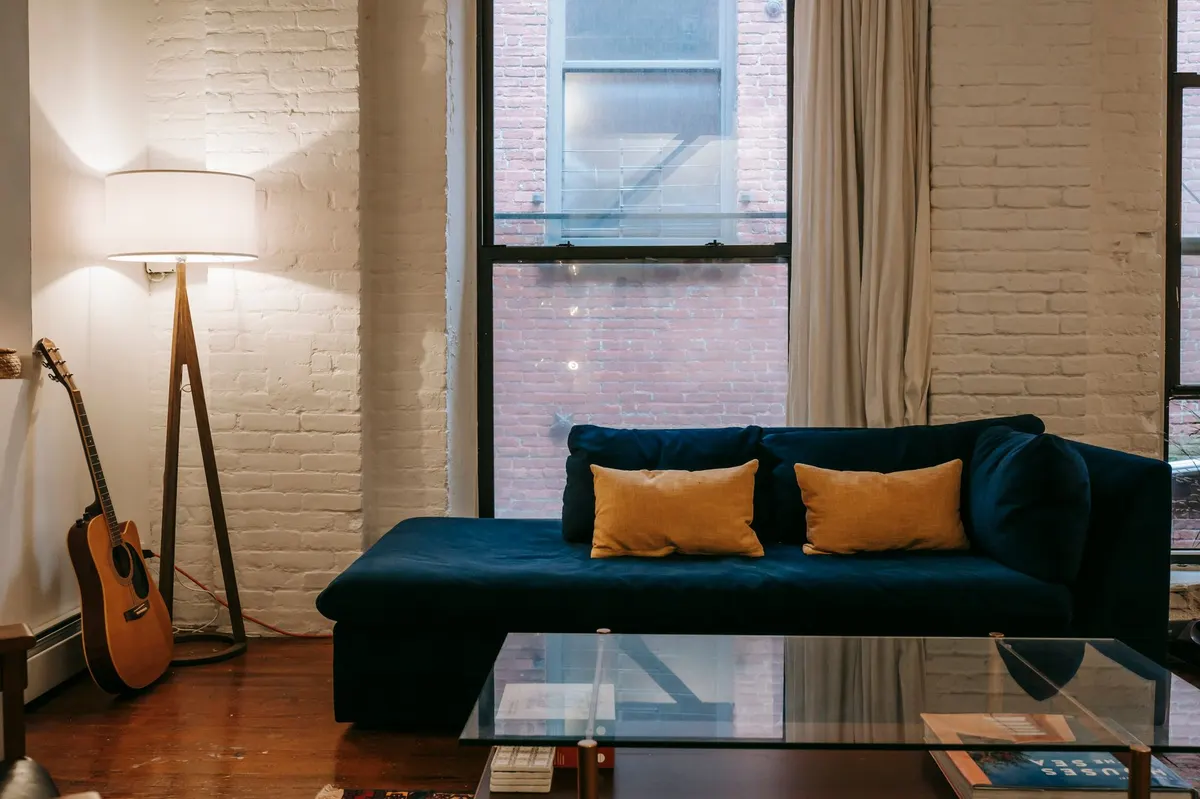
When you look through high-end lighting catalogs, the floor lamps that cost hundreds of dollars almost always share one feature: visual weight. Cheap floor lamps feel flimsy because the center pole is usually only half an inch thick. High-end lamps look like sculpted plaster pillars or carved solid wood columns.
The secret is that the internal wiring and electrical structure on older thrift store lamps are usually perfectly fine. Unless the cord is frayed, you do not need to do any electrical work. You simply need to build up the thickness of that thin center rod and give it texture.
Flexible wood tamboured wrap—the kind commonly used for kitchen islands and fluted furniture fronts—is perfect for this transformation. It bends around tight cylinders, bonds easily with basic construction adhesive, and converts a flimsy brass stem into a deeply ribbed column instantly.
Materials and Budget Breakdown
You do not need fancy power tools or woodworking experience for this build. A basic handsaw or heavy utility knife to slice the wood backing and a roll of painter tape to hold things in place while drying are all you need.
Here is exact breakdown of what I spent at Home Depot and the thrift shop to make this lamp:
| Item | Price |
|---|---|
| Thrifted Brass Floor Lamp | $12.00 |
| Flexible Fluted Wood Pole Wrap Trim | $8.50 |
| Liquid Nails Construction Adhesive | $2.50 |
| Warm Ivory Chalk Paint & Baking Soda | $4.00 |
| Linen Drum Lamp Shade (Reused) | $0.00 |
All in, this came out to about $27. Given that ready-made fluted wood floor lamps regularly sell for $350 to $500, staying under thirty dollars felt like a massive win for my living room makeover.
Step-by-Step Instructions
Here is how to turn a skinny metal pole lamp into a substantial English country fluted column.
- Prep and Safety First: Unplug the lamp and remove the old shade, harp, and light bulb. Wipe down the entire metal stem with rubbing alcohol to remove grease and dust. Wrap blue painter tape around the brass socket hardware and the base electrical cord entry so glue and paint stay completely out of the electrical components.
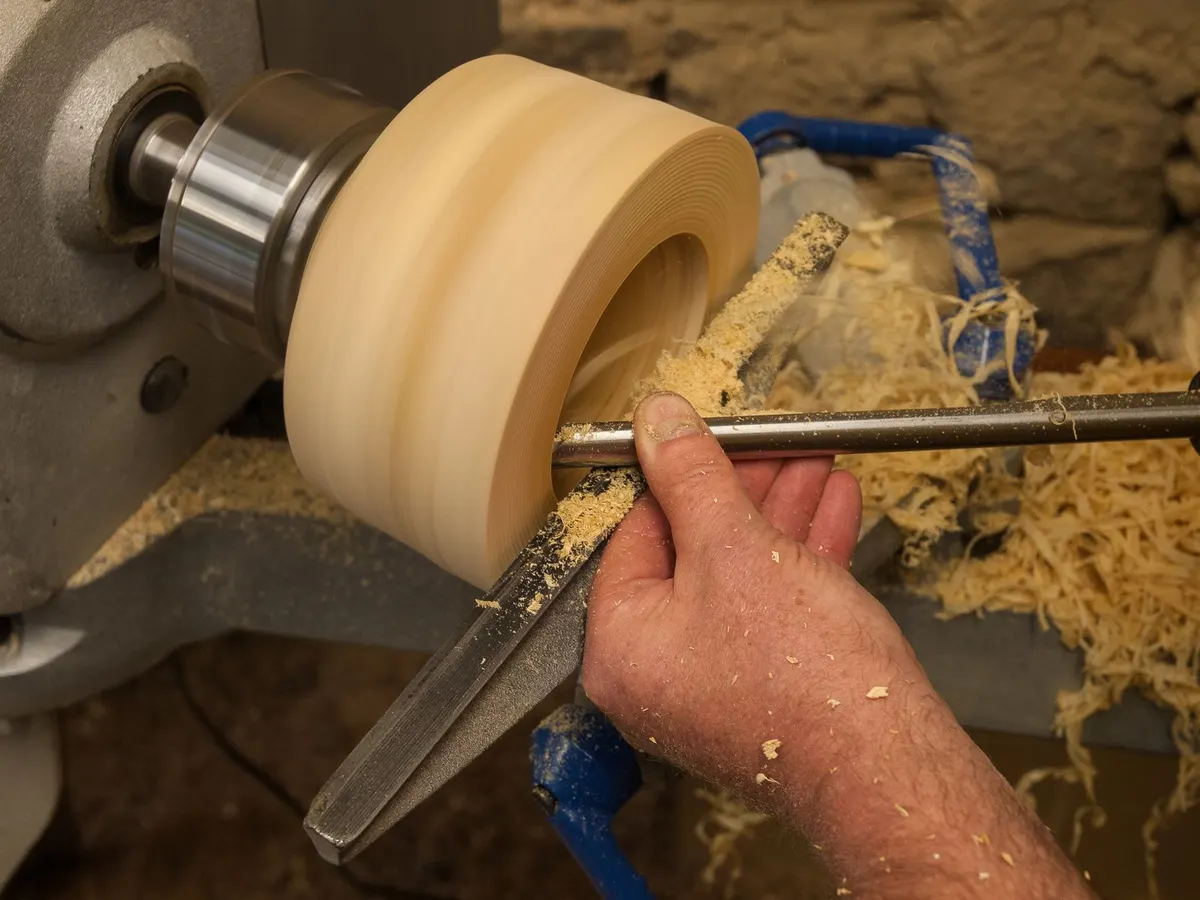
- Measure and Cut the Fluted Wrap: Measure the height of the straight metal stem between the weighted base and the upper socket cluster. Unroll your flexible wood wrap flat on your table. Using a tape measure and straight edge, mark your cut line on the fabric backing of the wrap. Carefully slice along your mark with a sharp utility knife or a fine-tooth hand saw.
- Wrap the Stem: Apply a generous zig-zag bead of heavy-duty construction adhesive along the back of the fluted wood wrap. Press one vertical edge against the metal stem, then wrap the flexible wood trim tightly around the pole until the two edges meet along the backside. Wrap blue painter tape tightly around the wood cylinder every three inches from top to bottom. The tape acts as a clamp while the adhesive cures for four hours.
- Create a Base Collar: If the seam where the thick fluted stem meets the flat base looks a little bare, wrap a thin strip of half-round moulding or thick jute rope around the base joint. This conceals squeeze-out adhesive and gives the lamp an intentionally carved pedestal look.
- Paint and Texture: Remove the painter tape once the glue is rock hard. Lightly sand away any dried glue beads. Apply two thick coats of warm ivory chalk paint. For a real limestone or plaster feel, stir a quarter cup of baking soda into half a cup of matte wall paint and dab it on using a cheap chip brush. We used a similar plastering technique on these aged plaster arch bookends and this aged plaster candle sconce to get an authentic antique texture.
- Attach the Shade: Place a tall linen drum shade or pleated shade on top. Pop in a warm 2700K LED bulb to cast a soft glow across the newly ribbed column.
Styling Ideas for Your Living Room
Once your fluted floor lamp is dry, placement is everything to make it look like a high-end designer piece.
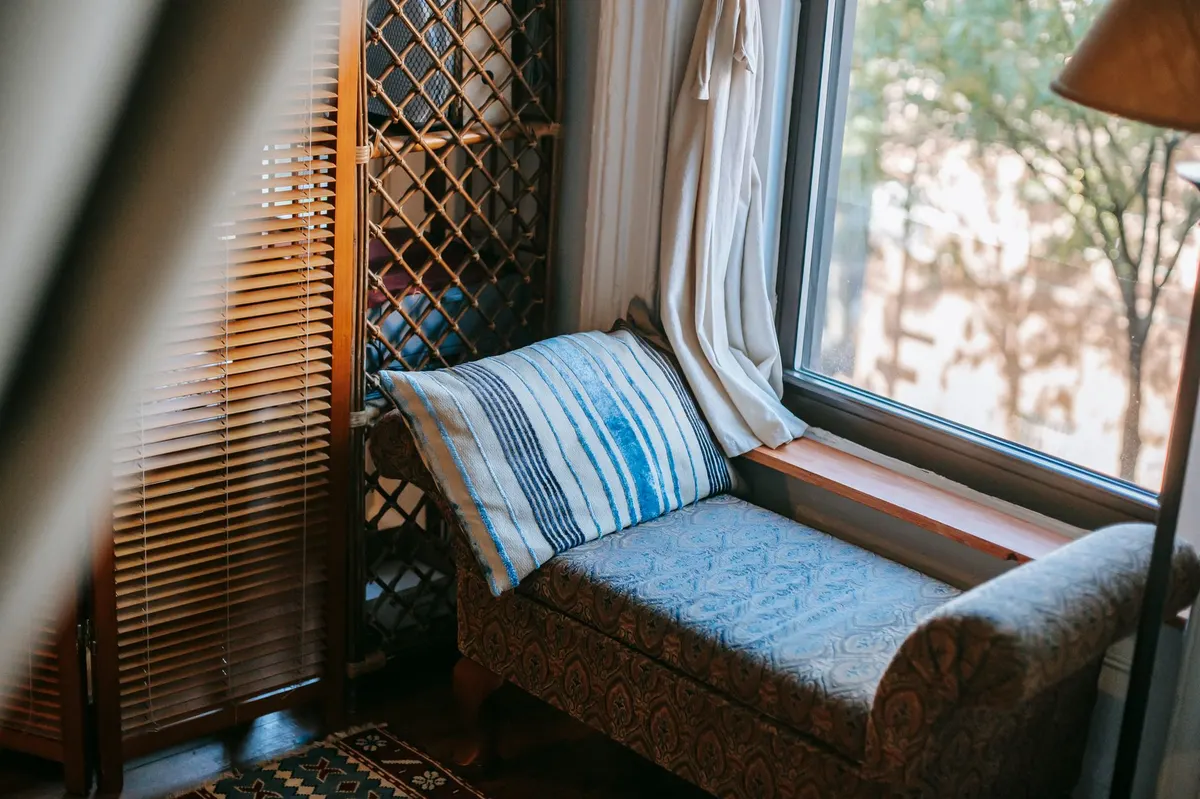
- Anchor an Empty Corner: Tuck the lamp behind a deep armchair or beside a sofa end table. The vertical fluted ridges draw the eye upward and add subtle texture to blank drywall.
- Balance Hard Lines: If your living room features square coffee tables and sharp-angled furniture, the rounded ribbed shape of the lamp stem softens the entire room.
- Use Soft Warm Bulbs: Cool white bulbs make textured chalk paint look clinical. Stick to warm yellow or soft warm white bulbs (2700K) so the warm light catches the deep shadows between each wood ridge.
- Repeat the Pattern: Echo the vertical fluting elsewhere in your living space. If you like this look, you can build a matching fluted corner shelf on the opposite wall to tie the whole living room together.
You Might Also Like
- How to Turn an $11 Thrifted Metal Plant Stand into a $420 Aged Stone Martini Table for $25
- How to Turn an $11 Thrifted CD Tower into a $480 Vintage English Pillar Bookshelf for $27
- How to Turn an $8 Thrifted Wooden Card Box into a $380 English Library Index Box for $23
Frequently Asked Questions
Can I use this fluting technique on a lamp with a curved stem
Flexible wood wrap works best on straight cylinder poles. If your lamp stem has decorative knobs or curves, wrap only the straight sections and paint the knobs to match.
What if the original lamp socket is loose or broken
You can buy a basic lamp rewire kit at Home Depot for under eight dollars and replace the entire socket and cord in about ten minutes.
How do I prevent the wood wrap from slipping while the glue dries
Wrap blue painter tape around the stem as tightly as possible every three inches, or use reusable heavy zip ties until the construction adhesive cures completely.


0 Comments