

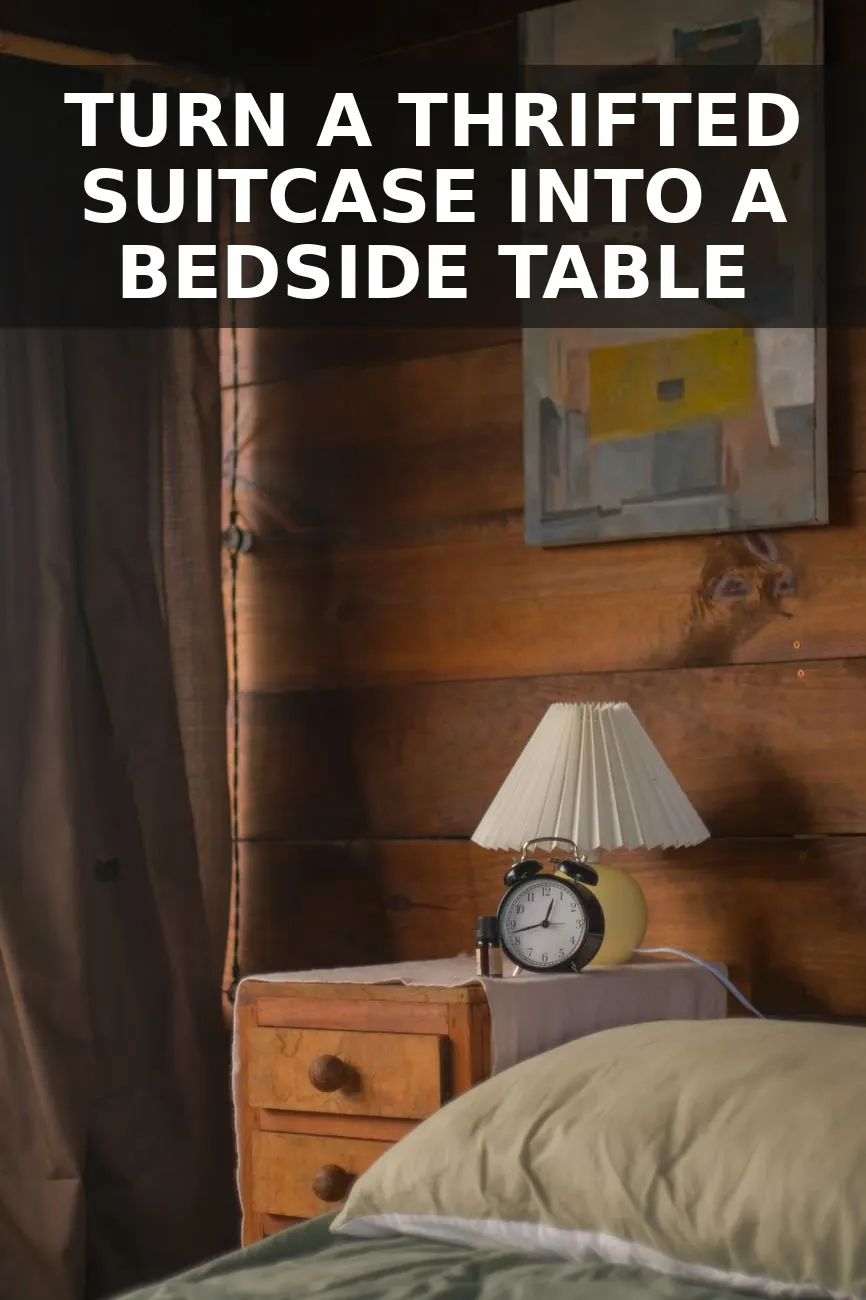
If you are tired of staring at the same basic, boring nightstands every single night, I have a secret for you: the best bedroom furniture is hiding in the luggage section of your local thrift store.
Selecting the Perfect Suitcase at the Thrift Store
When you are hunting for the right suitcase, do not grab the first one you see. You want to keep a few specific criteria in mind to ensure your project is a success. Look for a suitcase that is at least twenty inches wide and twelve inches deep. This size provides a stable footprint for the legs and gives you plenty of flat surface area on top for a bedside lamp, a water glass, and your phone.
Stick to hard-sided luggage from the mid-century era. Soft-sided canvas bags or zippered duffels will not work because they lack the rigid structure needed to keep a flat surface. Look for molded plastic, leather-wrapped wood, or heavy-duty vinyl. Pay close attention to the latch hardware. Brass, nickel, or copper latches add a beautiful vintage metal element to the room. Even if the locks do not work or you do not have the original key, the metal detailing is what makes the finished piece look so authentic and expensive.
Why a Vintage Suitcase is the Perfect Nightstand Alternative
A few weeks ago, I was browsing the aisles of my favorite local thrift shop when I spotted a dusty, hard-shell vintage suitcase from the 1960s. It had beautiful brass latches, a rich caramel color, and a sturdy frame, but it was sitting on the floor with a fifteen-dollar price tag. Immediately, I saw the potential.
Standard bedside tables can be incredibly expensive, and let's be honest, most budget-friendly options look like they came out of a flat-pack box. A vintage suitcase brings instant history, warmth, and character to a bedroom. Plus, it doubles as hidden storage for extra blankets, seasonal sheets, or books you want out of sight. Pair it with a cozy bedside setup, like my project on how to turn a book rack into a bedside book trough, and you will have a bedside table that looks like it belongs in a high-end English cottage.
The Secret to Making It Structurally Sound
The main challenge with using an old suitcase as a table is stability. If you just screw legs directly into the thin cardboard or plastic shell of a vintage suitcase, it will warp, wobble, and eventually collapse under the weight of a lamp.
To make this piece last for years, we need to create a sturdy wooden support system. By placing a simple piece of scrap plywood inside the bottom of the suitcase, you create a solid anchor. The screws for your furniture legs will pass through the bottom of the suitcase and bite directly into this wood, distributing the weight evenly. This simple trick turns a flimsy piece of luggage into a rock-solid piece of furniture.
Step-by-Step Transformation Guide
Here is exactly how to bring this vintage beauty to life in your own home.
- Prep and Clean: Old suitcases are notoriously musty. Start by vacuuming the interior thoroughly. Spray the fabric lining with a mixture of equal parts water and white vinegar, then sprinkle a thick layer of baking soda inside. Close the lid and let it sit for twenty-four hours before vacuuming it out. Clean the exterior with a damp microfiber cloth and some mild dish soap.
- Cut Your Support Board: Measure the inside bottom dimensions of your suitcase. Cut a piece of half-inch scrap plywood to fit tightly inside the bottom. If you do not have a saw, your local hardware store can make this quick cut for you. Place it flat inside the bottom of the suitcase.
- Attach the Feet: Flip the suitcase over so the bottom faces up. Position your wooden bun feet at the four corners. Using a drill, pre-drill holes through the suitcase shell and into the wood support board inside. Drive long wood screws with washers from the inside of the suitcase, through the support board, through the suitcase shell, and directly into the wooden feet. Tighten them until the feet are flush and secure.
- Finish the Legs: To give the raw wood bun feet an aged, antique look, apply a coat of dark walnut stain or furniture wax with an old rag. Wipe away any excess and let it dry. If your suitcase exterior is looking a bit dull, you can rub a tiny amount of leather conditioner or olive oil onto the vinyl to restore its original shine.
- Style Your New Bedside Table: Place your suitcase table next to your bed. If you prefer a softer, traditional look for your sleeping space, you might also enjoy reading my step-by-step tutorial on how to turn a round table into a skirted table for another budget bedroom idea.
The Budget Breakdown
This project is incredibly gentle on the wallet. I spent a total of twenty-nine dollars on this high-end look, saving hundreds compared to buying a designer bedside table.
| Item | Source | Price |
|---|---|---|
| Vintage Hard-Shell Suitcase | Thrift Store | $15 |
| Wooden Bun Feet (Set of 4) | Home Depot | $10 |
| Scrap Plywood Support | On Hand | $0 |
| Screws and Washers | On Hand | $2 |
| Dark Walnut Stain/Wax | On Hand / Trial Size | $2 |
All in, this beautiful project came out to exactly twenty-nine dollars. It looks incredibly expensive, holds my favorite bedtime essentials, and brings so much cozy, storied charm to the guest room.
You Might Also Like
- How to Turn a $9 Thrifted Book Rack into a $380 Vintage English Bedside Book Trough for $23
- How to Turn a $9 Thrifted Wooden Tie Rack into a $360 Vintage English Bedside Accessory Rail for $22
- How to Turn an $11 Thrifted Valet Stand into a $440 Vintage English Bedside Valet for $26
Frequently Asked Questions
How do you get the musty smell out of a vintage suitcase?
Sprinkle a generous amount of baking soda inside the empty suitcase, close it up for 48 hours, then vacuum it out thoroughly and place a lavender sachet inside.
Can this table handle the weight of a heavy ceramic lamp?
Yes, because the wooden support board inside the bottom of the suitcase distributes the weight directly to the legs rather than putting pressure on the fragile shell.
Do I need to paint the suitcase if I do not like the original color?
You can easily paint it using chalk paint or a high-quality bonding primer followed by two coats of acrylic latex paint to match your room's color scheme.


0 Comments