

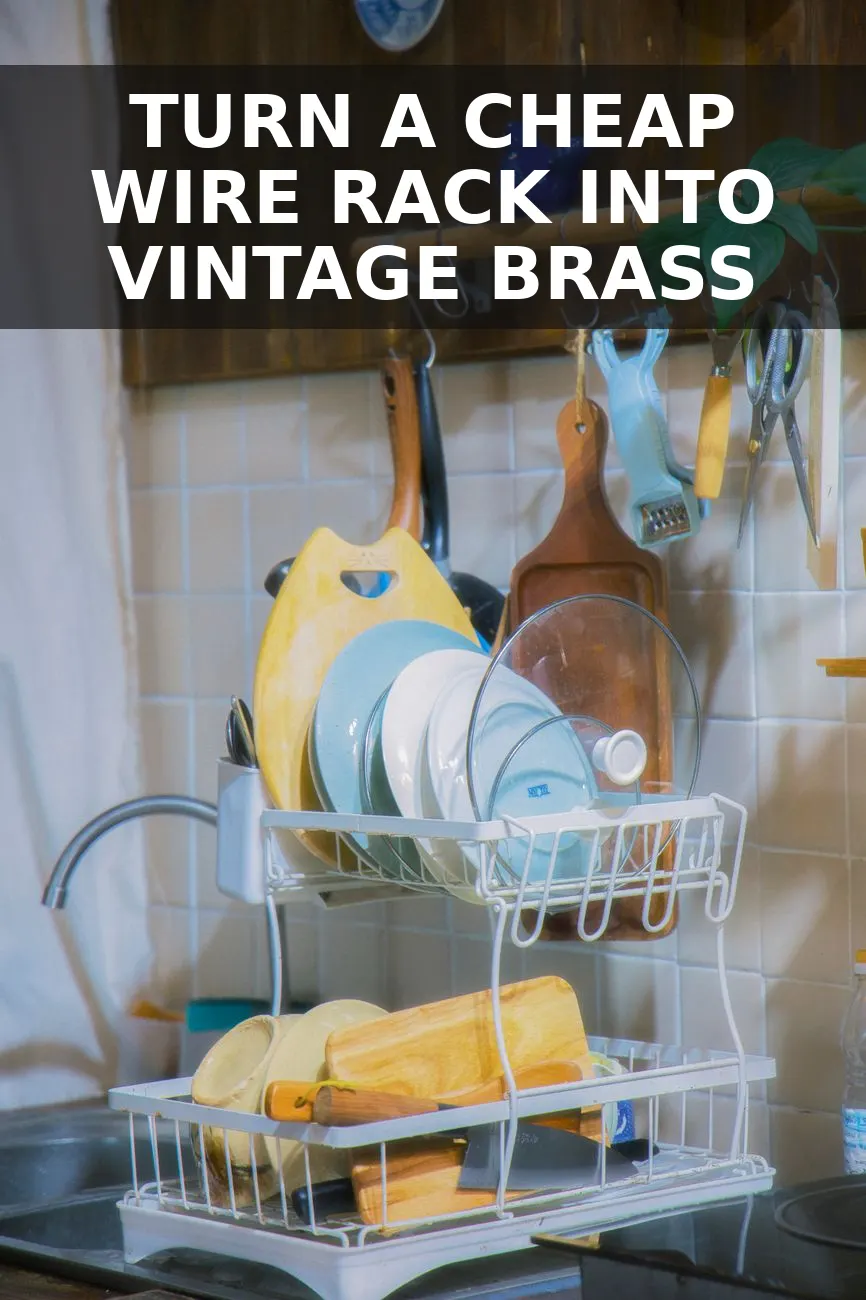
High-end bespoke kitchens love showing off ironstone platters and antique bread boards upright on heavy brass counter cradles that retail for well over $300. I found a clunky $8 chrome wire dish rack buried on the bottom shelf of a thrift store, and with two simple supplies, turned it into an unlacquered brass display rack that looks straight out of an English country scullery.
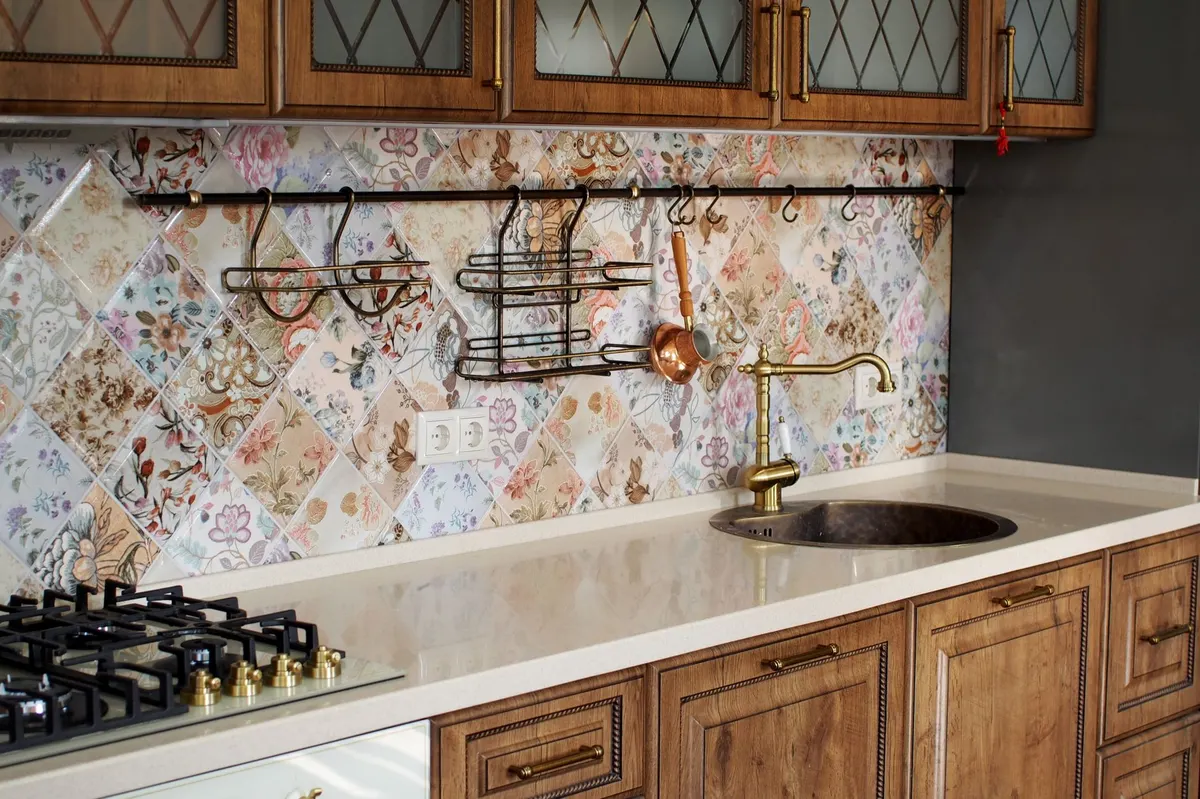
Why Vintage Plate Cradles Work So Well on Kitchen Counters
Modern kitchens often stash beautiful stoneware and cutting boards inside dark lower cabinets where nobody sees them. A countertop cradle turns those everyday pieces into functional art. Instead of stacking plates in tall, precarious towers, an upright rack lets you grab a salad plate or heavy serving platter instantly with one hand.
When you browse high-end kitchen designers like deVOL, you notice they never use plastic drying trays. Everything sitting beside the sink or against the backsplash has weight, patina, and warmth. A vintage brass wire stand bridges the gap between utility and display, giving your countertop that layered, lived-in feel you see in historic homes.
What to Look for at the Thrift Store
Thrift shops and yard sales almost always have wire drying racks or desk file sorters sitting in the kitchenwares aisle for under $10. Here is what makes the best candidate for this project:
- Heavy-gauge wire construction: Look for sturdy steel or thick iron wire that does not bend under hand pressure. Thick wire catches metallic wax paste much better than ultra-thin wire.
- Individual vertical plate slots: Racks with deep slots spaced roughly 1 to 1.5 inches apart work best for thick stoneware plates and chunky wooden cutting boards.
- Clean welded joints: Check that the spot welds connecting the crossbars to the frame are solid and free of broken joints.
- Simple footprint: Square or rectangular frames with small ball feet or flat bottom rails sit nicely next to a sink or atop a counter station alongside a vintage stone counter riser.
Step-by-Step: The Faux Aged Brass Technique
The secret to making cheap chrome or coated wire look like solid, unlacquered English brass is layering a matte dark primer under a warm metallic paste, then dry-brushing an antique brown glaze into the wire intersections.
- Clean and prep the wire: Wash the entire rack in warm soapy water to strip any grease residue. Scuff the wire lightly with 220-grit sandpaper or a medium-grade scouring pad so your base coat bonds tightly. Wipe away dust with a dry microfiber rag.
- Spray the dark undertone base coat: Coat the entire rack in an ultra-matte dark espresso brown or satin black primer spray paint. Apply two light coats from 10 inches away, waiting 10 minutes between coats. This dark foundation is what gives the brass depth in the joints.
- Buff on the antique gold paste: Once the primer is completely dry, dab a small fingertip amount of antique gold metallic wax paste onto a soft rag. Gently rub the paste along the top curves and outer faces of the wire bars, letting the dark brown base show through on the undersides and around joint welds.
- Add subtle patina to the crevices: Dip a dry artist brush into a tiny drop of raw umber acrylic craft paint. Stipple the dark paint around the base feet and weld points, then immediately tap it with a dry paper towel to soften the edges.
- Seal for daily counter use: Spray a light, even mist of clear satin enamel sealer over the entire piece. This locks the metallic wax in place and keeps ceramic plate rims from scraping off the patina.
The Project Cost Breakdown
You do not need specialized metalworking tools or expensive patinating chemicals to get an authentic brass look. Here is the exact cost breakdown for this build:
| Item | Price |
|---|---|
| Thrifted wire dish rack | $8.00 |
| Dark brown bonding primer spray | $6.50 |
| Antique gold metallic wax paste | $5.50 |
| Raw umber craft paint & rag (on hand) | $0.00 |
| Clear satin enamel spray (partial can) | $2.00 |
All in, this came out to about $22. High-end lifestyle retailers sell similar brass countertop plate stands for $340 or more, making this a massive upgrade on a tiny weekend budget.

Styling Your New Countertop Plate Cradle
Once the sealer has cured for 24 hours, place your brass cradle against your kitchen backsplash or on an open prep table. Load the back slots with two contrasting wooden cutting boards or a round marble pastry board to create height and texture. In the front slots, stand up three or four scalloped ironstone plates or handmade ceramic bowls.
For a cozy, collected scullery look, pair your new plate cradle nearby on the wall with a vintage English wall display rail and a vintage English country mug stand. The combination of warm brass, natural wood grains, and creamy ceramics instantly makes even builder-basic countertops feel intentional, warm, and timeless.
You Might Also Like
- How to Turn a $10 Thrifted Wooden Mug Tree into a Vintage English Country Mug Stand for $22
- How to Turn a $9 Thrifted Wooden Lazy Susan into a $380 Vintage Stone Counter Riser for $24
- How to Turn an $8 Thrifted Paper Towel Holder into a $340 Vintage English Counter Spindle for $22
Frequently Asked Questions
Will dishes scratch the painted brass finish over time
A coat of clear satin enamel sealer over the rub-buffed finish cures hard and prevents standard ceramic plates from chipping the surface.
Can I use this for drying wet dishes daily
This piece is best suited as a dry display cradle for boards, platters, and daily stoneware rather than a heavy-duty wet drying station.
What if my thrifted wire rack has white rubber coating
You can easily slice the rubber coating along the back seams with a utility knife and peel it off the bare wire before priming.


0 Comments