

I found a clunky, dated wooden jewelry box at Goodwill last week for six dollars. It was painted a bright neon purple and had some scuff marks, but the brass latch was sturdy and the clean lines screamed potential. Real bone inlay boxes are absolutely gorgeous, but they easily cost two hundred to three hundred dollars at high-end home boutiques. I knew I could recreate that intricate, hand-crafted look myself using a simple paint pen technique and a high-gloss finish.
This project is surprisingly relaxing once you get into the rhythm of it. You do not need to be a professional artist to pull this off. By breaking the classic vine-and-leaf inlay pattern down into basic dots and teardrop shapes, anyone can get a stunning result. Here is exactly how I transformed my dusty thrift store find into a high-end bedside styling piece for just nineteen dollars.
The Secret to Mimicking Real Bone Inlay
Before we pick up a paintbrush, we need to understand what makes real bone inlay look so special. True inlay consists of tiny, hand-carved pieces of bone or mother-of-pearl set into a colored resin base. The finished pieces have a distinct flat, smooth surface where the carved pieces lie perfectly flush with the resin. They also have a beautiful, slight sheen.
To mimic this look on a budget, we are going to use two clever tricks. First, we will use a chalk finish paint for the base. Chalk paint dries completely matte and has a slightly porous texture that mimics dyed resin beautifully. Second, we will use a high-quality water-based acrylic paint pen for the design. The acrylic paint sits slightly on top of the wood, and once we apply a thick, glossy topcoat, it fills in the gaps to create a perfectly flat, glass-like finish that looks exactly like polished resin.
If you are looking for other ways to bring a touch of classic character into your home, you might also love our guide on how to turn a wooden mail sorter into an English country spice box. It uses similar wooden prep techniques to create a timeless, built-in look.
Gather Your Materials
You do not need many supplies for this project, and you might already have a few of them in your crafting cabinet. Here is a quick breakdown of what I spent to get this high-end look.
| Item | Source | Price |
|---|---|---|
| Thrifted wooden box | Goodwill | $6.00 |
| Chalk paint tester (Deep Charcoal) | Home Depot | $5.00 |
| White Posca acrylic paint pen (0.7mm) | Michaels | $4.00 |
| Rust-Oleum Triple Thick Glaze spray | Home Depot | $4.00 |
| Total Cost | - | $19.00 |
All in, this project cost me exactly $19.00. That is a fraction of the cost of a retail bone inlay box, and the custom feel makes it look like a true heirloom piece on my nightstand.
Step-by-Step Faux Bone Inlay Tutorial
- Prep and sand the wooden box. Remove any hardware, like hinges or latches, using a small screwdriver and set them aside. Grab a sheet of 220-grit sandpaper and give the entire box a light sanding. You do not need to strip the wood down to the bare grain; you just want to remove any glossy varnish or rough patches so the new paint has something to grip. Wipe away the dust with a damp cloth.
- Apply the base coat. Paint the entire box with your dark chalk paint. I chose a deep, moody charcoal grey, but emerald green, rich navy, or classic black work beautifully too. Use a synthetic brush and apply two thin, even coats, letting the paint dry completely between coats. Thin coats are important here because we do not want heavy brushstrokes ruining our smooth surface.
- Map out your center points. Real bone inlay is symmetrical, but it also has a charming, slightly imperfect hand-carved quality. Use a ruler and a pencil to lightly mark the exact center of the box lid and the front panel. Do not press too hard with the pencil; you just want a faint guide that you can easily cover with your paint pen.
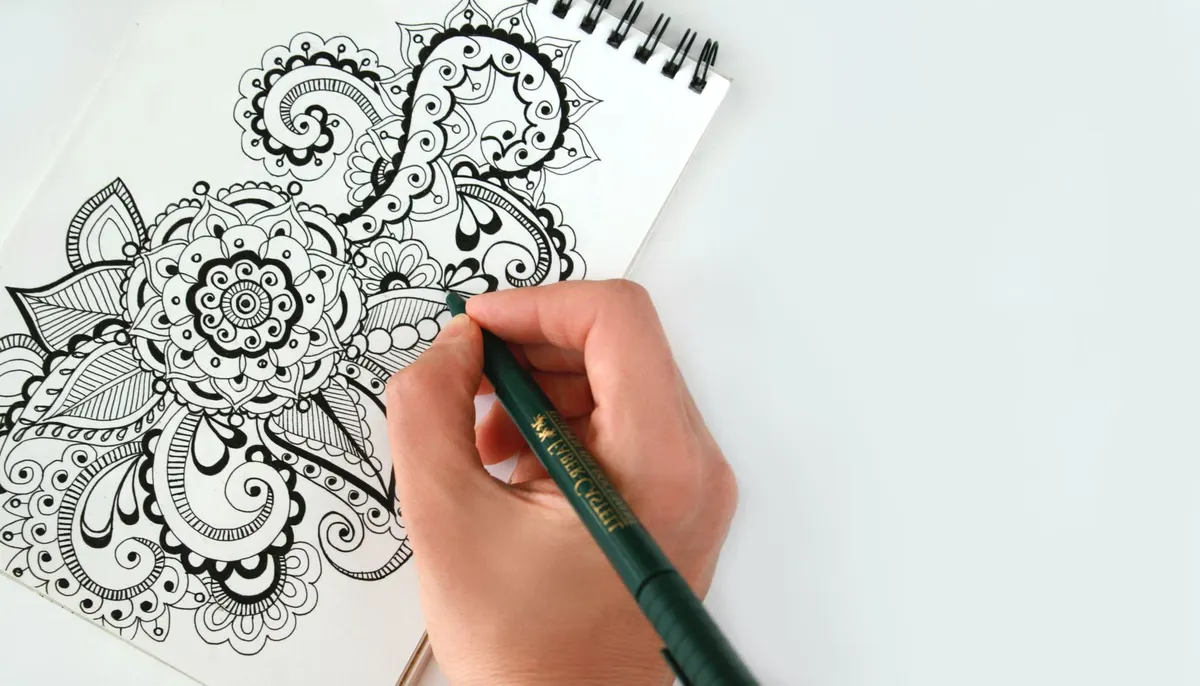
- Draw the anchor elements. Start your pattern from the center and work your way out. I drew a small central flower with five simple teardrop petals. To make the petals look like carved bone, do not just draw lines—draw solid shapes and fill them in with the white paint pen. Press the pen tip lightly on a scrap piece of paper first to get the paint flowing smoothly before touching it to your box.
- Grow the vine pattern. From your central flower, draw delicate, curving vines winding toward the corners of the box. Add small, alternating teardrop leaves along the vines. The trick to making it look authentic is to keep the leaves very close to the vine, with tiny gaps of the dark base color showing through. Add tiny dots of white paint in the empty spaces to mimic smaller bone fragments.
- Add a geometric border. Real inlay almost always has a structured border to frame the organic vine patterns. Use your ruler to lightly sketch a thin border line about a quarter-inch from the edges of the box. Draw a repeating pattern along this line, such as alternating small dashes and dots, or a simple chevron zig-zag. This instantly anchors the design and makes it look incredibly professional.
- Seal with a high-gloss glaze. Let your paint pen design dry for at least four hours to ensure the acrylic ink is fully set. Take the box to a well-ventilated area or outdoors. Shake your high-gloss clear spray glaze thoroughly and apply a very light mist coat first. Let it dry for ten minutes, then apply two more thick, wet coats. This thick glaze fills in the microscopic texture differences between the chalk paint and the paint pen, creating that signature smooth, glass-like resin finish.
- Reattach the hardware. Once the clear coat has cured for 24 hours and is no longer tacky, screw your hinges and brass latch back onto the box.
Styling Your New Bedroom Accent
Now that your box is finished, it is time to style it. This piece looks incredible sitting on top of a stack of linen-bound design books on a nightstand or dresser. It is the perfect spot to drop your rings, watch, or bedside essentials at the end of the day. The deep charcoal contrast looks especially striking next to warm wood tones and soft linen sheets.
If you want to style a cozy, collected bedroom vanity, try pairing your new inlay box with some elegant glass storage. You can check out our tutorial on turning glass jars into vintage apothecary canisters to create a beautifully coordinated setup that keeps your cotton swabs and bath salts looking pretty.
This is one of those projects that looks so intricate, no one will believe you did it yourself with a simple four-dollar paint pen. It is proof that you do not need a massive budget to bring timeless, hand-crafted character into your home.
You Might Also Like
- How to Turn a $15 Thrifted Bench into a $450 French Country Woven Rush Bench for $34
- How to Turn a $10 Thrifted Swivel Mirror into a $380 Vintage English Vanity Mirror for $23
- How to Turn a $15 Thrifted Suitcase into a $450 Vintage English Bedside Trunk for $29
Frequently Asked Questions
How do I fix a mistake while drawing the pattern
Keep a damp Q-tip and a wooden toothpick handy. You can easily wipe away wet acrylic paint pen ink, or use the toothpick to scrape away dried mistakes without damaging the base paint.
Can I use oil-based paint pens instead of water-based ones
It is best to stick with water-based acrylic paint pens like Posca. Oil-based pens can react poorly with spray-on clear coats, causing the pattern to bleed or yellow over time.
Do I need to sand the box if it is already painted
Yes, a light sanding with 220-grit sandpaper is essential to scuff up the old finish so your new base coat can stick properly without peeling later.


0 Comments