

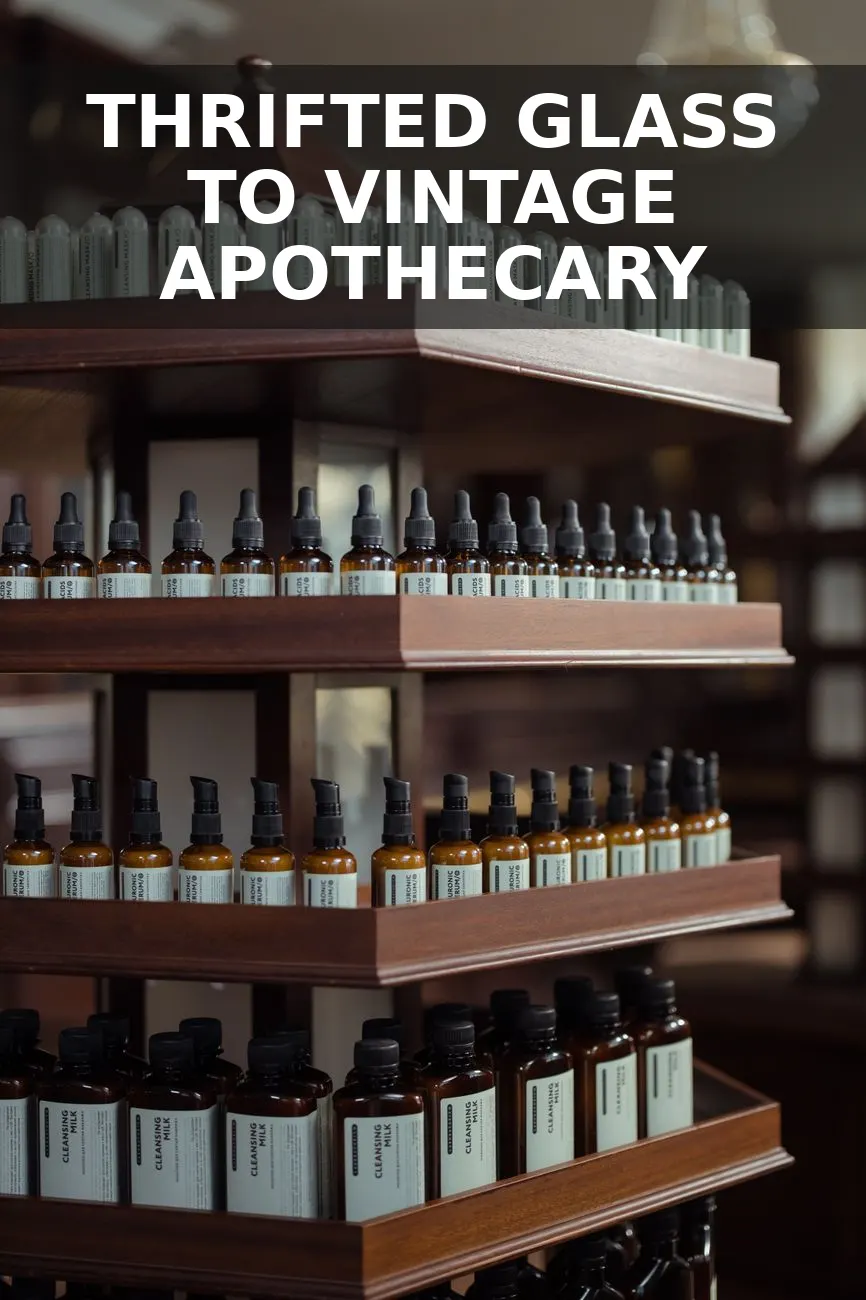
You know that middle shelf at almost every thrift store? The one overflowing with dusty, mismatched glass kitchen canisters with faded rubber seals and zero charm? Normally, you would walk right past them. But with a little bit of paint, some basic craft glue, and cheap printable sticker paper, you can turn those unloved glass jars into a gorgeous set of French apothecary canisters that look like they came straight out of an antique boutique in Paris.
I was skeptical about how authentic these would look when I first started playing with the idea. I had seen gorgeous stoneware and heavy glass apothecary jars in high-end design catalogs for over a hundred dollars a piece, and I wanted that layered, historic feel on my own bathroom vanity without draining my wallet. This quick project takes under two hours of active work, and the results are so convincing your guests will think you scavenged them from a dusty European flea market.
What to Look For at the Thrift Store
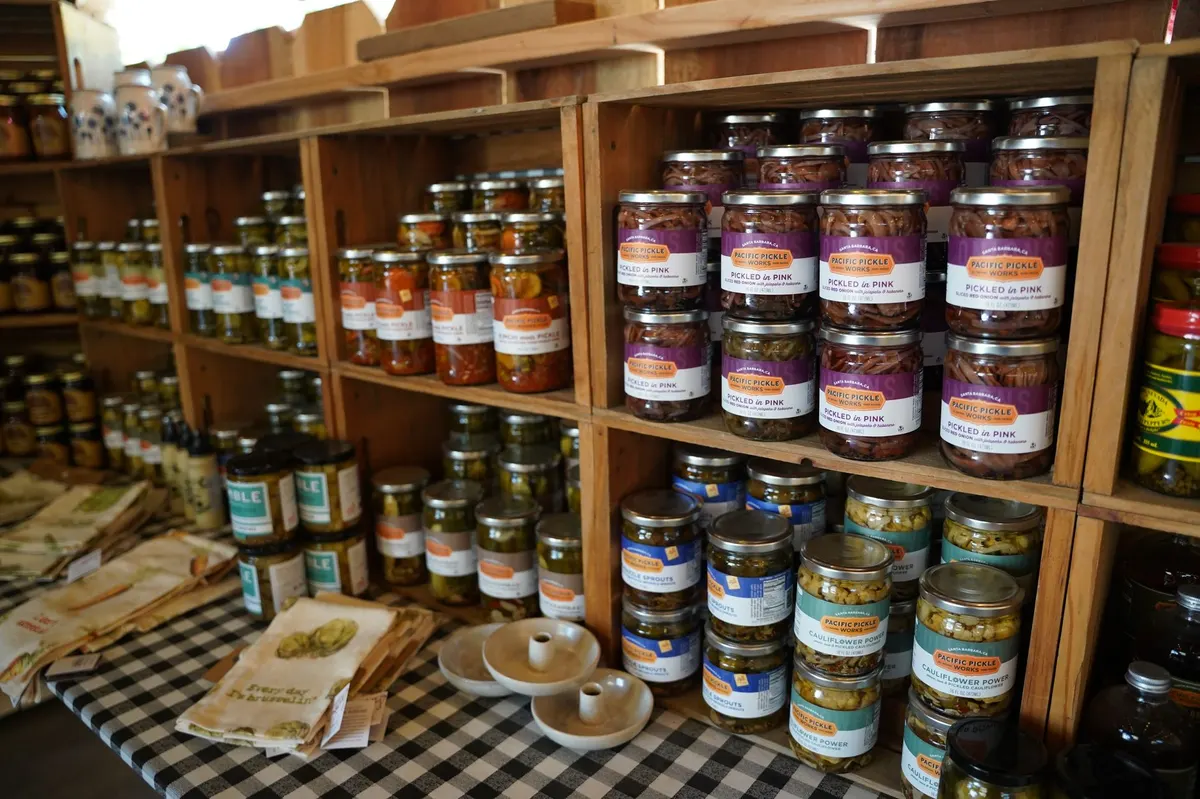
The beauty of this project is that you do not need a matching set of pristine jars. In fact, having three different sizes and shapes makes the final display look much more organic and curated. When you are scouting the shelves at Goodwill or your local charity shop, keep an eye out for these specific features:
- Solid glass bodies: Look for heavy glass jars without modern embossed patterns or modern brand logos molded into the glass. Smooth surfaces are ideal for applying labels.
- Flat or simple lids: Wood, metal, or even plastic lids work fine because we are going to modify and paint them anyway. Just make sure they fit tightly enough to keep dust out.
- Scale and height: Grab a tall jar, a medium jar, and a short, squat jar. A trio of varying heights creates the perfect visual balance on a bathroom counter or open shelving unit.
If you are planning a full budget bathroom refresh, these canisters look beautiful styled next to other antique-inspired pieces. You could easily pair them with a vintage brass hanging bathroom organizer or place them alongside a vintage brass bathroom caddy to create a cohesive, historic vibe in a modern space.
How to Build Your Vintage Apothecary Set
Once you have found your three candidate glass jars, it is time to prep them and give those boring, flat lids a serious architectural upgrade. Here is the step-by-step process I used to transform my set.
- Clean and prep the glass: Strip off any old price stickers or sticky residue. I find that soaking the jars in hot water with a spoonful of baking soda and a splash of dish soap makes the old glue slide right off. Dry them completely before moving to the next step.
- Attach the custom wooden knobs: Most cheap thrifted jars have totally flat lids. To give them that classic apothecary look, glue an unfinished wood drawer knob or a small wooden toy wheel to the exact center of each lid using E6000 adhesive. Let the glue cure for at least an hour so the knobs do not slide around when you paint them.
- Apply the textured faux finish: To make cheap wood or plastic lids look like old cast iron or weathered stoneware, mix matte black acrylic paint with a small pinch of baking soda. This adds a subtle, grittiness that perfectly mimics aged metal. Use a dabbing motion with a dry paintbrush to apply two thin coats over the lid and the newly attached knob.
- Design and print the vintage labels: You can find free vintage French label graphics online by searching for public domain ephemera or pharmacy labels. I brought a few designs into a free graphic design tool, resized them to fit my jars, and printed them onto matte waterproof sticker paper using a standard home printer.
- Cut and apply the labels: Carefully cut out the labels with sharp scissors. To give them an aged look before sticking them to the glass, you can lightly drag a brown ink pad or a damp tea bag along the edges of the paper. Once dry, peel the backing off and smooth them onto the center of your glass canisters, working from the middle outward to avoid air bubbles.
The Budget Breakdown
This project is incredibly budget-friendly because it uses materials you might already have in your craft closet. All in, this entire transformation came out to exactly $22. Here is how the costs break down:
| Item | Source | Price |
|---|---|---|
| Set of 3 glass jars | Thrift store | $12.00 |
| Unfinished wooden knobs (3-pack) | Home Depot | $3.00 |
| E6000 adhesive (small tube) | Craft store | $3.00 |
| Waterproof sticker paper (2 sheets) | Online retailer | $2.00 |
| Matte black craft paint & baking soda | On hand | $2.00 |
For just twenty-two dollars, you get a beautiful, functional storage solution that holds cotton swabs, bath salts, or decorative soaps. They look heavy, expensive, and completely custom.
Styling and Filling Your Apothecary Jars
Once the paint has cured and the labels are secure, the fun part begins. I filled my tallest jar with cotton rounds, the medium one with bath salts, and the smallest one with cotton swabs. Placing them on a small wooden riser or a marble tray on your vanity immediately makes the space feel like a high-end spa.
Because the labels are printed on waterproof sticker paper, you do not have to worry about the steam from your shower ruining the design. Just avoid soaking them in the sink or running them through the dishwasher, and they will look stunning for years to come.
You Might Also Like
- How to Turn an $8 Thrifted Wire Shower Caddy into a $320 Vintage Brass Hanging Bathroom Organizer for $19
- How to Turn a $10 Thrifted Wire Tiered Stand into a $380 Vintage Brass Bathroom Caddy for $24
- How to Turn an $8 Thrifted Wooden Shadow Box into a $360 English Cottage Apothecary Shelf for $22
Frequently Asked Questions
Can I wash these canisters after applying the labels
Yes, if you use waterproof printable vinyl paper, they can handle light hand washing, but avoid soaking them or putting them in the dishwasher.
What kind of glue holds the wooden knobs to the glass lids best
E6000 craft adhesive is your best bet because it cures into a permanent, waterproof bond that won't wiggle loose when you pull the lids open.
How do I get that chalky, aged finish on plastic or metal lids
Mix a tiny pinch of baking soda into matte acrylic paint to create a textured, plaster-like paint that mimics antique stoneware or cast iron.


0 Comments