

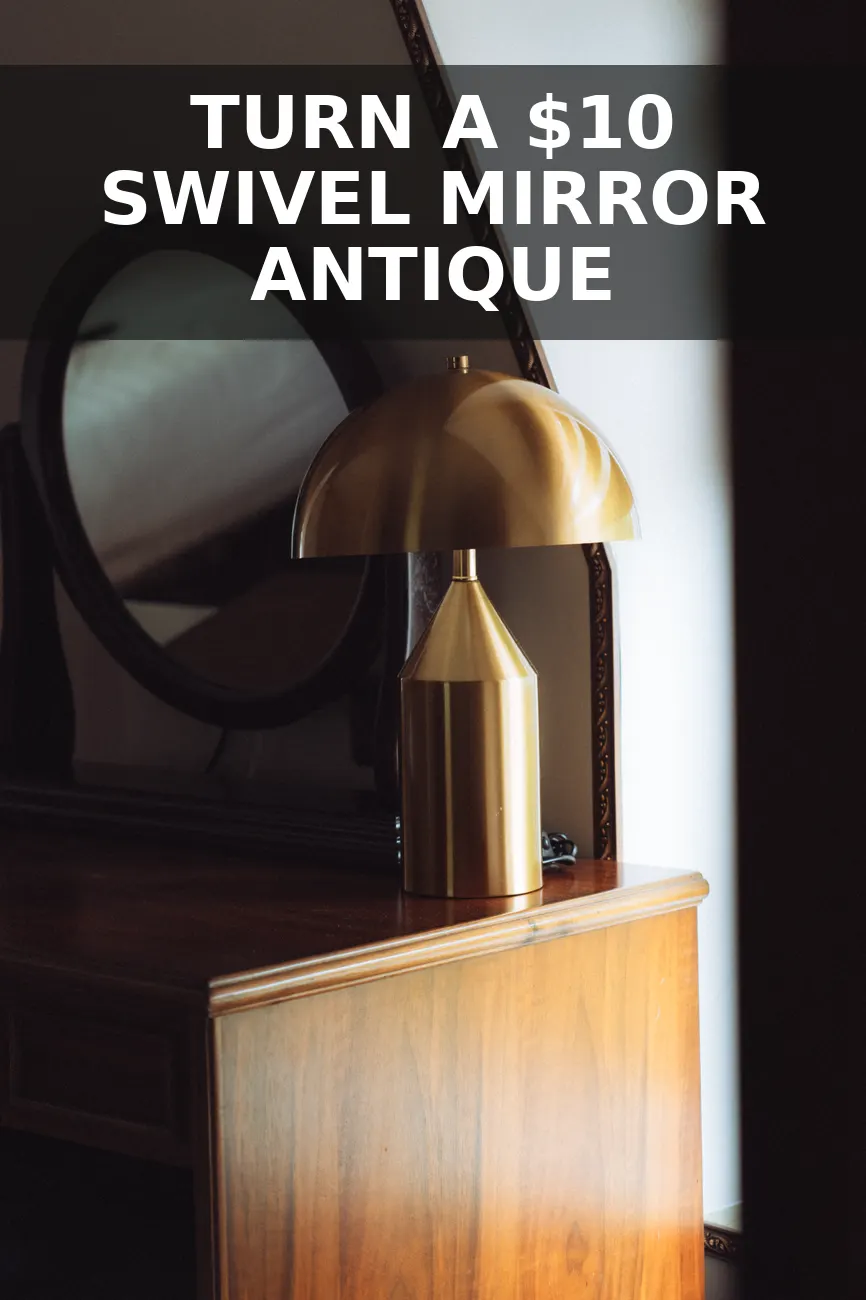
Almost every thrift store in America has at least one chunky 1980s oak swivel mirror tucked between the wicker baskets and dusty photo frames, usually slapped with a ten-dollar price tag. They have that thick orange polyurethane shine, squeaky wooden knobs on the sides, and a silhouette that reminds everyone of their childhood bedroom. But high-end British bedroom brands sell tabletop dressing mirrors with deep aged-wood frames and solid brass pivot hardware for $380 or more. The secret is that the wood underneath that tacky orange gloss is often solid pine or ash, and the bones are already right there.

What to Hunt for in the Thrift Aisles
When you walk the housewares section at Goodwill or Habitat ReStore, skip the plastic laminate versions and look for weight. You want solid timber uprights and a frame that feels substantial in your hands. An arched top or a classic oval frame looks the most traditional, but even a plain softened rectangle works great.
- Check the pivot tension: Make sure the side uprights are not split where the side screws go in, because that is where the mechanical stress sits.
- Inspect the glass: Light silvering loss or cloudy antique spots on the edges actually look fantastic, but look out for deep cracks across the middle that would require cutting new glass.
- Feel the joints: Give the base a quick wiggle. If the foot joints feel a little loose, that is an easy fix with wood glue and clamp pressure later.
The Teardown and Prep Work
Before touching any sandpaper, you need to break the mirror down into its basic parts. This is where most people get lazy and try to paint around everything, which always ends up looking messy.
- Back out the two side adjustment knobs by hand and gently pull the framed mirror out from between the twin side posts. Set the pivot hardware in a small dish so you do not lose any threaded sleeves.
- Flip the mirror face down onto a soft folded towel. Inspect the back board. If it is held in place with small flat screws, remove them and slide the mirror glass out completely. If the back panel is glued or brad-nailed tightly, do not risk cracking the mirror; simply slide thin index cards under the wood lip and tape heavy kraft paper directly over the glass surface.
- Take a 120-grit sanding block to strip off that glossy 1980s factory lacquer from the frame, turned posts, and base plinth. You do not need to sand to bare white wood in every tiny groove, but you must knock off the shiny protective seal so the new stain and wax can penetrate.
- Follow up with a 220-grit foam sanding pad to smooth the grain and soften any sharp factory edges around the plinth base. Wipe the entire surface clean with a damp tack cloth to pull out all fine wood dust.
Deepening the Wood and Adding Antique Patina
To turn cheap honey oak or yellow pine into something that looks like 19th-century English walnut, you want layers rather than a single coat of dark paint. A rich penetrating stain followed by tinted paste wax gives wood that glowing, museum-piece depth you find in historic homes.
Rub a generous coat of dark walnut oil stain into the wood using a scrap of cotton cloth, working it right into the carved grooves on the upright posts. Let it soak for ten minutes, then buff the excess off cleanly with a dry rag. Once that dries for about three hours, work a dark brown antiquing paste wax across the whole piece using fine 0000 steel wool. The steel wool smooths the surface while pushing dark pigment into every crevice, immediately killing any remaining orange undertone.
If you love collected, layered bedrooms, you can display this mirror right beside a vintage English bedside book trough or on top of a vintage English bedside trunk to create a warm bedside dressing corner.
The Hardware Swap That Changes Everything
The biggest giveaway of an eighties reproduction is the pair of rounded wooden side knobs. Swapping those out for brass makes the mirror look like an authentic heirloom from an antique stall.
- Measure the threaded rod on your original side pivots. Most of these thrifted units use standard quarter-inch machine threads.
- Pick up two solid brass knurled thumb screws or brass wing bolts from the specialty hardware drawers at Ace Hardware or Home Depot. If you cannot find raw brass thumb screws, grab standard brass-plated machine bolts and add decorative brass finial caps.
- Add a small black rubber washer between the inner wooden post and the mirror frame on both sides before threading in the brass pins. This rubber washer creates friction, meaning the mirror stays steady at whatever angle you tilt it without slipping downward.
- Glue four small adhesive felt discs under the base feet so the heavy wood will not scuff your dresser top when you reposition it.
Cost Breakdown
Here is the exact spending breakdown for this bedside vanity build. All in, this came out to about $23, which is a tiny fraction of what boutique furniture makers charge for solid wood swivel mirrors.
| Item | Price |
|---|---|
| Thrifted wooden swivel mirror | $10.00 |
| Dark walnut stain & wax (fractional cost) | $4.50 |
| Solid brass knurled thumb hardware | $5.50 |
| Rubber friction washers & felt pads | $3.00 |
The finished piece has the weight, dark wood warmth, and mechanical charm of an original Georgian vanity mirror. It sits proudly on top of a tallboy chest or makeup table, catches the afternoon bedroom light, and costs barely more than a takeout lunch.
You Might Also Like
- How to Turn a $15 Thrifted Suitcase into a $450 Vintage English Bedside Trunk for $29
- How to Turn a $9 Thrifted Book Rack into a $380 Vintage English Bedside Book Trough for $23
- How to Turn a $9 Thrifted Wooden Tie Rack into a $360 Vintage English Bedside Accessory Rail for $22
Frequently Asked Questions
Do I need to take the actual glass out of the frame before sanding
If the back panel unscrews easily, pop the glass out to save time; if it is stapled in, just run painters tape and cardboard tight against the inner rim to protect it.
What size replacement thumb screws work best for the swivel posts
Most vintage wooden swivel mirrors use standard 1/4-inch threaded hardware, so standard solid brass knurled thumb screws or machine bolts with brass washers thread straight in.
How do I fix a mirror that swings too loosely and will not stay tilted
Slip a thin rubber washer between the wooden upright and the brass thumb screw on both sides to give the pivot enough friction to hold any angle.


0 Comments