


I found this sad, orange-toned pine vanity bench at my local Habitat ReStore last weekend for fifteen bucks. It had a dingy, stained cream fabric seat that looked like it had seen much better days, but the frame itself was rock solid. My first instinct was to just grab some leftover fabric and staple a new cushion over it, but then I remembered those gorgeous, high-end French country benches with the hand-woven rush seats that sell for hundreds of dollars at high-end boutiques. I decided to challenge myself, strip the bench down to its bare skeleton, and attempt a traditional woven seat myself using inexpensive paper rush cord.

Why Paper Rush is a Budget Decorator's Best Friend
If you have ever looked into traditional weaving, you might have felt intimidated by materials like split reed, cane, or natural grass. Natural rush has to be soaked in water, can be incredibly temperamental to work with, and is prone to rotting if you do not dry it perfectly. Enter paper rush. It is made of tightly twisted kraft paper, looks exactly like natural grass, is remarkably strong, and you can weave with it dry right out of the package. A two-pound coil of five-thirty-second-inch paper rush cost me just fifteen dollars, and it was more than enough to complete this entire project.
If you have been around here for a while, you know I love a good seating makeover. Last year, I shared how to turn a $14 thrifted piano bench into a $480 entryway bench, which taught me that a solid wood frame is always worth saving. This project uses a very different technique, but the result has that same high-end, timeless character that immediately makes a room feel layered and collected.
Prep Work: Stripping and Refining the Frame
Before you can start weaving, you need to prepare your wooden frame. For a rush seat, you need a bench that has an open rectangular frame with four defined corner posts. If your thrifted bench has a drop-in padded seat, you can simply unscrew it and throw the old padded board away, leaving you with the perfect open frame.
- Remove the old seat: Flip the bench over, back out the wood screws holding the padded seat cushion in place, and set the old pad aside. Keep the screws just in case you need them for future projects.
- Sand the wood: Use a medium-grit sandpaper block to scuff away the old, shiny orange varnish. I used eighty-grit sandpaper first to cut through the thick topcoat, then followed up with one-hundred-and-twenty-grit to make the raw pine buttery smooth.
- Stain or paint: To get that authentic antique French country look, I opted for a rich, dark walnut wood stain. I wiped on one coat with a lint-free rag, let it sit for five minutes, and wiped away the excess. The dark wood contrast looks incredible against the warm, natural tone of the paper rush.
- Apply a topcoat: Seal the stained wood with a quick wipe-on poly or furniture wax to protect the finish from daily wear. Let the frame dry completely for twenty-four hours before you begin the weaving process.
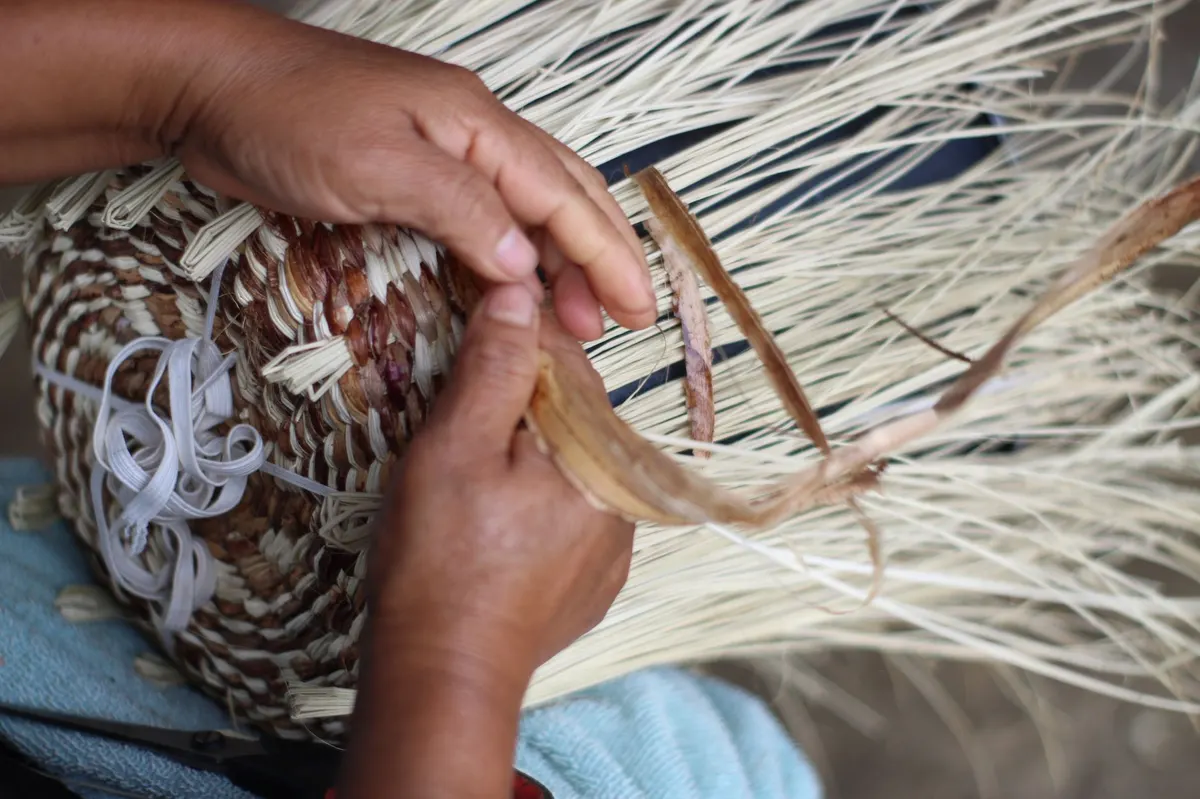
The Step-by-Step Guide to the Classic Envelope Weave
Weaving a rush seat is surprisingly simple once you get the basic pattern down. It is a highly repetitive, therapeutic process that is perfect to do while listening to a podcast. We will be using the classic four-triangle envelope pattern. Keep in mind that you always weave from the outer rails toward the center of the bench.
- Anchor your cord: Start by pulling a long, workable length of paper rush from your coil (about twenty feet is a good starting point so it does not get tangled). Tie the starting end securely to the left rail of the bench, right next to the front-left corner post, using a simple knot on the underside of the rail.
- The corner wrap: Pull your long strand of cord over the front rail, wrap it under, and pull it up through the center of the frame. Next, pull that same strand over the left side rail, wrap it under, and pull it up through the center. You have now completed one corner wrap, forming a small diagonal cross over the corner junction.
- Move to the next corner: Pull your cord straight across the front of the bench to the front-right corner. Go over the front rail, wrap it under, and pull it up through the center. Then, go over the right side rail, wrap it under, and pull it up through the center.
- Continue the perimeter: Pull your cord straight across the right rail to the back-right corner. Wrap over the right rail, under, and up through the center. Then, wrap over the back rail, under, and up through the center.
- Complete the circuit: Pull the cord across the back rail to the back-left corner. Wrap over the back rail, under, and up through the center. Finally, wrap over the left side rail, under, and up through the center. You are now right back where you started, and your first complete round is finished.
Crucial Pro-Tips for a Tight, Professional Weave
As you continue wrapping round after round, always pull the paper rush cord as tight as you can. Use your fingers to slide the wrapped cords tightly together against the wooden corner posts so there are no gaps showing the raw wood underneath. When your twenty-foot strand runs low, simply tie a new strand to the end of the old one using a tight square knot, keeping the knot hidden on the bottom side of the seat.
As you build up your layers, a hollow pocket will naturally form between the top layer of woven rush and the bottom layer. To prevent your seat from sagging when someone sits on it, you must stuff this pocket. Cut long, tapered triangles out of heavy-duty cardboard boxes and slide them into the pockets on all four sides after you have completed about ten rounds of weaving. Keep adding cardboard inserts as your weave grows tighter and closer to the center.

The Budget Breakdown
This project is proof that you do not need to spend hundreds of dollars to bring high-end texture into your bedroom. By utilizing scrap cardboard for the stuffing and using leftover stain, the only real costs were the secondhand bench and the roll of paper rush cord. All in, this gorgeous piece came out to exactly thirty-four dollars.
| Item | Source | Price |
|---|---|---|
| Thrifted Wood Vanity Bench | Habitat ReStore | $15.00 |
| 2 lb Coil of Paper Rush Cord (5/32 inch) | Online Craft Supplier | $15.00 |
| Minwax Wood Stain (Dark Walnut) | Home Depot | $4.00 |
| Cardboard Scraps (for stuffing) | Recycling Bin | Free |
| Sandpaper & Glue | On Hand | Free |
| Total Cost | - | $34.00 |
Styling Your New French Country Bench
Once you finish the weave in the very center, tie off the final tail on the underside of the bench and tuck the end away. I like to seal the finished paper rush with a light coat of clear amber shellac. This not only protects the paper from spills but also deepens the color slightly, giving it that beautiful, aged honey patina that you see on antique furniture.
I placed this beauty at the foot of our bed, and it has completely transformed the entire vibe of the room. It offers the perfect spot to sit and put on shoes in the morning, and the rich, woven texture pairs beautifully with soft linen bedding and cozy textiles. If you have been looking for a weekend project that feels incredibly rewarding and delivers high-end style on a tiny budget, keep your eyes peeled for an old wooden bench the next time you visit your local thrift store!
You Might Also Like
- How to Turn a $10 Thrifted Swivel Mirror into a $380 Vintage English Vanity Mirror for $23
- How to Turn a $15 Thrifted Suitcase into a $450 Vintage English Bedside Trunk for $29
- How to Turn a $9 Thrifted Book Rack into a $380 Vintage English Bedside Book Trough for $23
Frequently Asked Questions
Do I need to soak this paper rush cord in water before I start weaving
No, never soak paper rush because it is made of tightly twisted paper and will fall apart in water. Natural grass rush requires soaking, but paper rush is designed to be used completely dry right out of the box.
How do I join a new piece of cord when I run out during the weave
Simply tie the end of the old cord to the start of the new cord using a tight square knot, ensuring the knot is positioned on the underside of the bench where it will remain completely hidden.
What is the best material to use for stuffing the hollow pockets
Heavy-weight corrugated cardboard cut into long, tapered triangles works best because it provides a firm, flat structure that keeps the top and bottom layers of rush from compressing into each other.


0 Comments