

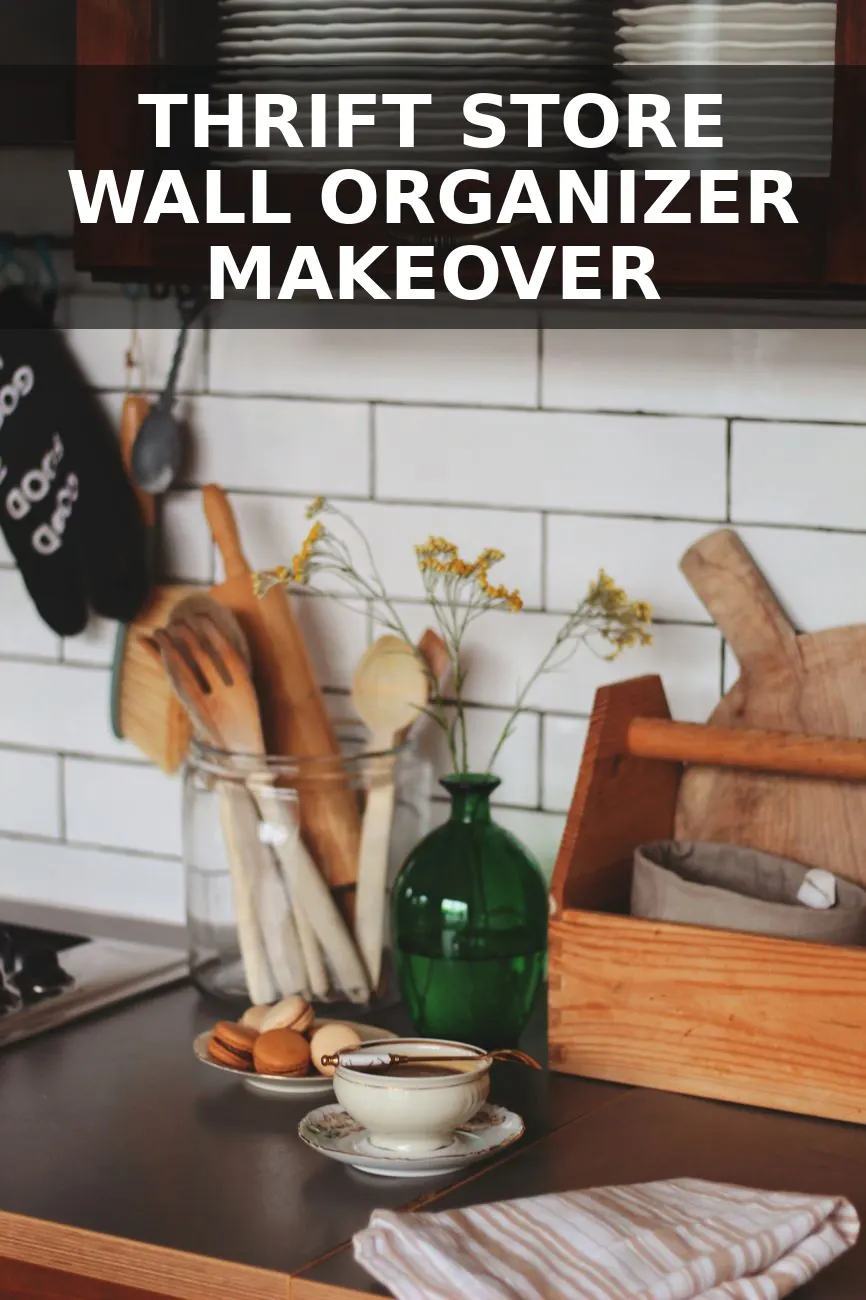
I found a dated, slightly sticky wooden desktop mail sorter at a local thrift store for twelve bucks, and it instantly reminded me of those pricey antique English spice boxes you see in high-end cottage catalogs for over three hundred dollars. With a little bit of paint, some new hardware, and a few minutes of patience, I transformed it into a piece that looks like it belongs in a historic country kitchen.
Finding the Right Piece and Prep Work
When you are hunting for a project like this, look past the bad finish or ugly oak stain. You want a wooden piece that has multiple small compartments, a hinged lid or open front, and solid wood construction rather than flimsy particle board. The one I picked up had three stacked slots and a little drawer at the bottom, which made it the ideal candidate for storing loose tea packets, small spice jars, or coffee pods right on the counter.
First, I gave the entire organizer a thorough wipe-down with warm soapy water and a bit of vinegar to get rid of decades of mystery dust. Once it was completely dry, I took a block of 120-grit sandpaper and lightly scuffed up the shiny polyurethane finish. You do not need to strip it down to bare wood; you just want to create a toothy surface for your primer to grab onto.
Layering on That Aged English Country Look
To get that chalky, centuries-old European farmhouse finish, I skipped regular latex paint entirely. I mixed up a custom batch of warm putty-toned chalk paint using a neutral beige and a tiny drop of raw umber to knock out any pink undertones. If you love this kind of warm, lived-in aesthetic, you might also want to check out how I turned a thrifted wooden shadow box into an apothecary shelf for a similar collected-over-time vibe.
Here is the exact step-by-step process I used to paint and distress the mail sorter:
- Apply a thin, even coat of water-based primer to seal the wood and prevent any old tannins from bleeding through the light paint. Let it dry for about thirty minutes.
- Brush on your first coat of custom chalk paint, making sure to get into all the tight corners of the individual sorting slots. Do not worry about brush marks yet.
- Let it dry for an hour, then apply a second coat for full coverage.
- Take a piece of fine-grit sandpaper and gently rub along the edges, corners, and areas where natural hands would touch it over the years to reveal a bit of the dark wood underneath.
- Seal the entire piece with a clear matte furniture wax to protect the finish from kitchen splashes and give it a soft, velvety feel.
Swapping the Hardware and Budget Breakdown
The original piece had generic brass hinges and no pulls on the tiny drawer, which completely gave away its modern office-supply origins. I raided my stash of hardware and added a small unlacquered brass bin pull to the drawer and swapped the standard hinges for antique-style brass ones with visible screws. If you want to expand your kitchen organization further, pairing this with a vintage French plate rack on the adjacent wall ties the whole cooking space together beautifully.
| Item | Price |
|---|---|
| Thrifted Wooden Mail Sorter | $12.00 |
| Chalk Paint (Sample Pot) | $5.00 |
| Brass Drawer Pull & Screws | $4.00 |
| Sandpaper & Wax (Assorted) | On hand |
All in, this came out to about $21 and completely changes the vibe of my coffee and tea station. It holds all my daily essentials while looking like a prized flea market find from the English countryside.
You Might Also Like
- How to Turn a $12 Thrifted Plate Stand into a $350 Vintage French Plate Rack for $23
- How to Turn a $12 Thrifted Bread Basket into a $380 French Country Willow Wall Pocket
- How to Turn an $8 Thrifted Wire Dish Rack into a $340 Vintage Brass Plate Cradle for $22
Frequently Asked Questions
Can I use standard acrylic craft paint instead of chalk paint?
Yes, but chalk paint gives you that flat, matte vintage texture without showing brush strokes.
Do I have to sand down the original glossy finish first?
A quick pass with fine-grit sandpaper is enough to rough up any shiny varnish so your primer and paint actually stick.
How do I make the brass hardware look genuinely old instead of shiny?
Rub a tiny bit of dark antique wax or even brown shoe polish into the crevices and wipe the excess away with a cloth.


0 Comments