

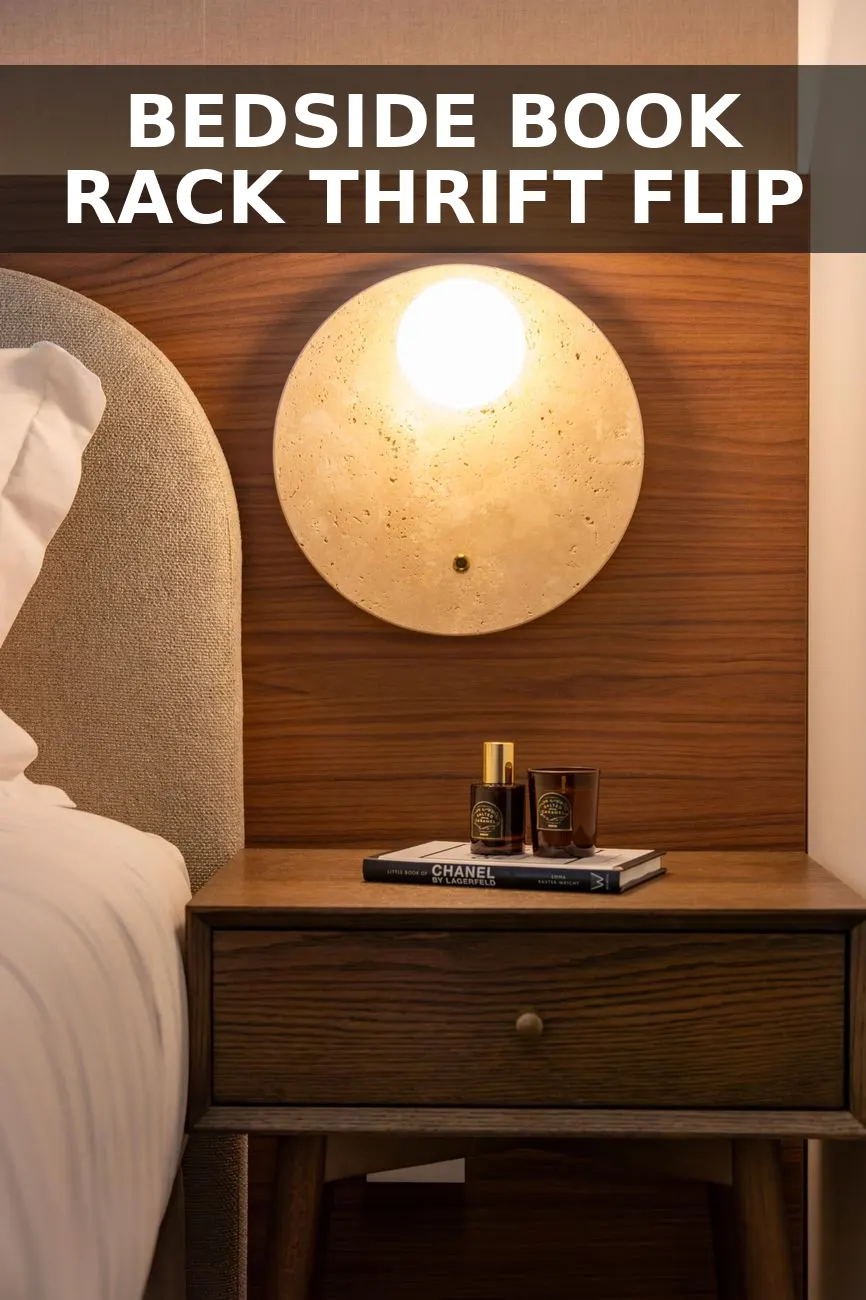
If your bedside table currently looks like an unruly stack of paperbacks waiting to topple over onto your slippers, this one is for you. I spotted an awkward, honey-oak desktop book rack at the thrift store last Tuesday for nine dollars, and I immediately saw the classic English library book trough hiding underneath all that orange 1990s polyurethane.
Antique wooden book troughs—those angled desktop cradles that hold five to eight current reads spine-up with sculpted side finials—routinely fetch $300 to $400 in heritage antique shops. They add instant warmth to a nightstand, styling books in a way that feels intentional rather than cluttered. With a little sanding, a deep walnut gel stain, and tiny brass bracket accents, this quick bedroom DIY gives you that exact high-end heirloom feel before bedtime.

What to Look For at the Thrift Store
You will almost always find these desktop organizers lingering in the office or wooden housewares aisle. Keep an eye out for simple wooden racks with an angled base or two slanted panels joined in a V-groove. Solid pine, oak, or maple works best because we want to sand back down to real wood grain. Avoid hollow MDF or laminate wrapped in vinyl print, since stain will not absorb into synthetic coatings.
If the piece has dated heart cutouts or 1980s country stencils on the end caps, do not let that scare you off. A sharp wood chisel, sandpaper, or even a quick pass with wood filler will flatten or re-shape those end profiles into clean, classic silhouette brackets in about ten minutes.
Budget Breakdown
Here is what I spent on materials to transform this thrift find into a rich bedside centerpiece. I already had sandpaper and rags in my garage, so my out-of-pocket costs stayed tiny.
| Item | Source | Price |
|---|---|---|
| Thrifted desktop book rack | Thrift Store | $9.00 |
| Minwax Gel Stain (Coffee/Walnut, small can) | Home Depot | $7.50 |
| Antiqued mini brass corner brackets (pack of 4) | Hardware Store / Online | $4.00 |
| Clear paste finishing wax | Hardware Store | $2.50 |
All in, this came out to about $23. Considering authentic vintage counterparts on antique trade sites run close to $380, the savings are incredible for an afternoon craft.
Step-by-Step Instructions
- Disassemble or tighten joints. Check the structure. If the side panels are held by loose screws, back them out, add a dab of wood glue along the dowels or seams, and tighten them back down. A sturdy base prevents any creaking when you load heavy hardcovers into it.
- Strip the dated factory finish. Take 120-grit sandpaper and work over every surface to strip away the thick, glossy yellow topcoat. Follow up with 220-grit sandpaper along the grain until the raw wood feels smooth and velvety to the touch. Pay extra attention to inside corners where old varnish builds up.
- Soft-sand the sharp edges. Brand new pine pieces often have harsh 90-degree machine edges. Run your 220-grit paper firmly over every exterior rim and corner. Softening those edges gives the piece subtle authentic wear, making it look like a hundred-year-old library heirloom rather than a modern reproduction.
- Apply the rich walnut stain. Using a lint-free cotton rag, wipe on a generous coat of dark walnut gel stain. Gel stain works wonders on thrifted wood because it provides rich, even coverage without blotchiness. Let the stain sit for three to five minutes, then firmly wipe away the excess along the wood grain. Let it dry completely for four hours.
- Add the vintage brass details. To mimic antique joinery, pre-drill tiny pilot holes at the outer bottom corners of the side panels. Screw in miniature aged brass corner brackets. This small hardware detail takes the piece from simple woodshop project to bespoke heritage furniture. It pairs especially well if you have a vintage English valet stand or brass sconces nearby.
- Buff with paste wax. Rub a thin layer of furniture paste wax across the entire piece using a clean rag. Let it haze for ten minutes, then buff briskly with a microfiber towel until you get a soft, hand-rubbed satin glow. The wax seals the wood against bedtime water ring spills and feels incredible under your fingers.
Styling Your Bedside Trough
- Mix book heights: Slot in four to six favorite bedtime books, alternating between canvas cloth-bound hardcovers and worn paperbacks for texture.
- Add bookmark ribbons: Tuck an antique brass bookmark or satin ribbon marker into one of the front volumes to let it spill gently over the front lip.
- Bedside vignette: Place the finished trough against your bedroom wall next to a warm pleated table lamp and a small ceramic dish for rings. If you love timeless study accessories, it also looks right at home next to a vintage index box or a pair of aged plaster bookends.
It sits on my nightstand now holding my current novel, a poetry collection, and a small notebook for midnight ideas. It took less than two active hours, cost practically nothing, and solved my messy nightstand stack once and for all.
You Might Also Like
- How to Turn a $9 Thrifted Wooden Tie Rack into a $360 Vintage English Bedside Accessory Rail for $22
- How to Turn an $11 Thrifted Valet Stand into a $440 Vintage English Bedside Valet for $26
- How to Turn a $10 Thrifted Quilt Rack into a $440 English Blanket Stand for $24
Frequently Asked Questions
Can I do this if my thrifted rack has varnished pine
Yes, just sand down the factory lacquer with 120-grit sandpaper first so your dark gel stain can absorb evenly into the raw grain.
What if the book trough wobbles slightly on the nightstand
Stick four small felt pads or clear rubber bumpers to the bottom corners to protect your tabletop and eliminate any rocking.
How do I get the wax finish to feel silky rather than sticky
Apply a very thin coat of paste wax with a rag, wait ten minutes for it to haze, and buff vigorously with clean cotton cloth.


0 Comments