

Most standard entryway benches are too deep for a normal hallway. They stick out into the walking path, swallow up floor space, and end up being little more than a drop zone for random junk. That is why I always check the back wall of my local thrift store for old wooden piano benches. They sit right around 14 inches deep, feature built-in hidden storage under the lid, and usually sell for under fifteen bucks because everyone assumes they only belong next to an upright piano.
Last Tuesday, I spotted a heavy pine piano bench with square tapered legs and a lift-up top for just $14. It had that shiny, amber-toned 1980s poly finish and several water rings across the top, but the joinery was rock solid. With a quart of satin paint, some scrap foam, and washed linen fabric, I turned it into a tailored storage bench that looks straight out of an English country mudroom.

Why Piano Benches Solve the Narrow Hallway Dilemma
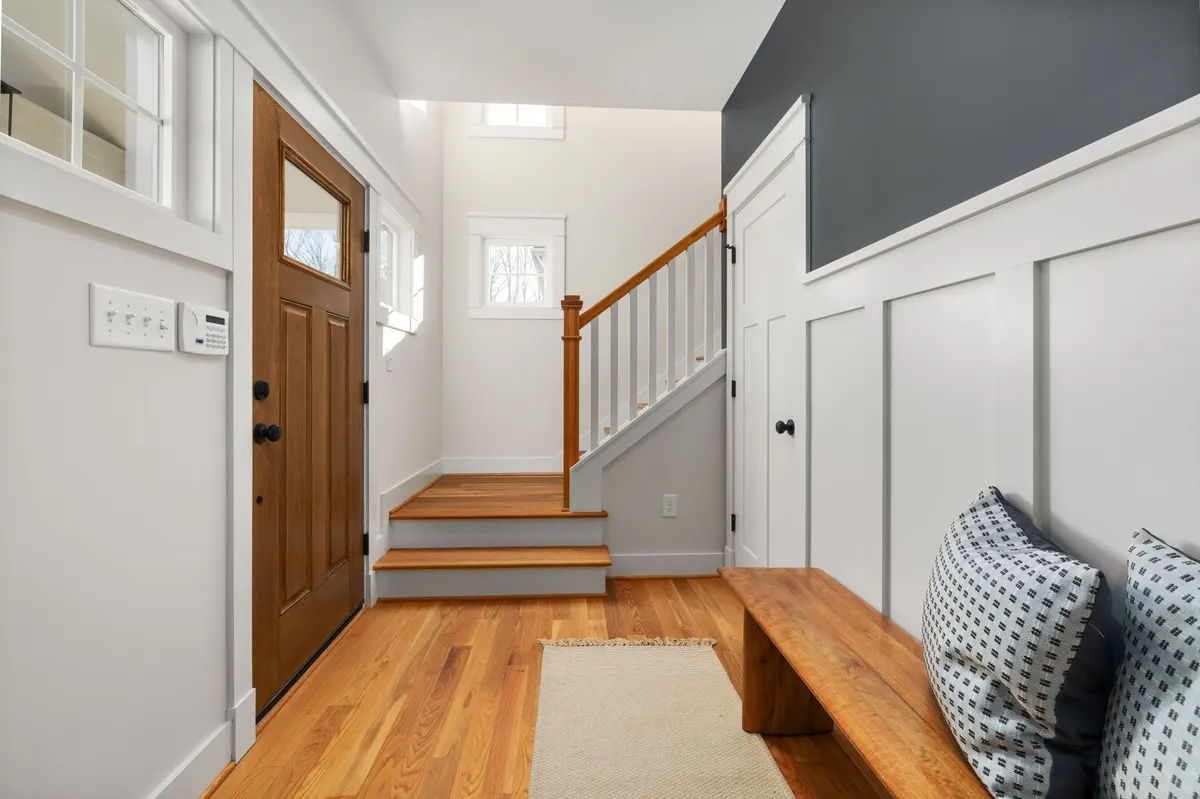
If your front door opens directly into a tight corridor, finding furniture that works is brutal. Standard department store benches are typically 18 to 22 inches deep. That four-to-six-inch difference does not sound massive on paper, but in a narrow entryway, it is the difference between a cramped obstacle course and a relaxed, welcoming walk-in space.
- Slim footprint: At 13 to 14 inches deep and roughly 28 to 30 inches wide, a piano bench hugs the wall closely without blocking door swings.
- Concealed depth: The interior compartment is about 2.5 inches deep, which is plenty of space for dog leashes, mail, sunglasses, and cold-weather knit hats.
- Sturdy construction: Unlike cheap particleboard flat-pack benches, older piano benches were built from solid hardwoods or dense pine to support daily adult sitting weight.
Pairing a piece like this next to an English country Wellington boot stand gives you practical seating and shoe control without crowding your front door.
Prepping and Taming the High-Gloss Finish
The biggest hurdle with thrifted wooden furniture from the late twentieth century is that thick, glossy polyurethane clear coat. Paint cannot get a mechanical grip on smooth lacquer, and if you skip the prep work, your paint will scrape off the first time someone kicks the front leg with their winter boots.
- Unscrew the hardware: Open the top and remove the brass hinges and the lid stay bracket. Place the tiny screws into a cup so they do not go missing while you work.
- Scuff sand the surfaces: Grab a sanding sponge or a sheet of 120-grit sandpaper and rub down every square inch of the legs, apron, and lid. You do not need to strip down to bare lumber; you only need to knock off the shine until the surface looks dusty and chalky.
- Wipe clean: Vacuum the sawdust thoroughly, then wipe the entire bench down with a rag dampened with isopropyl alcohol or mineral spirits to lift away dirt and skin oils.
- Apply bonding primer: Roll on a thin, even coat of water-based bonding primer using a high-density foam roller. This seals in old tannins and gives the topcoat an adhesive layer that will not peel.
Choosing the Right Color and Hand-Rubbed Sheen
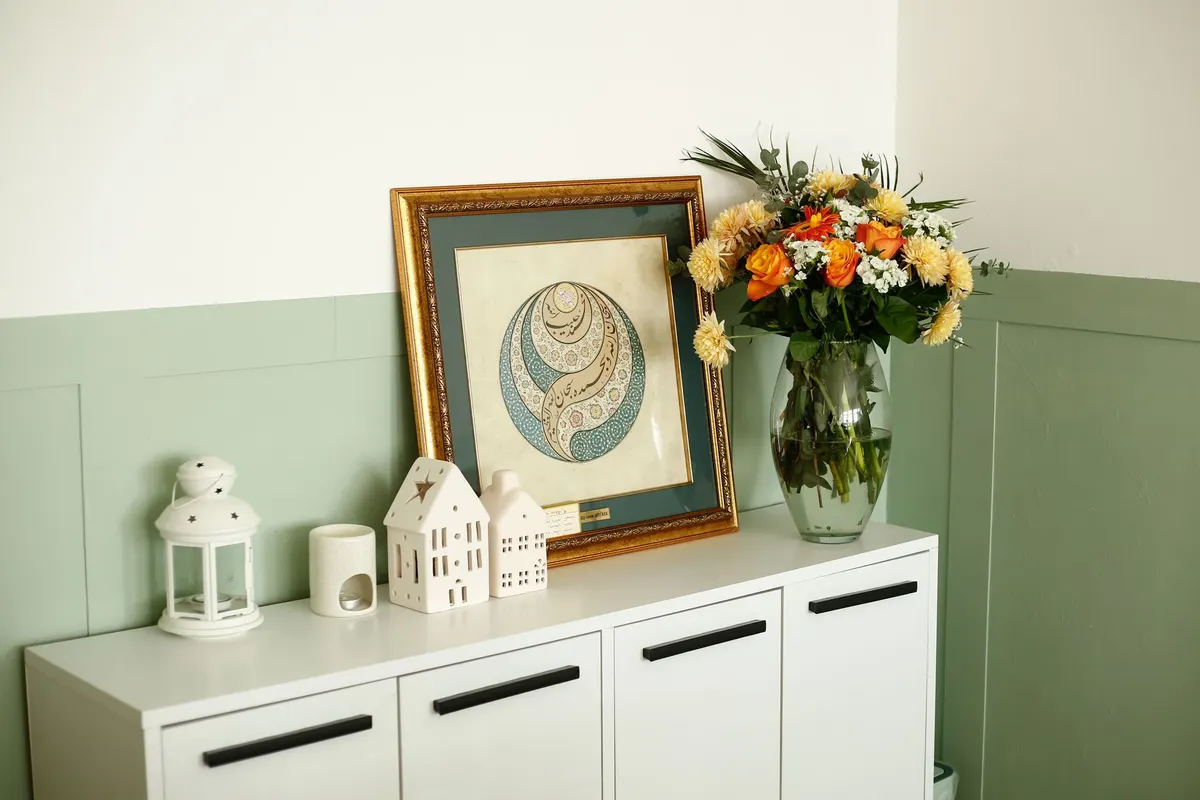
To ditch the dated look completely, skip high-gloss finishes and pick a historic, grounded paint color. Muddy drab greens, deep French navies, or an earthy lamp black immediately give old wood character. I picked up an 8-ounce sample pot of an earthy, muted olive drab in a satin sheen for $4.50 at Home Depot.
Apply two light coats using a synthetic angled sash brush for the corners and a small four-inch foam roller across the flat panels. Satin is ideal here because it offers enough durability to wipe clean without looking like shiny plastic. Once the second coat dried for four hours, I worked a thin layer of clear furniture paste wax into the paint with a lint-free cotton cloth. Buffing the wax after twenty minutes leaves a rich, hand-rubbed luster that mimics antique waxed timber.
Building the Tailored Linen Tie-On Cushion
While you could staple batting directly across the lid, a separate boxed cushion with fabric ties feels more bespoke and allows you to wash the cover down the road. It also prevents thick fabric layers from bunching inside the hinge recess.
- Cut the foam core: Measure the top lid dimensions. I cut a remnant piece of 2-inch high-density upholstery foam to the exact measurement using an electric carving knife, which cuts clean, straight edges through foam like warm butter.
- Wrap with batting: Wrap a single layer of polyester quilt batting around the foam block, securing the seam with spray adhesive. This softens the angular edges and gives the cushion a plump crown.
- Sew the linen cover: Cut two rectangular pieces of oatmeal-colored washed linen blend fabric, leaving a 1/2-inch seam allowance on all sides, plus four long side strips for the boxing.
- Add ribbon ties: Stitch four 10-inch lengths of 1-inch cotton twill tape into the back corners of the cushion cover seams.
- Assemble: Insert the wrapped foam into the cover and slip-stitch the back seam shut with an invisible hand stitch using heavy-duty upholstery thread.
Tie the twill ribbons loosely under the open lid, then reattach the hinges. The lid opens and closes without any resistance, keeping your daily entryway clutter hidden while looking clean and collected beneath a vintage brass entryway wall pocket.
The Budget Breakdown
High-end entryway storage benches from heritage catalogs easily run between $400 and $550 once you factor in custom linen cushions and shipping fees. Sourcing the base piece secondhand and building the cushion yourself saves a small fortune.
| Item | Source | Cost |
|---|---|---|
| Vintage pine piano bench | Local Thrift Store | $14.00 |
| 2-inch high-density foam remnant | Fabric Store Clearance Bin | $7.50 |
| 1 yard washed linen blend fabric | Discount Fabric Outlet | $5.00 |
| Sample pot satin interior paint | Home Depot | $4.50 |
All in, this came out to about $31 for a solid wood, custom-fitted storage bench. It took roughly three hours of actual hands-on work across an afternoon, and it completely transformed an awkward, narrow wall that had sat empty for months.
You Might Also Like
- How to Turn a $12 Thrifted Boot Rack into a $380 English Country Wellington Boot Stand for $23
- How to Turn a $10 Thrifted Wire Mail Caddy into a $380 Vintage Brass Entryway Wall Pocket for $23
- How to Turn a $10 Thrifted Wooden Shutter into a $380 Vintage English Entryway Mail Holder for $23
Frequently Asked Questions
Can I upholstery-wrap the lid instead of making a loose cushion
You can staple batting and fabric directly under the wooden lid, but make sure the fabric edges do not jam the hinge when closing.
Do I need to strip the original lacquer completely down to bare wood
No, a thorough scuff-sand with 120-grit sandpaper followed by a gripping bonding primer gives you an indestructible base without harsh chemicals.
How do you keep the tie-on cushion from sliding around
Cut a strip of non-slip rubber rug underlay the exact size of the wooden lid and place it under the cushion before securing the ties.


0 Comments