

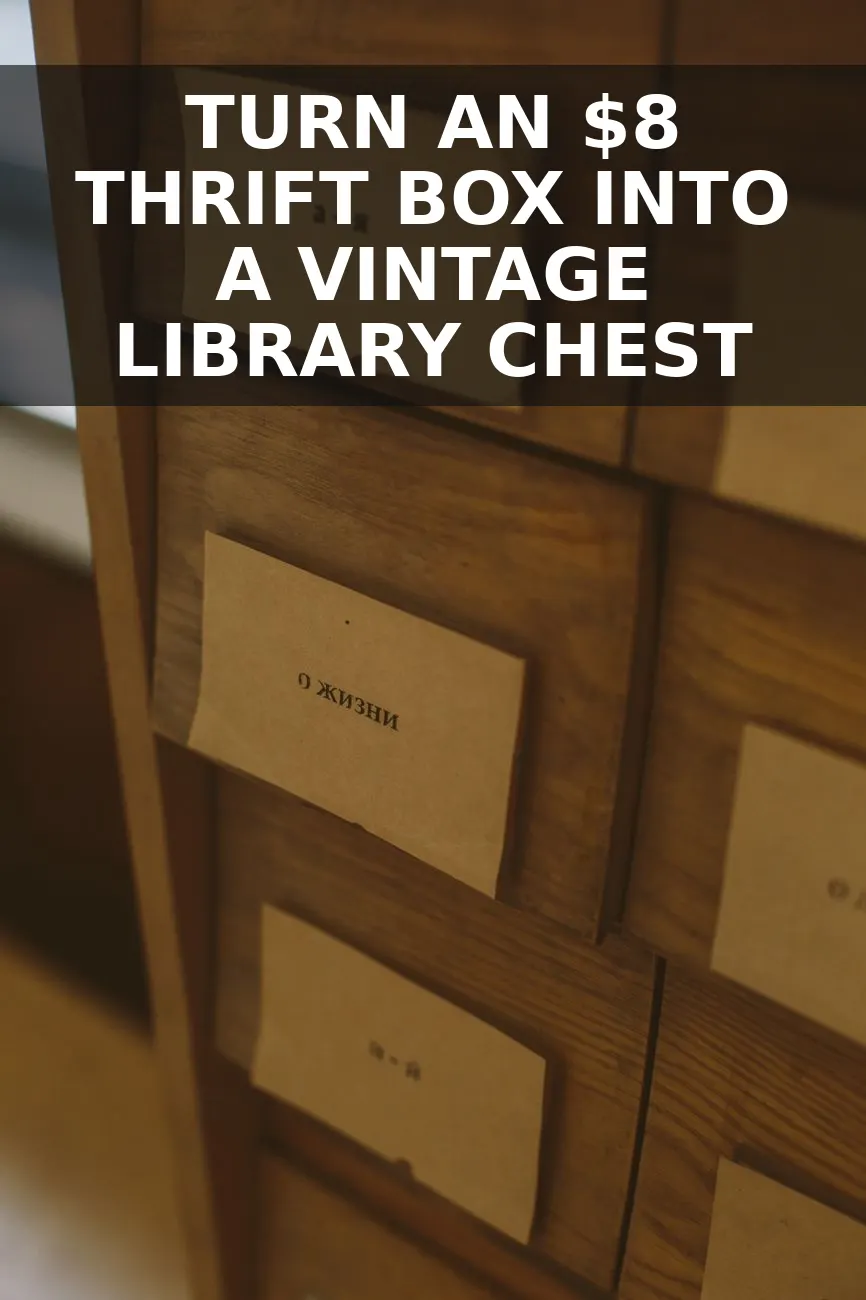
I spotted this heavy, orange-varnished recipe box sitting on the bottom shelf of Goodwill for eight dollars, coated in decades of dust and yellowed finish. Most people walked right past it, but I immediately pictured those heavy dark-oak library card index boxes you see sitting on antique mahogany desks that go for upwards of $380 online. With about an hour of work, a rich walnut stain, and two vintage-style brass label frame pulls, it turned into one of my absolute favorite tabletop pieces.
Finding the Right Box at the Thrift Store
The key to making this flip look authentic comes down to the shape and material of the box you pick up. Look for solid wood card files, recipe boxes, or small wooden storage boxes with flat front faces. Avoid anything made of light plywood with exposed raw edges unless you plan to trim or paint it. The box I picked had strong box-joint corners and a sturdy hinged top lid, which gave it that heavy, substantial weight you expect from old office goods.
If you enjoy repurposing vintage wood pieces around the house, this quick afternoon project uses very similar techniques to how I transformed a thrifted silverware box into an English jewelry chest for under twenty-five dollars. You want clean lines, good wood bones, and hardware potential.
Materials and Budget Breakdown
You do not need a shop full of tools to get this done. Everything I used came from my existing workshop supplies or a quick Amazon order for the brass label pulls. Here is exactly what went into the total cost for this build.
| Item | Price |
|---|---|
| Thrifted Wooden Recipe / Card Box | $8.00 |
| Minwax Dark Walnut Gel Stain (Sample size/leftover) | $4.50 |
| Antique Brass Metal Card Holder Pulls (2 used from 10-pack) | $5.50 |
| 120-Grit and 220-Grit Sandpaper Sheets | $2.00 |
| Clear Satin Spray Polyurethane Finish | $3.00 |
All in, this came out to about $23. Considering reproduction library index boxes sell for anywhere from $250 to $400 at high-end decor retailers, spending twenty-three bucks and an hour of hand sanding felt like a huge win.
Step 1: Strip the Old Varnish and Sand Smooth
Start by removing all existing hardware. Unbolt the back hinges, take off any front latches, and store those screws in a small cup so you do not lose them. Mine had a tiny brass catch on the front that looked cheap, so I popped it off completely with a flathead screwdriver.
- Wipe down the entire box with a damp microfiber cloth to remove grease, fingerprints, and thrift store grime.
- Take 120-grit sandpaper and work along the wood grain to break through the slick factory clear coat. Focus on corners and edges where old glossy varnish tends to pool thick.
- Switch to 220-grit sandpaper to smooth out any deep scratches and create a silky surface that will absorb stain evenly.
- Wipe away every speck of sanding dust using a tack cloth or a rag lightly dampened with mineral spirits.
I was initially worried the old glue lines on the box joints would resist the new stain, but a thorough pass with 220-grit paper opened up the wood grain enough to let the deep stain soak right through.
Step 2: Apply the Dark Walnut Finish
Standard liquid stain can sometimes puddle or blotch on older woods, which is why I love gel stain for projects like this. Gel stain sits slightly on top of the grain while soaking in, giving you a rich, uniform color that hides mismatched wood panels.
Dip a soft cotton rag into the stain and rub it smoothly over every surface, working in small sections. Let the stain sit on the wood for roughly three to five minutes before taking a clean rag and wiping away all excess. Don't forget to stain the top inside lip of the box so it looks seamless when opened. Let the box dry completely overnight in a warm, dry room.
Once the stain feels bone dry to the touch, spray two light coats of clear satin polyurethane, waiting 30 minutes between coats. A satin finish gives you that soft hand-rubbed sheen seen on authentic 19th-century antiques without looking like plastic laminate.
Step 3: Add Vintage Brass Label Holders
The hardware is what brings this entire piece together. Antique library index boxes always feature metal card slot pulls on the front face where label cards were once inserted to organize files.
- Measure the front face of your box carefully to find the exact horizontal and vertical center points. Mark the screw holes with a sharp pencil.
- Use a small hand awl or push pin to make a slight starter indent at your screw marks. This prevents the small brass screws from walking across the stained wood when you start driving them in.
- Screw the antique brass card holder pulls into place by hand using a tiny jeweler screw driver so you do not strip the soft metal screws.
- Cut a small piece of cream cardstock to fit inside the label slot, and write a word or date in dark brown ink to give it that authentic card-catalog aesthetic.
Reattach the back lid hinges, and your project is completely finished.
Styling Your Finished Library Box
This little chest fits in almost anywhere you need a touch of warm, grounded wood tone. I currently have mine sitting on my home office desk housing index cards, loose notes, and extra stamps, but it looks equally good on a coffee table or a bookshelf next to vintage hardcovers.
If you have an empty spot on a side table or mantel, try pairing it with other warm wood and plaster pieces. It sits beautifully alongside projects like aged plaster arch bookends or next to a small brass lamp. It adds that cozy, collected English study feel to a room instantly, without taking up more than a few inches of desk real estate.
You Might Also Like
- How to Turn $8 Thrifted Wooden Bookends into $340 Aged Plaster Arch Bookends for $21
- How to Turn a $12 Thrifted Fireplace Screen into a $450 French Country Garden Trellis for $25
- How to Turn a $9 Thrifted Accordion Sewing Box into a $420 Vintage English Side Caddy for $25
Frequently Asked Questions
Can I use regular paint instead of stain if my thrifted box is made of pine or MDF
Yes, if the box has a heavy veneer or soft pine with uneven grain, a satin black or deep charcoal paint looks just as authentic as dark wood stain.
Where can I find cheap antique brass label frame pulls
Search Amazon or Etsy for vintage card holder drawer pulls or apothecary label pulls — a pack of 6 usually runs under six dollars.
Do I need to drill pilot holes for the small hardware screws
Always pre-drill with a tiny bit or poke a starter hole with an awl, because small decorative screws strip or snap easily in hard wood.


0 Comments