


Almost every thrift store in America has a lonely wooden men's valet stand parked in the back corner behind the mismatched headboards, usually priced around ten bucks and coated in that unmistakable 1970s glossy orange shellac. Designers sell reproduction English bedroom valets for upwards of $400, but with a bit of sandpaper, a rich historic paint color, and fifteen minutes of minor hardware tweaks, you can make that forgotten thrift store rack look like something plucked right out of a boutique Cotswolds guest room.
Why Bedside Valets Beat the Dreaded Bedroom Chair
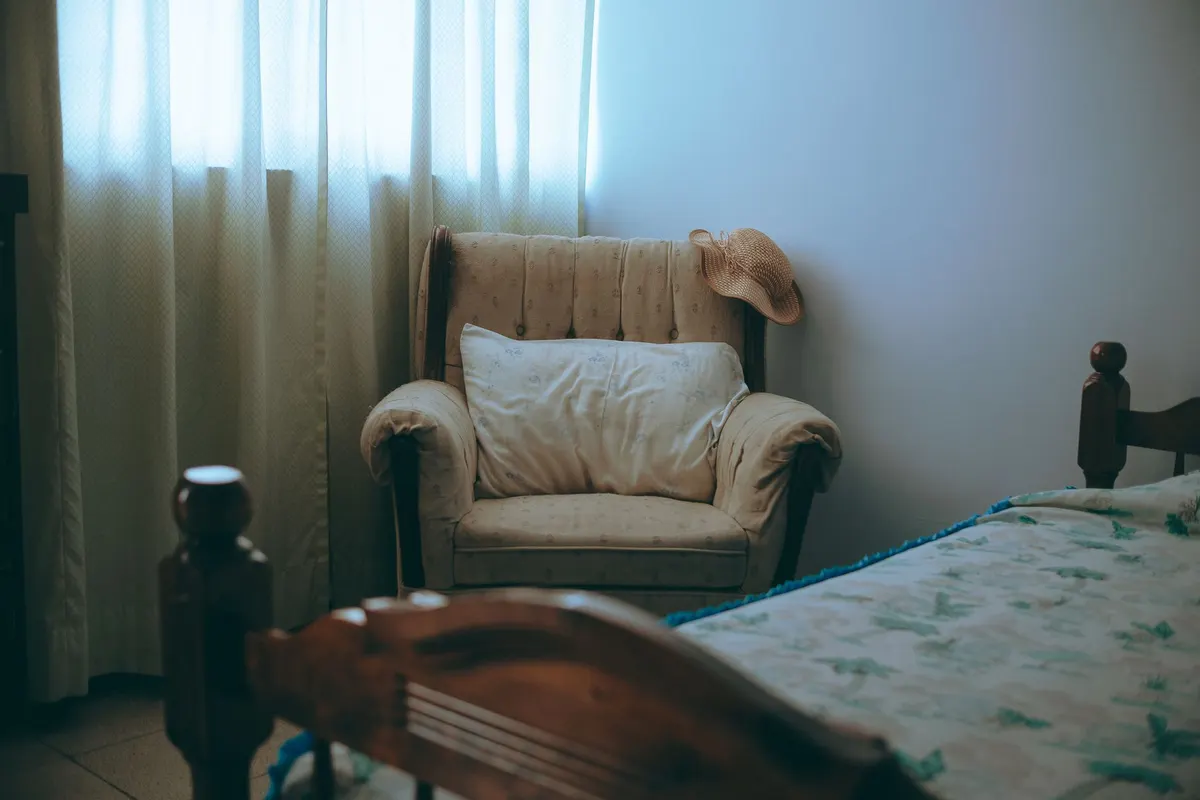
We all know the chair. The accent chair sitting in the corner of the bedroom that never actually gets sat on because it spends six days a week buried under yesterday's sweater, a pair of jeans, and three cardigans you tried on before leaving for work. It turns a tidy room into visual chaos before the week is halfway through.
A dedicated valet stand solves that problem without eating up footprint. It gives your morning clothes, robe, watch, and house slippers a deliberate resting place. Much like turning a thrifted quilt rack into an English blanket stand or using a thrifted accordion rack for bedside wall hanging, adding standalone wood details gives a bedroom character that matching store-bought furniture sets never quite pull off.
What to Look for at the Thrift Store
Vintage valet stands were staples of mid-century bedrooms, which means millions of them were made between 1955 and 1985. You will spot them at Goodwill, Salvation Army, estate sales, and Marketplace constantly. When you are scouting one out, keep these details in mind:
- Check the joints: Give the upright posts a firm wiggle. Loose joints are easy to fix with a little wood glue and a tightened screw, but make sure the wood itself is not cracked down the grain.
- Look for an accessory tray: The best models have a carved wooden catchall bowl or a built-in brass coin dish right below the jacket hanger. That little tray is pure gold for tossing your everyday watch, rings, and pocket change at night.
- Avoid cheap tubular metal: Look for solid turned wood spindles and uprights. The thin gold-tone wire models from the eighties feel flimsy and do not hold up the same way classic wood does.

The Step-by-Step Makeover
- Disassemble and tighten: Grab a screwdriver and take off the top contour hanger, the accessory dish, and the shoe bar at the bottom. Clean out decades of dust from the screw channels. If any dowels feel loose, apply a dab of wood glue into the sockets, push them tight, and let them dry flat for an hour before doing anything else.
- Scuff sand the finish: You do not need to chemically strip every milligram of old lacquer down to raw lumber. Take a sheet of 120-grit sandpaper and spend ten minutes thoroughly scuffing every curved edge, spindle, and flat surface. Wipe down the entire frame with a damp microfiber cloth to remove sanding grit.
- Prime with bonding primer: Those old factory finishes are slick. Slapping regular latex paint directly onto them leads to peeling down the road. Roll or brush one thin, even coat of shellac-based or waterborne bonding primer over the entire stand. Let it dry for 45 minutes.
- Apply two coats of satin enamel: Skip standard flat wall paint here because daily clothes sliding across the hanger need durability. Use a satin urethane enamel or chalk-mineral paint sealed with clear wax. Rich, muddy heritage tones work best: think English field green, warm taupe-gray, or deep chimney black. Apply thin coats with a soft synthetic brush to minimize brush marks.
- Upgrade the catchall tray: If your valet came with a removable coin dish, clean up any tarnished metal using a brass polish or a dab of antique gold wax. Cut a tiny scrap of remnant velvet or washed linen and tuck it into the bottom of the tray. It softens the landing when you drop your rings or cufflinks in at bedtime, similar to the lined compartments on an English jewelry chest.
- Reassemble and protect: Screw the pieces back together tightly. Stick small self-adhesive felt pads underneath each foot so the stand glides quietly on hardwood or tile without scratching.
The Budget Breakdown
Here is what the receipt looked like for this weekend bedroom project:
| Item | Price |
|---|---|
| Thrifted wooden valet stand | $11.00 |
| 120-grit sandpaper sheet | $1.50 |
| Bonding primer (portion of quart on hand) | $2.50 |
| Sample pot of satin urethane paint | $6.50 |
| Linen scrap & felt floor pads | $2.00 |
| Antique wax finish dab | $2.50 |
All in, this came out to about $26. Considering catalog retailers charge hundreds of dollars for turned-wood wardrobe valets, spending under thirty bucks and two hours of hands-on time makes this one of the most rewarding small bedroom upgrades you can knock out on a quiet Sunday afternoon.
You Might Also Like
- How to Turn a $10 Thrifted Quilt Rack into a $440 English Blanket Stand for $24
- How to Turn a $9 Thrifted Wooden Key Cabinet into a $360 Vintage English Medicine Cabinet for $23
- How to Turn an $11 Thrifted Metal Plant Stand into a $420 Aged Stone Martini Table for $25
Frequently Asked Questions
Do I have to strip all the old lacquer completely to bare wood
No, you just need to scuff-sand the slick factory sheen with 120-grit paper so your bonding primer can bite into the surface.
Can this hold heavy winter coats without tipping over
Most vintage valets have weighted or wide splayed bases, but stick to daily outfits, tailored shirts, trousers, and robes rather than heavy overcoats.
What kind of paint holds up best to hangers sliding across the bar
A water-based urethane alkyd satin enamel cures much harder than basic latex wall paint and prevents the wooden coat hanger from chipping over time.


0 Comments