

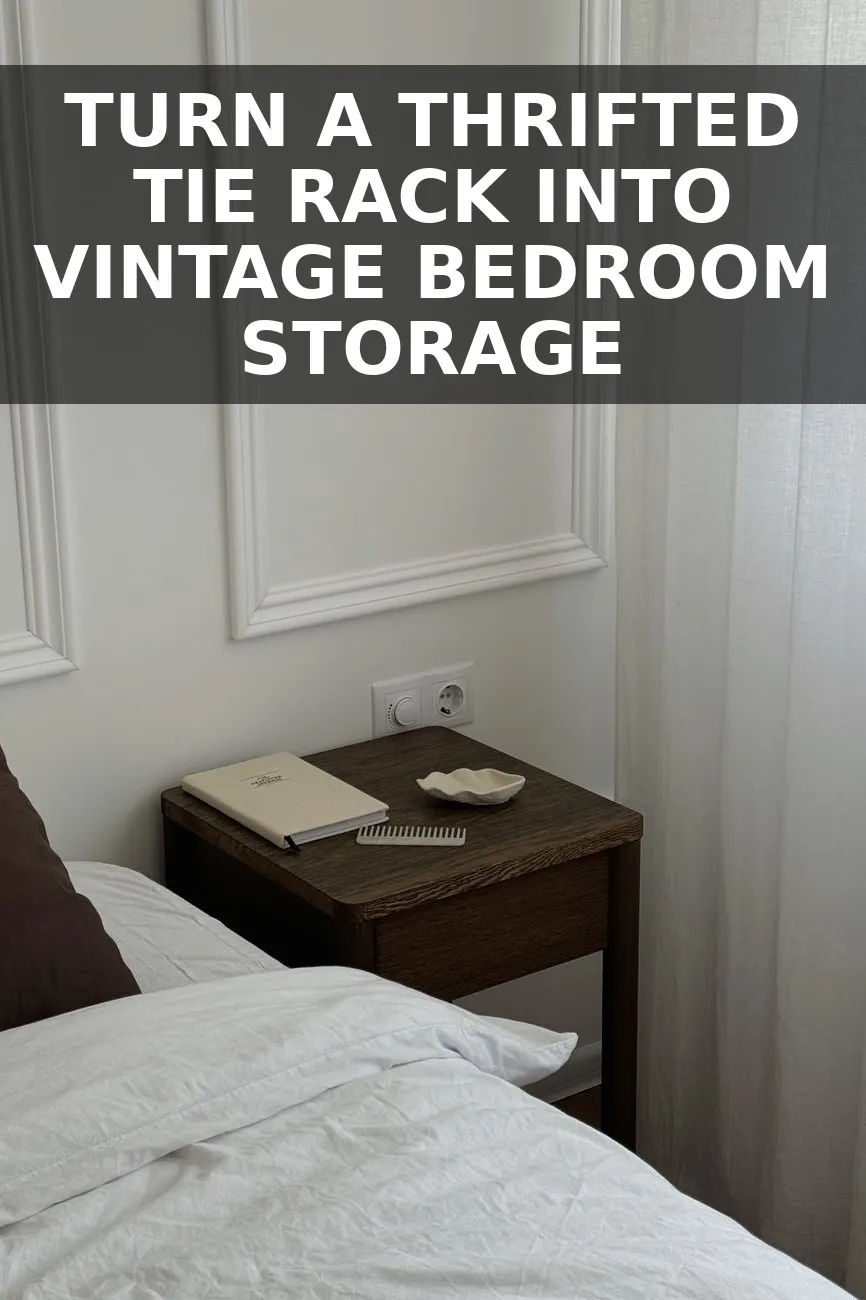
I picked up a chunky, dark-varnished 1980s tie rack at Goodwill for nine dollars, mostly because the underlying wood block had really substantial carved bevels hidden under a rubbery factory clear coat. High-end British bedroom outfitters sell aged oak and unlacquered brass hanging rails for well over $350, designed to keep delicate silk scarves, leather watch straps, and everyday jewelry organized right beside a nightstand. With a quick sand, a coat of rich dark stain, and a swap out of the cheap gold wire pegs for solid brass hardware, that dusty thrift shop organizing rack turned into a bedroom piece that looks like it came straight out of a historic English bedchamber.
Why Old Wooden Tie Racks Are Hidden Gems for Bedroom Storage
Most people walk right past tie racks and belt organizers at secondhand shops because they look dated, yellowed, and cluttered. But if you glance past the shiny plastic prongs or flaking metallic hooks, the core structure is almost always solid hardwood like oak, maple, or walnut. Back in the day, these organizers were manufactured with thick timber plates and heavy routed edges that would cost $30 to purchase raw at Home Depot today.
Instead of using it for ties in a closet, taking that timber frame out into the open bedroom transforms how you store daily accessories. Hung next to a full-length mirror or beside your dresser, it gives you a dedicated spot for delicate chains, silk neck scarves, leather belts, or even light morning robes. We did a similar structural transformation when we converted an old valet stand into an English bedside valet, and the secret is always in removing the cheap factory hardware and highlighting the character of real timber.
What You Need for This Bedside Rail Transformation
You do not need specialized shop tools for this project. A simple hand screwdriver, a sheet of sandpaper, and a small tin of oil-based stain are enough to completely change the look of the wood. Here is the realistic cost breakdown from my own project run:
| Item | Where I Got It | Price |
|---|---|---|
| Thrifted wooden tie rack | Goodwill thrift shop | $9.00 |
| Solid brass cup hooks (12-pack) | Local hardware store | $6.00 |
| Dark walnut oil stain (mini trial size) | Home Depot | $4.00 |
| Assorted grit sandpaper sheets | Hardware drawer on hand | $2.00 |
| Flush keyhole mounting plates (2-pack) | Hardware store | $1.00 |
All in, this came out to about $22. You can often find brass hooks in multi-packs at home centers, which keeps the price per hook down to pennies while giving you genuine metal strength.
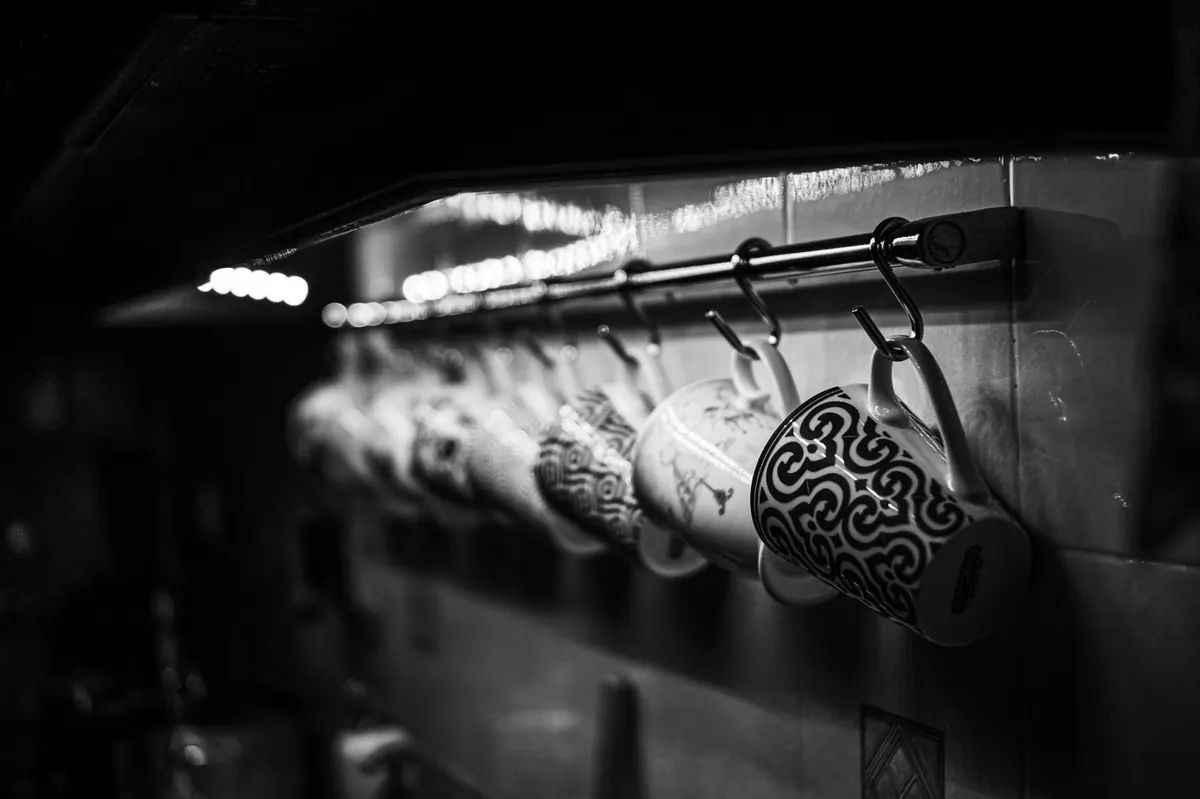
Step-by-Step: Converting Thrift Shop Wood into a Vintage Brass Rail
- Ditch the vintage hardware: Start by backing out all the original wire pegs, plastic clips, or flimsy gold hooks. Most older tie racks use simple screw threads that back out easily with pliers or a hand screwdriver. Save any old screw holes for reference or fill them with wood filler if your new hook layout will be different.
- Strip away the thick orange lacquer: Thrift store wood items from the 1970s and 80s usually carry a heavy layer of glossy polyurethane that turns orange over time. Use 120-grit sandpaper to break through that shell until you feel raw timber beneath your hands, then smooth everything down with 220-grit paper. Pay extra attention to rounded edges where dirt accumulates.
- Apply a deep walnut wood stain: Wipe away all sanding dust with a slightly damp microfiber rag. Apply a generous coat of dark walnut wood stain with an old cotton rag, working the pigment deep into the grain grooves. Let it sit for three minutes before wiping off the excess cleanly. If you prefer painted finishes over wood tones, a matte black or muted sage green coat looks equally beautiful.
- Seal with paste wax for a soft patina: Skip the super shiny high-gloss spray cans. Instead, rub a bit of clear dark paste wax over the stained wood with fine steel wool, then buff it smooth with a soft cloth. This creates that hand-rubbed, aged furniture finish found on historic antiques.
- Measure and install solid brass hooks: Mark out your new hook placement using a tape measure and pencil, keeping equal spacing across the rail length. Pre-drill tiny pilot holes to keep the dry hardwood from splitting, then hand-screw your antique brass cup hooks into place until the collars sit snug against the wood surface.
- Mount flush against the wall: Screw two keyhole hangers onto the upper corners on the back of the wooden block. Measure the distance between the keyholes precisely, set two drywall anchors into your bedroom wall, and slide the rail onto the screws so it sits completely flat with zero visible brackets.

How to Style It in Your Bedroom Space
The beauty of a compact wall rail is how easily it tucks into unused wall spots. Hang it directly above a bedside nightstand to drape your watch, rings, and readers before going to sleep, or position it alongside a vanity mirror to display delicate gold chains and favorite silk ties without tangling. If you love wall-mounted storage that doubles as wall art, check out our tutorial on converting an old rack into an English wall rail for even more layout ideas.
By swapping out mass-manufactured plastic pegs for solid brass hardware and treating raw hardwood to an oil finish, a nine-dollar thrift store toss-away becomes a piece you will use every single day in your bedroom routine.
You Might Also Like
- How to Turn an $11 Thrifted Valet Stand into a $440 Vintage English Bedside Valet for $26
- How to Turn a $10 Thrifted Quilt Rack into a $440 English Blanket Stand for $24
- How to Turn a $12 Thrifted Floor Lamp into a $480 Vintage English Fluted Floor Lamp for $27
Frequently Asked Questions
Can I use paint instead of wood stain if the wood grain looks uneven
Yes, a warm off-white, olive green, or matte black spray paint works wonderfully if the thrifted tie rack turns out to be made of composite wood or rubberwood.
How do I stop thin brass hooks from bending under heavier items
Buy solid brass cup hooks or forged iron hooks from the hardware store rather than thin wire hooks, and pre-drill pilot holes so they seat firmly into the solid wood.
What is the cleanest way to mount the rail so no screws are visible on the front
Chisel out two small recesses on the back of the wood frame and install flush metal keyhole plates so the rail hangs completely flat against your wall.


0 Comments