

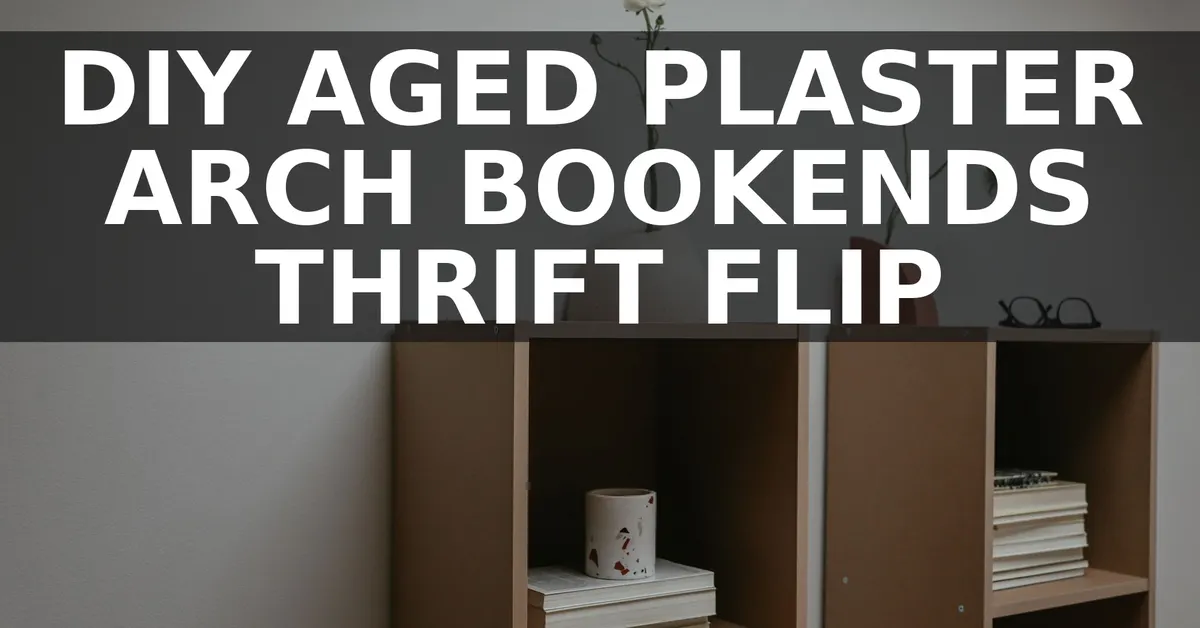
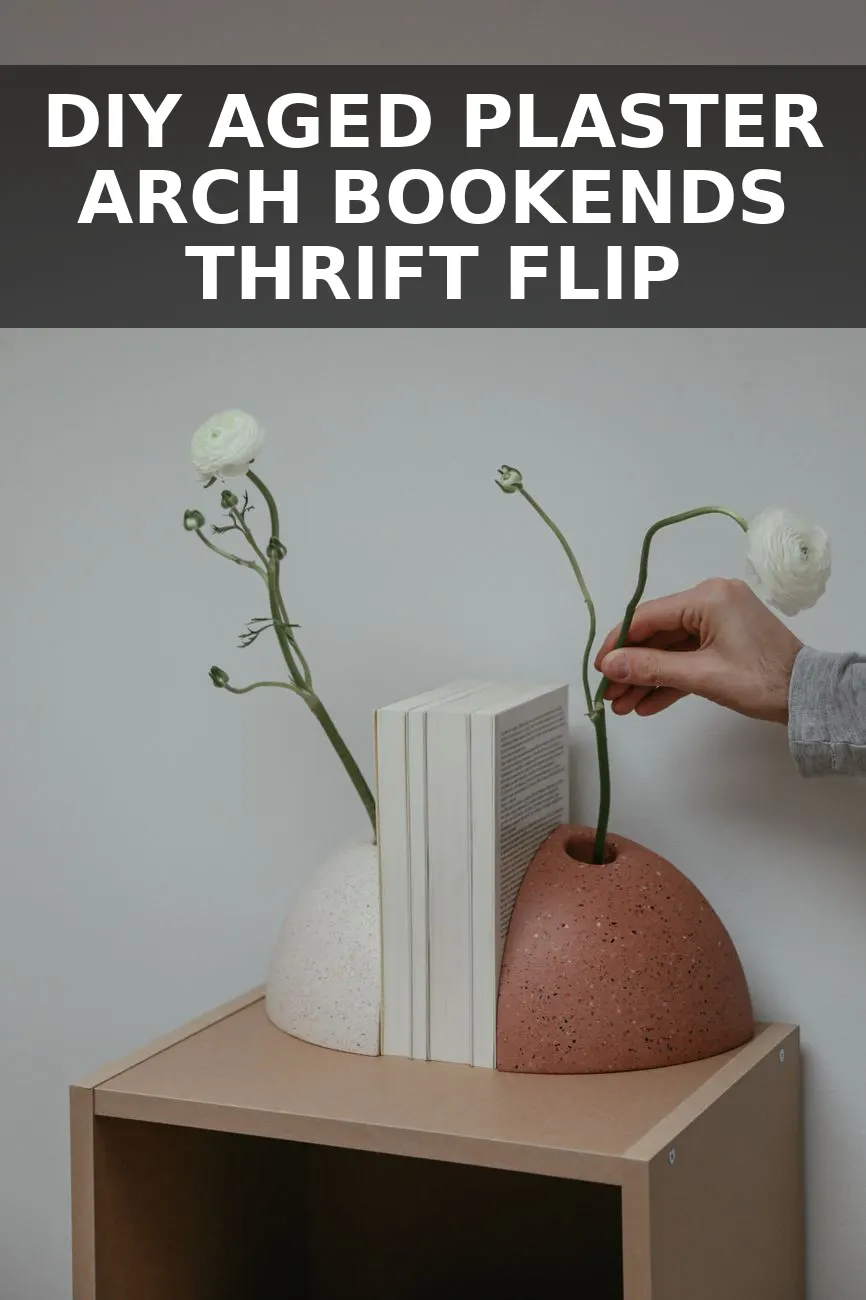
I spotted a pair of chunky, honey-oak bookends sitting on a dusty bottom shelf at Goodwill for $8 and almost walked right past them. They had a thick 1980s glossy varnish and felt thoroughly dated, but when I picked them up, the weight was incredible—solid hardwood with thick brass bottom plates. High-end boutiques and design shops are currently selling heavy sculptured stone and plaster arch bookends for over $300 a pair, and I knew instantly that this ugly set had the perfect bones to recreate that exact look for $21.
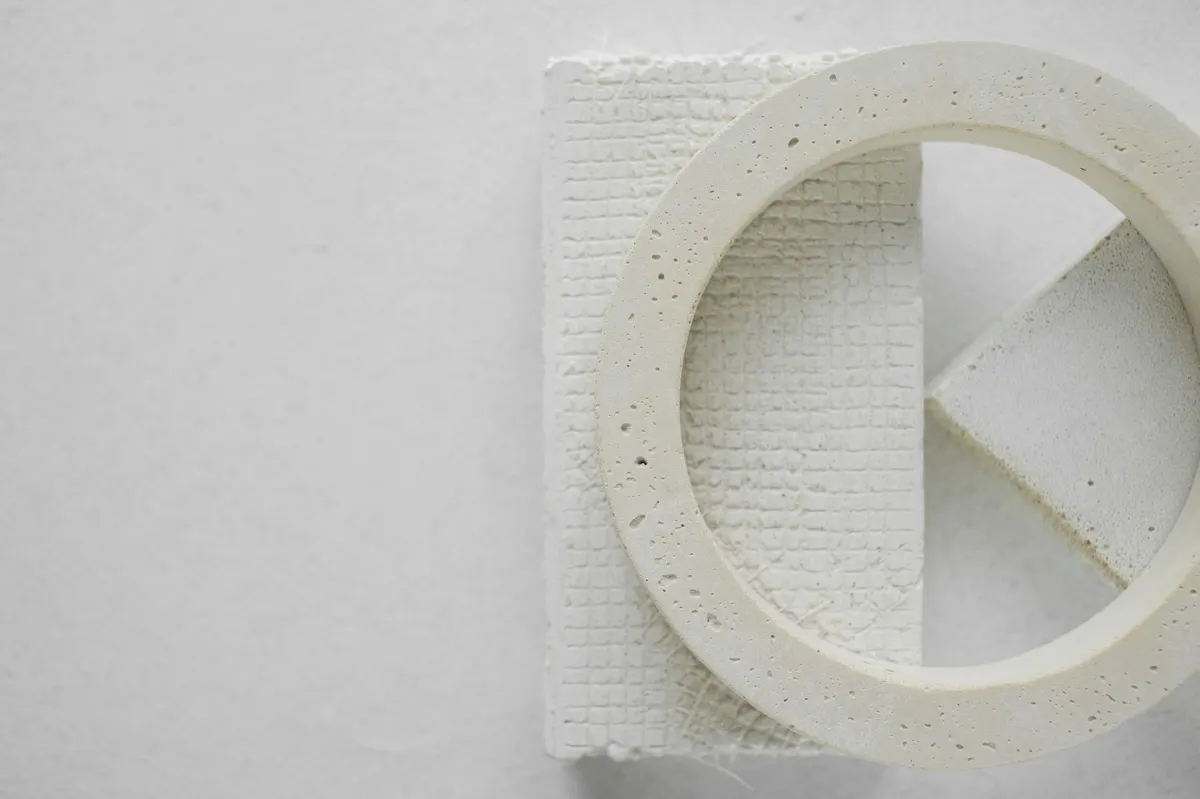
Why Thrifted Wood Works Better Than Fresh Clay or Foam
When you start searching high-end home decor sites, sculpted arch bookends are everywhere. The problem with making them completely from scratch out of air-dry clay or lightweight styrofoam is mass. Bookends need real weight to keep a stack of heavy hardcovers from sliding across a painted bookshelf. Cheap thrift store wooden bookends give you a solid structural core that already weighs three or four pounds on its own.
The secret to taking varnished thrift shop wood and giving it that chalky, centuries-old Mediterranean plaster finish comes down to surface preparation and texture layering. You do not need expensive specialty plaster or ceramic studio tools. A small bucket of standard pre-mixed joint compound from Home Depot, a sponge, and two sample pots of latex paint will do the entire job in an afternoon.
Budget Breakdown: $340 Look for $21
Here is exact breakdown of what I spent to make these arch bookends. I had sandpaper and painter tape already in my garage stash, but even if you had to buy those, the total stays well under thirty dollars.
| Item | Where I Got It | Cost |
|---|---|---|
| Thrifted Solid Wood Bookends | Goodwill | $8.00 |
| Small Tub Joint Compound (3.5 qt) | Home Depot | $5.20 |
| Latex Paint Sample (Warm Chalky Off-White) | Target / Home Depot | $4.50 |
| Acrylic Craft Paint (Raw Umber) | Michaels | $1.50 |
| Fine Sanding Sponge (220-Grit) | Lowe's | $1.80 |
All in, this project cost me $21.00. That is a fraction of the cost compared to buying similar artisan stone pieces from high-end decor brands.
How to Build Aged Plaster Arch Bookends Step by Step
- Scuff sand the wood thoroughly: Paint and joint compound cannot cling to thick, shiny lacquer. Take a 120-grit sandpaper or sanding block and rub down every flat surface and curve of the wooden bookends. You do not need to strip the wood down to bare timber—just scratch up the glossy topcoat until it looks completely dull. Dust off the residue with a damp cloth.
- Mask the bottom metal plates and felt pads: Tape off the underside of each bookend using painter tape. Keeping the original brass base plates or heavy felt pads clean ensures the bookends stay flush and will not scratch your shelf surface later.
- Apply the first skim coat of joint compound: Scoop out a small amount of joint compound using a small putty knife or even an old plastic gift card. Spread a thin layer over the top, rounded arch, and outer sides of the bookend. Do not worry about making it glass-smooth. A few subtle ridges and uneven trowel marks actually mimic authentic hand-troweled Italian plasterwork.
- Stipple with a damp sea sponge: While the first layer is still wet, take a slightly damp craft sponge or paper towel and lightly tap the surface. This breaks up flat tool marks and creates microscopic pit marks that resemble aged limestone or porous plaster. Let this coat dry completely for about three hours until it turns bright chalky white.
- Sand back high spots and apply a second coat: Once dry, lightly run your 220-grit sanding sponge over the bookends. Focus on smoothing out any harsh peaks or sharp edges, especially along the inner flat edge that sits directly against book spines. If you have any thin spots where dark wood shows through, dab on a tiny second coat of compound and let dry.
- Layer the custom paint wash: Pure white painted plaster can look flat and cheap. To get that soft, museum-quality antique look, mix your creamy off-white latex sample paint with a few drops of water and one drop of raw umber craft paint. Brush the light beige coat on first, then immediately blot it back with a dry rag. This leaves darker pigment settled gently into the tiny pitted textures of the plaster while the raised areas stay soft cream.
Tips for Painting and Preserving the Finished Texture
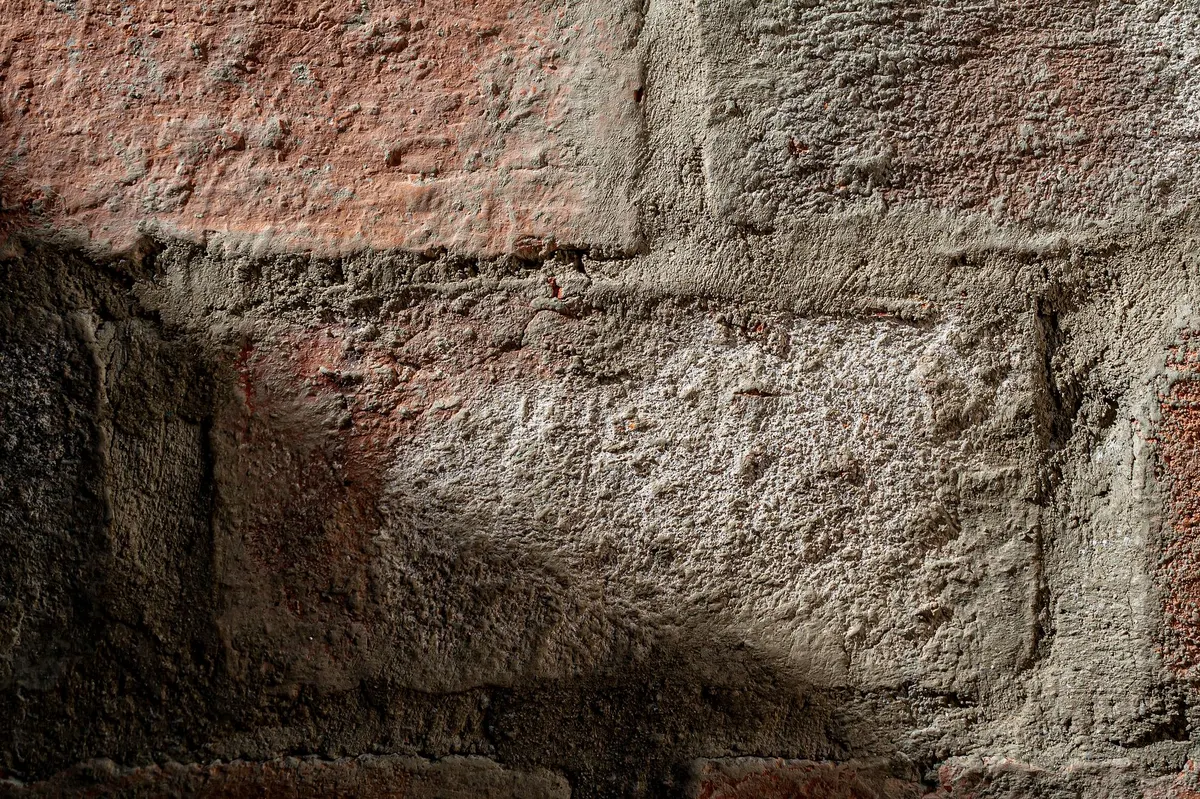
Joint compound is porous and sensitive to moisture, so sealing it correctly is essential. Never use a high-gloss spray sealer on this style of project—glossy shine will instantly destroy the stone effect and make it look like painted plastic. Instead, spray two light coats of ultra-matte clear acrylic sealer across the entire piece once the paint is bone dry. This protects the finish from fingerprints and dust while keeping that chalky finish.
If you love the sculpted look of aged materials in your decor, you can use this same joint compound layering technique on other thrift store finds. I used a similar plastering method on a light fixture when I created an aged plaster candle sconce for my hallway last fall, and the texture has held up beautifully over time.
Styling Your New Plaster Bookends
Once dry, these bookends have incredible visual weight and presence. Their organic, tactile texture provides a beautiful contrast against smooth hardcover books, glass vases, or wooden shelving units.
- On open living room shelving: Pair them with oversized art books or vintage linen-bound hardcovers. Set them next to metallic accents or glass decor to balance the soft, chalky texture.
- In a home office or library nook: Place them on top of a desk or next to a vintage English pillar bookshelf to organize vertical volumes cleanly without overwhelming the space.
- In a kitchen or dining area: Use them to anchor a row of favorite cookbooks on your countertop. If you prefer display stands for individual titles, you can also check out my tutorial on converting a vintage brass book easel for extra counter inspiration.
This simple afternoon flip proves you do not need a huge decorating budget to get the look of handcrafted architectural art pieces. With an eight-dollar thrift store staple and a few basic hardware store supplies, you can build heavy, custom bookends that look like they were imported straight from a designer showroom.
You Might Also Like
- How to Turn an $8 Thrifted Wire Tomato Cage into a $380 French Garden Obelisk for $22
- How to Turn a $9 Thrifted Corner Shelf into a $380 Vintage English Fluted Corner Shelf for $22
- How to Turn an $11 Thrifted Metal Wine Rack into a $380 Vintage Brass Bath Towel Rack for $24
Frequently Asked Questions
Will joint compound crack over time on wooden bookends
If you scuff the wood surface thoroughly with sandpaper first and apply thin layers instead of one thick coat, it stays bonded without cracking.
How do I make the plaster finish smooth enough to not scratch my books
Sand the inner flat side with fine 220-grit sandpaper until soft to the touch, or glue a thin sheet of felt onto the side that sits against the book covers.
Can I use actual plaster of Paris instead of joint compound
You can, but pre-mixed joint compound sets much slower, giving you plenty of time to shape texture with a sponge without rushing.


0 Comments