

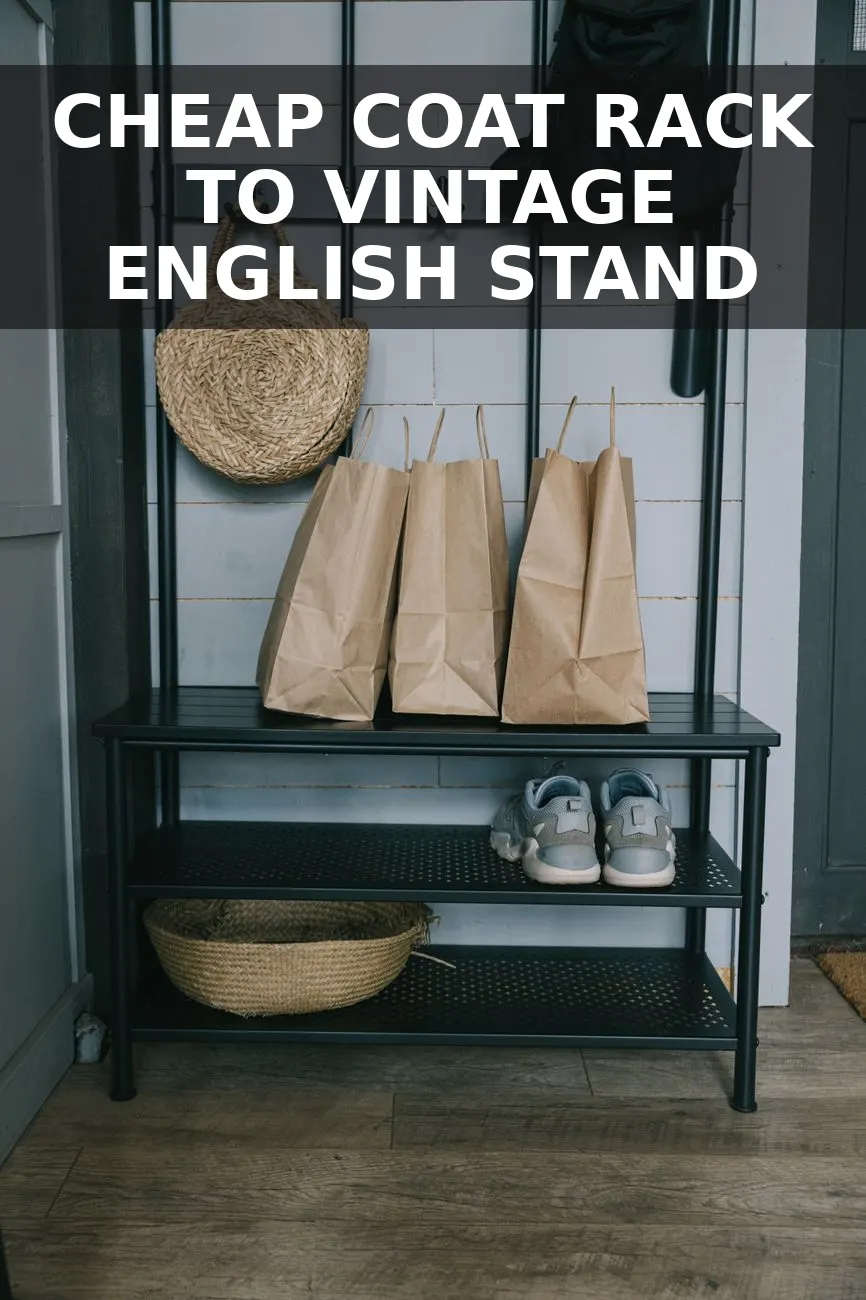
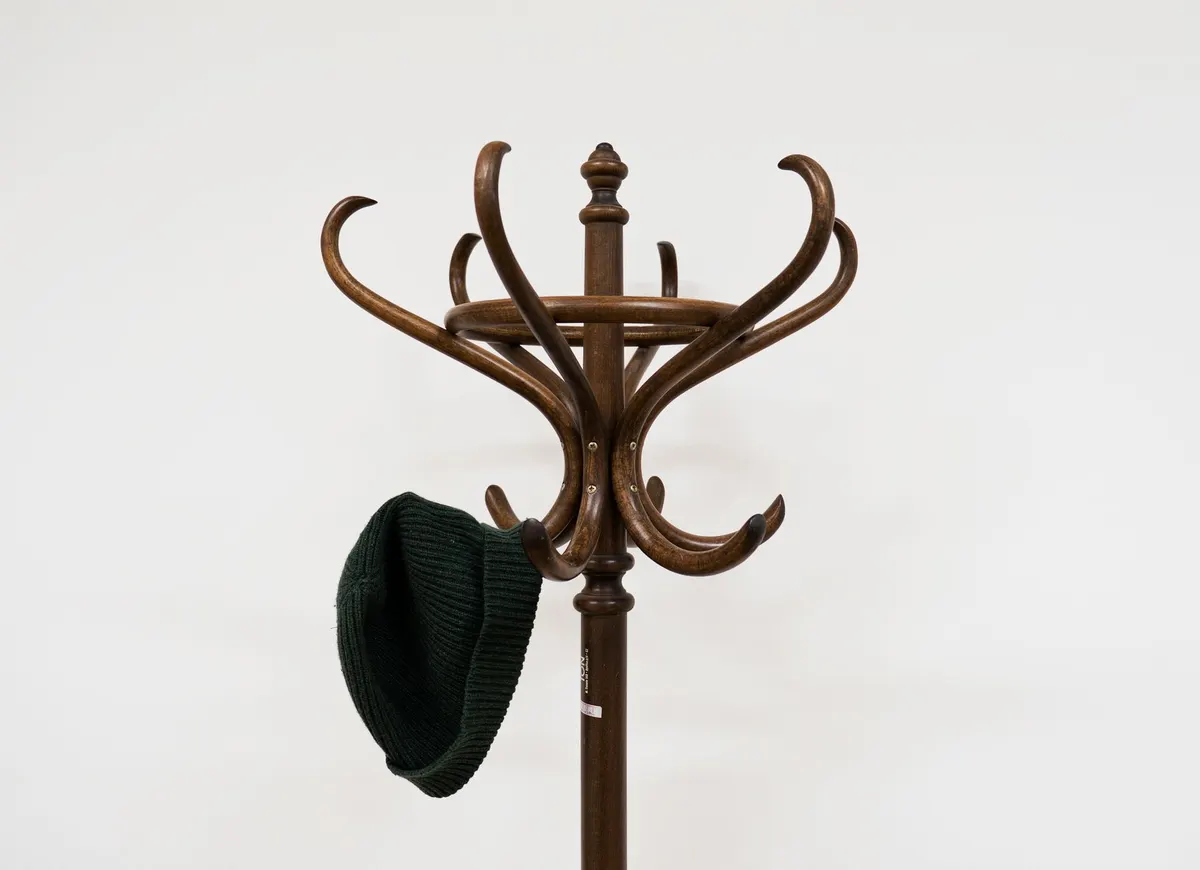
Walk into almost any thrift store on a Saturday morning, and you will likely find a honey-oak standing coat rack tucked into a corner. They usually cost around $10 to $15, complete with shiny varnish, lightweight wooden pegs, and slightly loose feet. High-end home catalogs sell solid dark walnut and brass versions for $350 to $450, but you do not need to drop a chunk of your rent money to get that grounded, traditional look right by your front door.
What You'll Need
- A thrifted wooden standing coat rack
- Medium-grit sanding block (120-grit) and fine-grit sanding block (220-grit)
- Dark walnut gel stain or antique oak wood stain
- Matte poly topcoat or dark furniture wax
- Four to six antiqued brass double coat hooks
- Screwdriver and wood glue
- Clean cotton rags and a small foam brush
Step 1: Take It Apart and Clean Off the Grime
Most freestanding wooden coat trees are held together by a central threaded metal rod or wooden screw dowels. Unscrew the central post into its main sections and take off the feet. Removing the original wooden pegs or thin metal wire hooks at the top makes the job infinitely easier.
Thrifted wooden furniture often carries decades of household oil, dust, and wax buildup. Scrub down every piece with hot water and a gentle dish soap. Let everything dry completely before touching a sanding block. Skipping the cleaning stage will clog your sandpaper in about ten seconds flat.
Step 2: Scuff-Sand the High-Gloss Finish
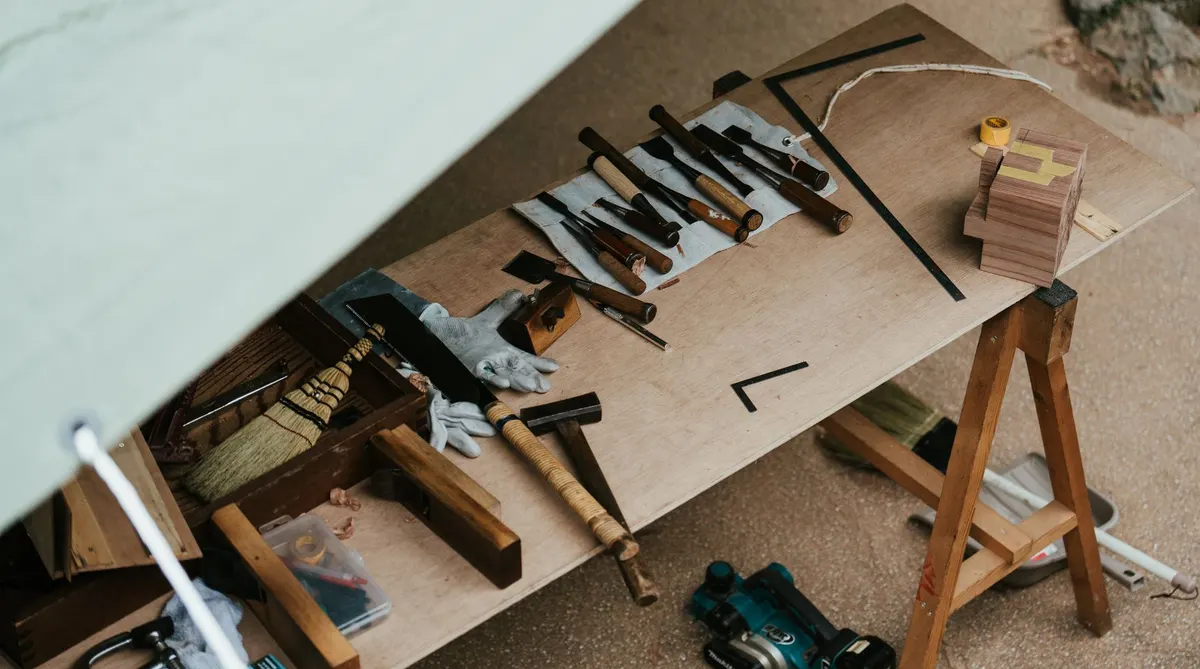
You do not need to spend three hours stripping this down to bare, raw timber. The goal here is simply breaking the shiny factory coat so your new stain or dark glaze has something rough to hold onto. Take a 120-grit sanding block and run it down the length of each turned wood section, paying attention to the carved grooves where varnish tends to pool.
Once the glossy sheen turns into a dull, matte chalkiness, wipe away all the sanding dust with a damp rag or tack cloth. Smooth out any remaining raised wood fibers using a fine 220-grit sanding pad.
Step 3: Apply a Rich Gel Stain
Liquid wood stains run right off previously finished furniture, but gel stain sits on top like a rich tinting glaze. Dip a soft rag into dark walnut or espresso gel stain and wipe it onto the wood in long, smooth strokes following the grain.
Work the stain into the carved rings and turns of the column using a small foam brush. Let it sit for two to three minutes, then use a second dry rag to wipe away the excess. If you want a deeper, almost ebony finish, let the first coat dry for four hours before applying a light second coat. Seal everything with a spray-on matte polyurethane clear finish to protect the wood from wet winter coats and heavy umbrellas.
Step 4: Swap out the Hardware
The real secret to turning a cheap thrift find into something that looks like an antique store purchase comes down to weight and hardware. Ditch the original turned wooden pegs. Instead, purchase a set of reproduction brass double hooks with an antiqued or oil-rubbed finish.
Mark your hook placements near the top crown of the post, spacing four double hooks evenly around the perimeter. Pre-drill small pilot holes so the wood does not split, then secure each hook with brass screws. The heavy hardware gives the piece immediate weight and practical storage for heavy wool coats, bags, and scarves.
Budget Breakdown
| Item | Price |
|---|---|
| Thrifted Wooden Coat Rack | $12.00 |
| Dark Walnut Gel Stain (Sample Size) | $6.50 |
| Antiqued Brass Double Hooks (4-pack) | $7.50 |
| Sanding Pads & Rags | $2.00 |
| Total Project Cost | $28.00 |
Prices are estimates and vary by store and region.
Styling an Entryway on a Small Budget
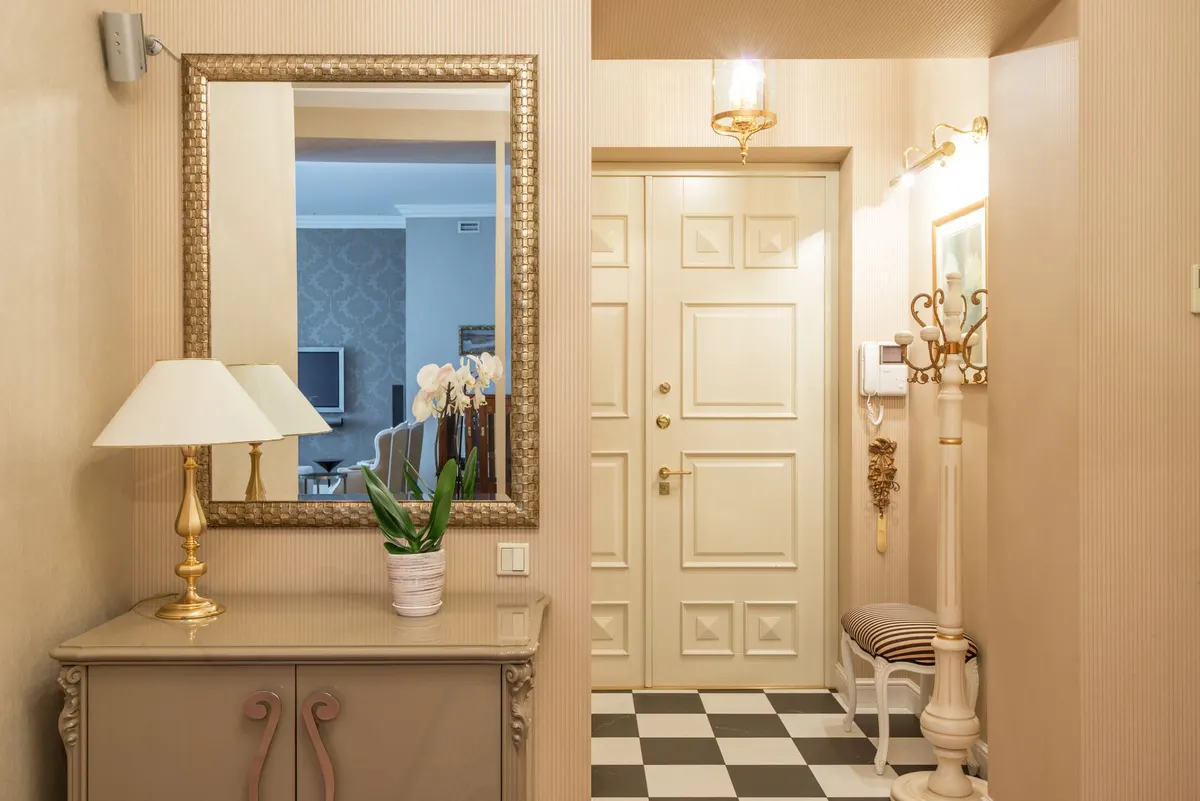
Once your coat stand is reassembled and fully dry, set it in an unused corner near your entryway. Pair it with an oversized floor basket for shoes or umbrellas underneath. If you are working with a tight front hall, combining this coat stand with a DIY vintage brass boot tray on the floor gives you a complete, functional drop zone that feels intentional rather than cluttered.
When searching garage sales or second-hand shops for hardware for projects like this, keeping an eye out for real solid metals makes all the difference. Knowing what to look for when thrifting vintage brass decor can save you money on hardware upgrades, as solid vintage pieces often cost half of what new reproduction hooks run at home improvement stores.
You Might Also Like
- The Designer Boho Holiday Entryway Look for Under $40
- How to Turn a $9 Thrifted Metal Tray into a $360 Vintage Brass Entryway Boot Tray for $23
- How to Turn a $14 Thrifted Piano Bench into a $480 English Cottage Entryway Bench for $31
Frequently Asked Questions
How do I stop a thrifted coat rack from wobbling
Tighten the main center bolt beneath the feet using a socket wrench, and apply wood glue inside threaded dowels before reassembling.
Do I need to strip the entire old finish down to bare wood
No, a thorough scuff-sanding with medium-grit sandpaper is enough to break the glossy topcoat so gel stain can grip.
Can I use spray paint instead of wood stain
Yes, a deep matte black or charcoal chalk spray paint creates a handsome wrought-iron look if the wood underneath has heavy grain flaws.


0 Comments