

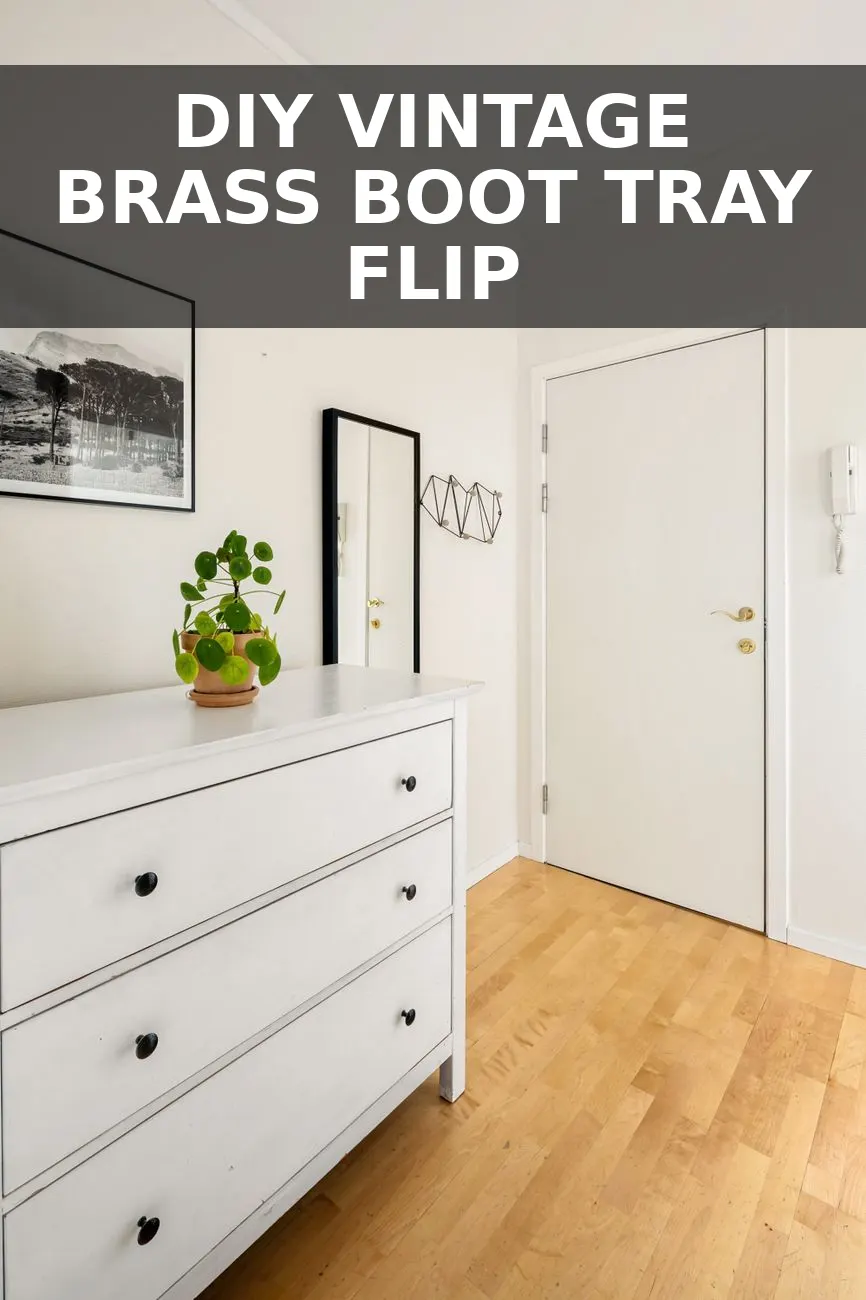
When wet weather hits, the mud room floor quickly turns into a landing zone for dripping boots, stray grit, and damp sneakers. High-end home catalogs sell heavy antiqued brass boot trays with gorgeous handles for well over three hundred dollars, but paying that much for something meant to collect mud felt hard to justify. Instead, I grabbed a battered nine-dollar sheet metal tray at a local thrift shop and turned it into an expensive-looking brass entryway tray for just twenty-three dollars total.
Why an Antiqued Metal Boot Tray Works So Well
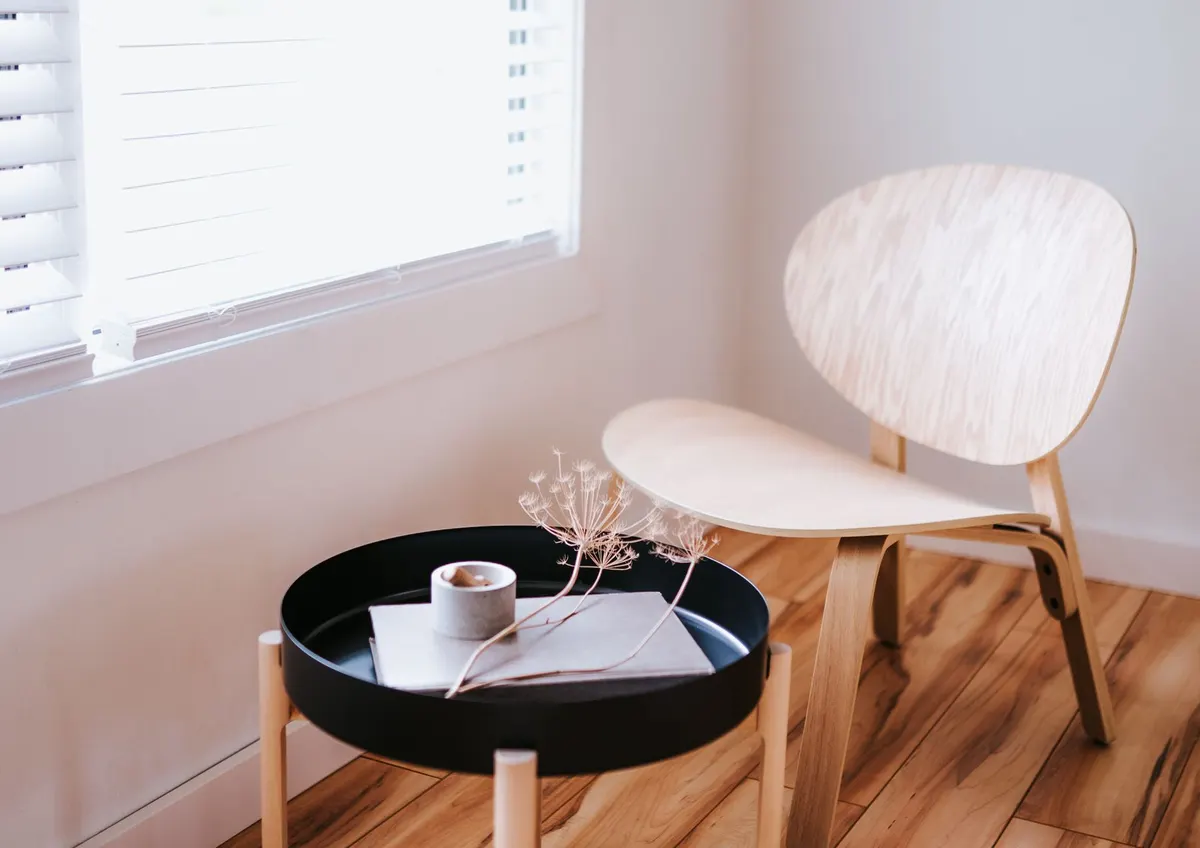
The secret to keeping a foyer neat during messy seasons is having an obvious spot where shoes belong the second someone walks through the front door. Plastic shoe mats flex, crack, and usually look like cheap afterthought accessories. Solid brass trays, on the other hand, add instant weight and warmth to a small front hall. They match polished wood floors, dark slate tile, and woven hall runners equally well.
If you already completed our custom entryway bench build, a warm metal tray tucks under the bench legs to store shoes out of the main pathway. The lip around the edge keeps dampness off your flooring, while heavy hardware handles give the piece structure and visual balance.
Materials and Budget Breakdown
Finding a suitable base tray at a thrift store or flea market is easy. Look for heavy galvanized metal trays, deep serving platters, or even large commercial baking sheets with straight sides. You want a piece that feels sturdy in your hands and measures at least twenty inches long so it holds two to three pairs of adult shoes easily.
| Item | Price |
|---|---|
| Thrifted metal tray base | $9.00 |
| Metallic brass spray paint and dark paste wax | $8.00 |
| Pair of cast metal handles with screws | $4.00 |
| Adhesive rubber feet pads | $2.00 |
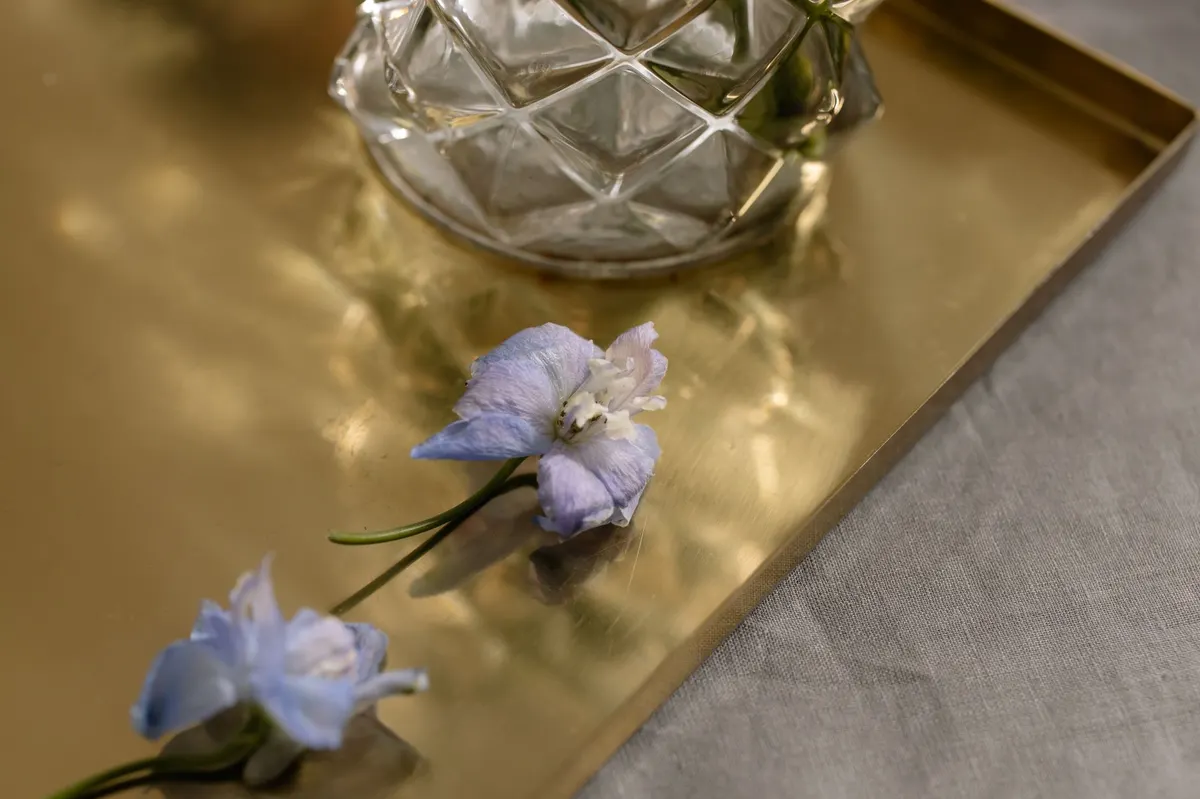
All in, this project came out to about $23. Compared to high-end retail versions that sell for $360 or more, you save a fortune while getting the exact size and warm antique finish your space needs.
Step-by-Step DIY Vintage Boot Tray Instructions
- Clean and prep the surface: Scrub the metal tray with hot soapy water and a scrub brush to strip away grease, grease residue, or loose rust. Once completely dry, scuff the surface thoroughly using 150-grit sandpaper so your primer coats can bite into the metal.
- Mark and drill handle holes: Measure the short ends of the tray to find the exact center line. Hold your metal handles against the sides, mark the screw placement with a pencil, and punch small pilot marks with a nail. Drill through the sheet metal using a drill bit matched to your handle hardware.
- Apply base coat and metallic layer: Spray the entire tray inside and out with a flat dark brown or matte black primer to build depth under the metal color. Once dry to the touch, apply two light coats of warm antique brass or champagne bronze spray paint. Let it set for two hours.
- Distress with dark wax: Scoop a small dab of dark antique furniture wax or dark brown acrylic paint onto a dry rag. Rub it across the corners, along the inner rim, and around the handle mounting points. Buff away excess wax with a clean cloth, leaving warm dark shading trapped in the corners and texture marks.
- Attach hardware and bottom pads: Align your handles over the drilled holes and tighten the screws securely from the back. Stick thick rubber bumper pads onto the four bottom corners of the tray. These pads keep the metal tray elevated off your floor and protect hardwood finishes from scratches.
Styling and Maintenance Tips
- Add river stones for drainage: Fill the bottom of your completed tray with a two-inch layer of smooth black river pebbles or washed gravel. Water drips off muddy soles down between the rocks, allowing shoe soles to dry faster without sitting directly in pooled water.
- Combine with standing storage: Pair this floor tray with a tall vertical organizer like our thrifted boot rack project to build a dedicated mudroom nook even in a tiny hall.
- Seasonal cleaning: Wipe down the metal interior with a damp microfiber cloth every few weeks. If you live in an area with salted winter roads, spray a quick clear satin topcoat once a year to keep salt from wearing down your custom patina finish.
You Might Also Like
- How to Turn a $14 Thrifted Piano Bench into a $480 English Cottage Entryway Bench for $31
- How to Turn a $12 Thrifted Boot Rack into a $380 English Country Wellington Boot Stand for $23
- How to Turn a $10 Thrifted Wire Mail Caddy into a $380 Vintage Brass Entryway Wall Pocket for $23
Frequently Asked Questions
Can I use a regular baking sheet if I cannot find a metal tray at the thrift shop
Standard rimmed aluminum baking sheets work great as long as they have a raised lip of at least half an inch to hold dirt and melted snow.
Will wet boots ruin the painted finish over time
Applying two clear coats of satin polyurethane over your paint and wax layers creates a water resistant shield against moisture and road salt.
Where can I find affordable vintage handles for the sides
Hardware stores, thrift bins, and bulk multipacks online carry heavy cast drawer pulls for under five dollars a pair.


0 Comments