


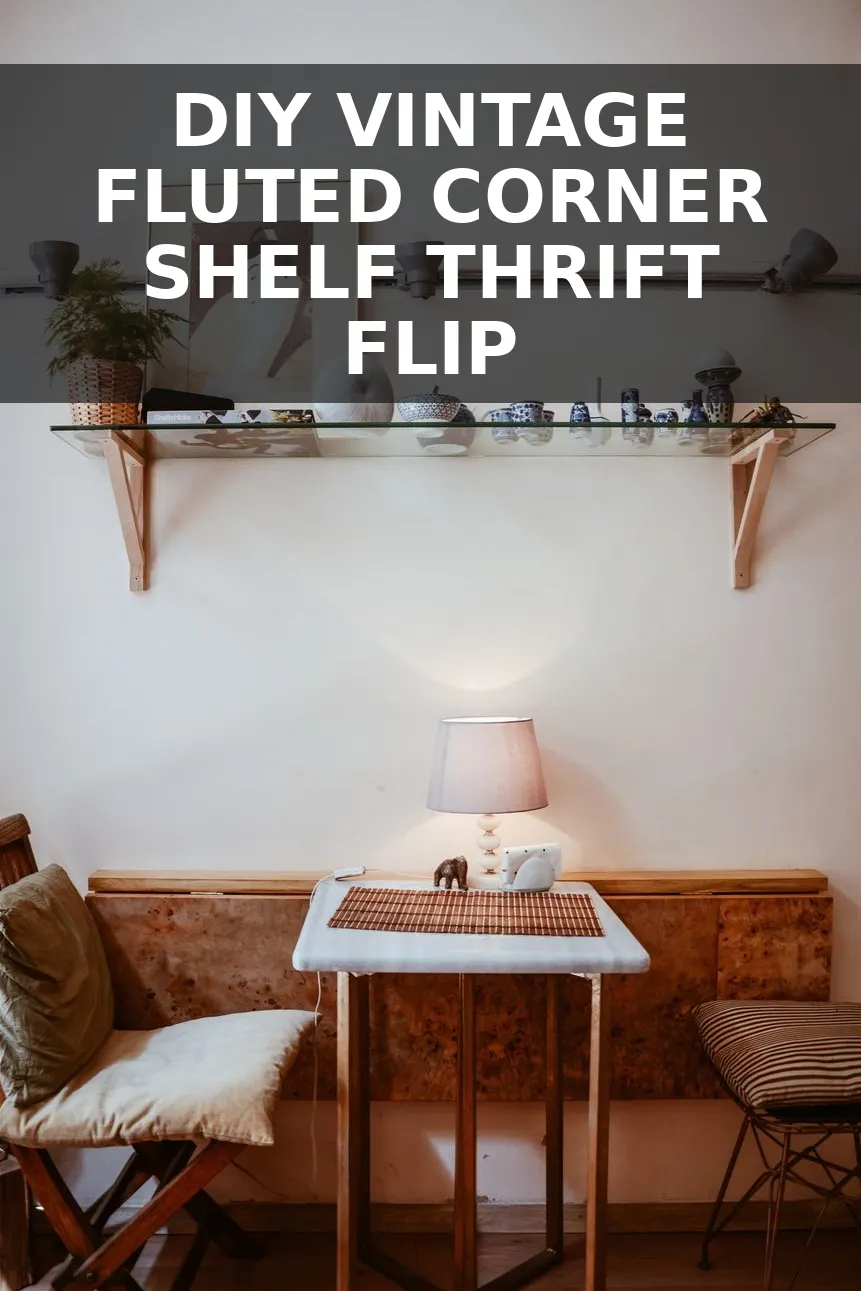
Corners are usually dead space in a room, especially in smaller apartments or tight hallways where every square foot counts. Last Saturday, I spotted an awkward, honey-oak corner shelf sitting on the bottom rack at Habitat ReStore for $9. It looked straight out of 1988, complete with a sticky varnish coat and yellowed wood tone, but the solid frame was sturdy. With less than $13 in half-round wood dowels and paint, I turned it into a custom fluted English corner shelf that looks like an upscale architectural find priced at $380.
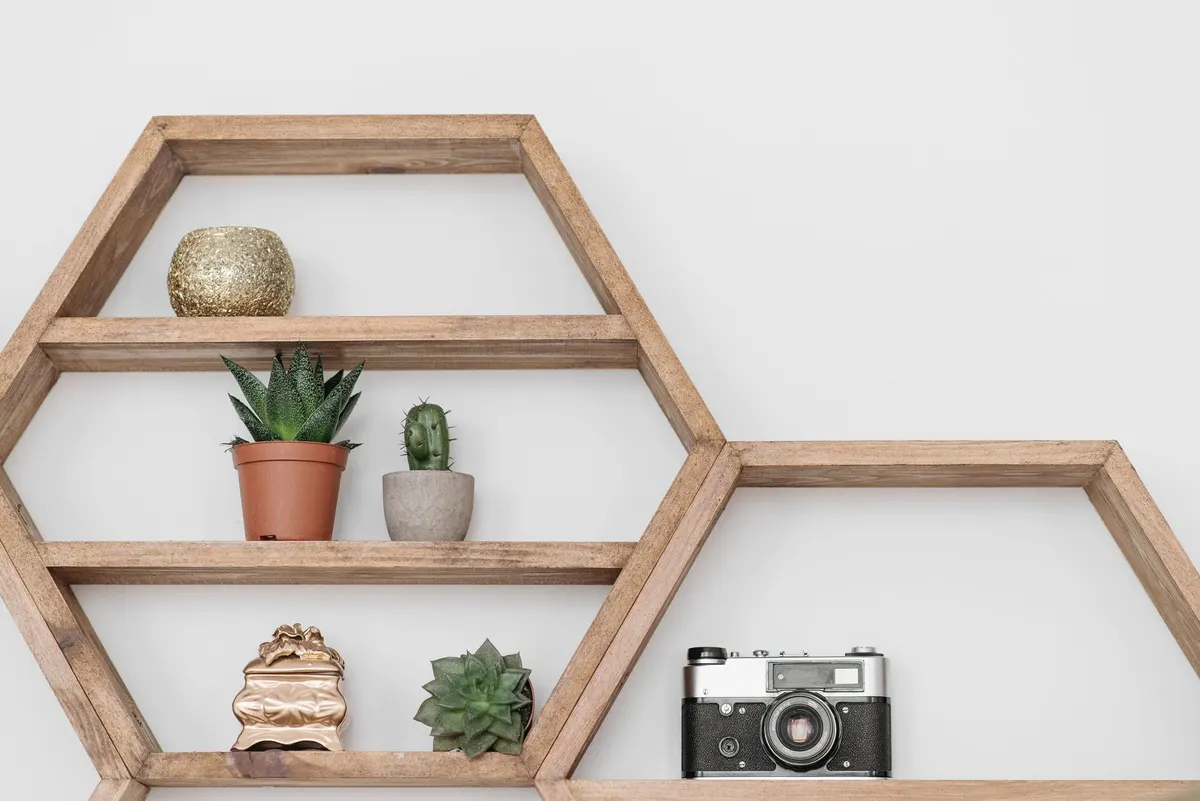
Why Awkward Corners Need Architectural Detail
Small rooms often suffer from plain, boxy walls. When you add standard floating shelves, they can stick out into pathways and make a narrow room feel even tighter. Corner shelves solve the clearance problem, but cheap retail options usually look like plain laminate triangles stuck to the wall. Adding texture to the front edge changes the whole look instantly.
Fluted details show up everywhere in classic English country homes, from reeded mantlepieces to custom built-in cabinetry. Much like when I turned an inexpensive pine rack into an English Country wall shelf, adding small wooden trim pieces builds character fast. You do not need a workshop full of power tools to get this custom look. A hand saw or miter shears will do the job in under twenty minutes.
Gathering Materials on a Tight Budget
Before buying anything new, check your scrap wood stash or leftover paint cans. Here is what I spent to complete this project from start to finish:
| Item | Where I Got It | Cost |
|---|---|---|
| Thrifted Oak Corner Shelf | Habitat ReStore | $9.00 |
| 1/4-inch Pine Half-Round Dowels (3 packs) | Home Depot | $6.50 |
| Gorilla Wood Glue | Hardware store shelf (had on hand) | $1.50 |
| Wood Filler (small tub) | Home Depot | $2.00 |
| Rust-Oleum Chalked Paint in Charcoal | Target | $3.00 |
All in, this project came out to exactly $22.00. High-end home catalogs sell similar fluted corner brackets for upwards of $350, so doing it yourself saves serious cash while keeping trash out of landfills.
Step-by-Step Transformation Guide
- Scrape and sand the old finish. Glossy poly finishes prevent glue and paint from sticking. Take 120-grit sandpaper and rub down every surface, focusing heavily on the front rounded trim where the dowels will stick. You do not need to sand down to bare wood, just scuff it up until the gloss is gone.
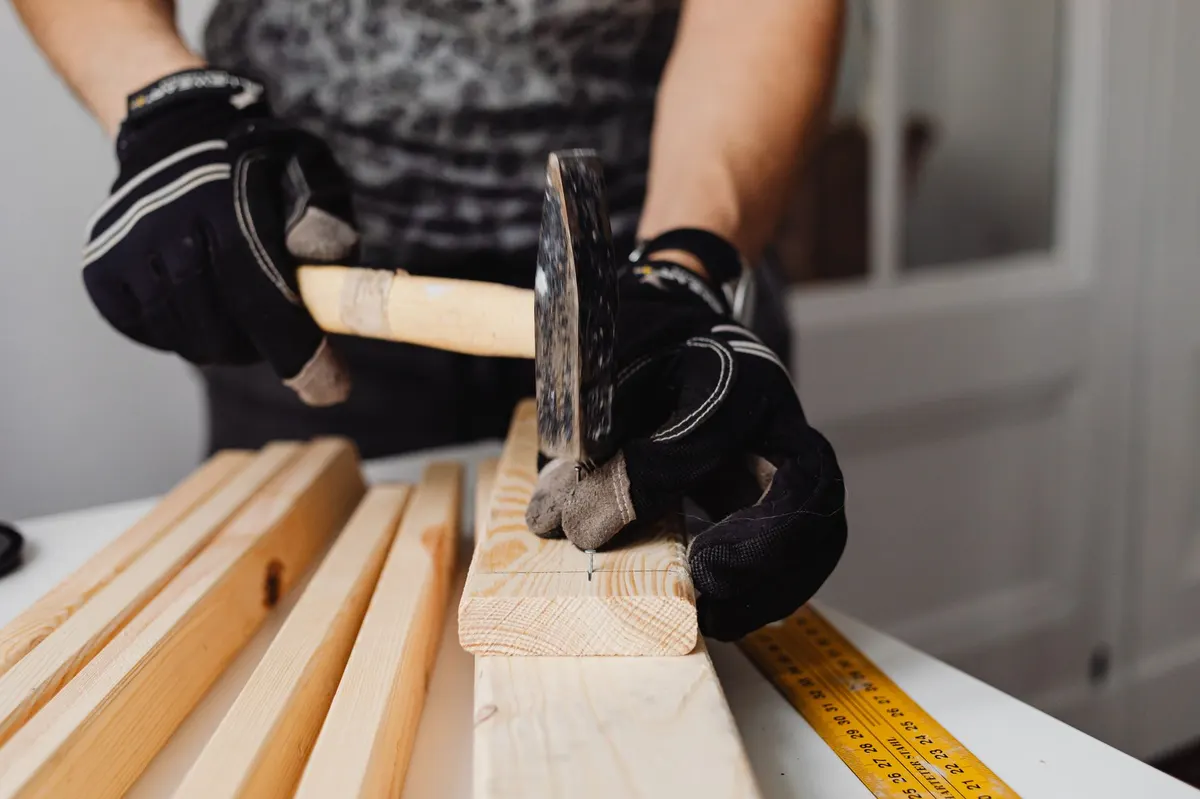
- Measure and cut the half-round dowels. Measure the front vertical height of your shelf trim. Mine was 3.5 inches tall. Use hand miter shears or a small hand saw to cut your half-round dowels to match that height. Cut enough sticks to cover the entire front curve from left wall to right wall.
- Glue the dowels in place. Apply a generous line of wood glue to the flat back of each dowel piece. Press them onto the front apron one by one, lining them up flush at the top and bottom edge. Secure each stick tightly with strips of blue painter's tape while you work across the curve. Let the glue set for 45 minutes.
- Fill the top seams and sand smooth. Remove the tape. You will have tiny gaps where the round edges meet at the top ledge. Dab a bit of wood filler along the top seam and sand it smooth with 220-grit sandpaper once dry. This makes the shelf look like one solid carved piece of wood instead of pasted-on trim.
- Prime and paint. Wipe away dust with a tack cloth. Coat the entire piece with a coat of bonding primer. Once dry, apply two coats of dark chalk paint or satin interior paint. Dark olive green, deep warm charcoal, or aged stone grey give that traditional library feel.
Styling Ideas for Tight Spaces
Once your paint dries completely, mounting the shelf properly is key. If you are fitting this into an old house where walls are rarely 90 degrees square, do not worry. A small bead of paintable caulk along the wall seams hides any gap perfectly before touch-up painting.
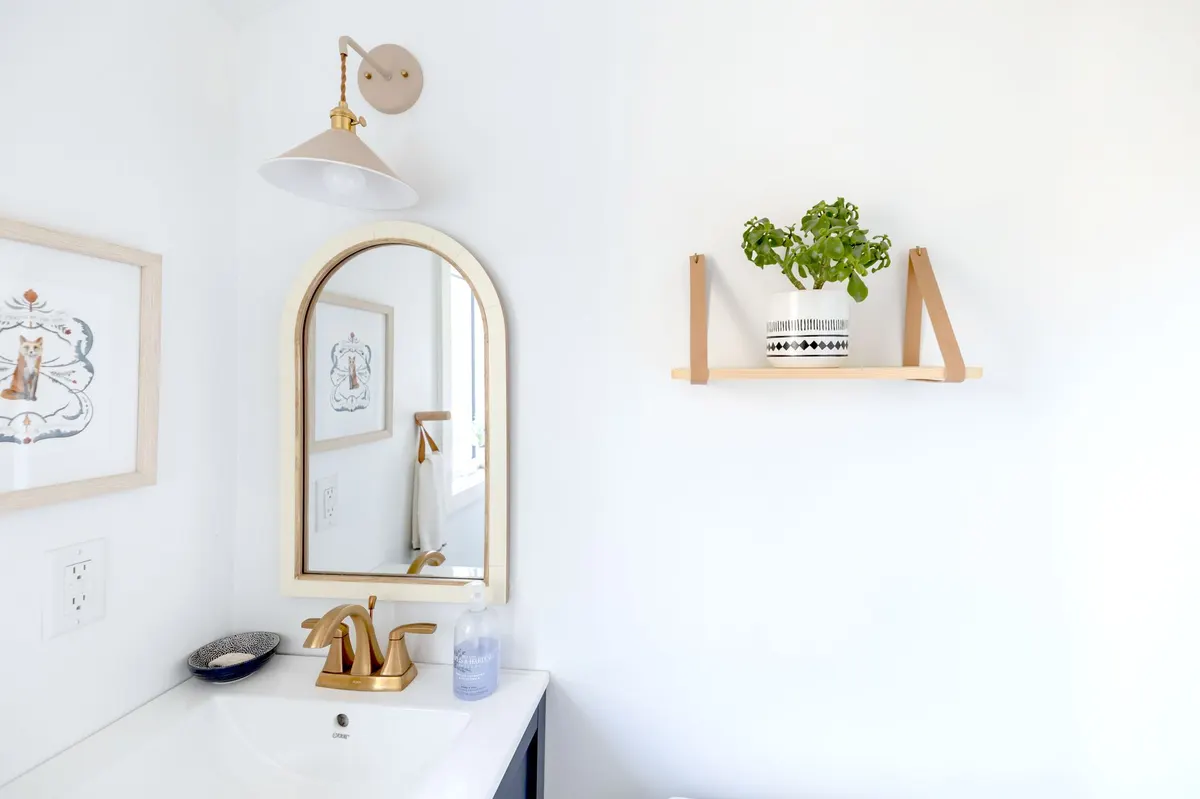
Small shelves look best when styled lightly. If you love maximizing vertical storage space like I did on my English wall rail project, stick to three curated items on a corner ledge. A small potted trailing ivy, an antique paperback book stacked flat, and a small brass candleholder create balance without overflowing the space.
This quick weekend project proves you do not need expensive custom carpentry to make a tiny corner feel intentional and full of vintage charm.
You Might Also Like
- How to Turn an $11 Thrifted Metal Wine Rack into a $380 Vintage Brass Bath Towel Rack for $24
- How to Turn a $10 Thrifted Cookbook Stand into a $340 Vintage Brass Book Easel for $22
- How to Turn a $10 Thrifted Quilt Rack into a $440 English Blanket Stand for $24
Frequently Asked Questions
What tool do I use to cut small half-round dowels quickly
A pair of hand-held miter shears cuts thin pine dowels in seconds with clean edges and zero sawdust.
Will wood glue hold dowels on a curved corner shelf edge
Yes, standard PVA wood glue holds strong as long as you scrape off the old glossy varnish and clamp the pieces firmly with painter's tape while drying.
How do you mount the shelf so it sits flush in uneven corners
Use small brass keyhole plates screwed into the back edges, or install thin wood cleat strips underneath the shelf directly into drywall anchors.


0 Comments