

Standing in a crowded, high-end gift boutique during the holiday season, it is almost guaranteed that you will spot gorgeous, heavy wooden keepsake boxes adorned with moody vintage oil paintings, classic botanical illustrations, and delicate gold-leaf details. These artisanal pieces look like century-old European heirlooms, but their steep prices—often ranging from $150 to $300—will quickly snap you back to reality. Fortunately, you do not have to spend a fortune to give a thoughtful, designer-quality gift this year because you can easily recreate these stunners using simple thrift store finds and a few basic craft supplies.
The High-End Boutique Aesthetic
The pricey versions of these boxes are highly coveted because they combine several classic design details: solid wood weight, rich and slightly distressed paint colors, historical art prints seamlessly applied to the lids, and aged metallic gold detailing. They are the perfect styling accents for a bedside table, a living room mantel, or a study desk. To replicate this high-end look on a real budget, you simply need to dissect these individual features and rebuild them step-by-step using a plain thrifted wooden box as your canvas.
Step 1: Finding Your Diamond in the Rough
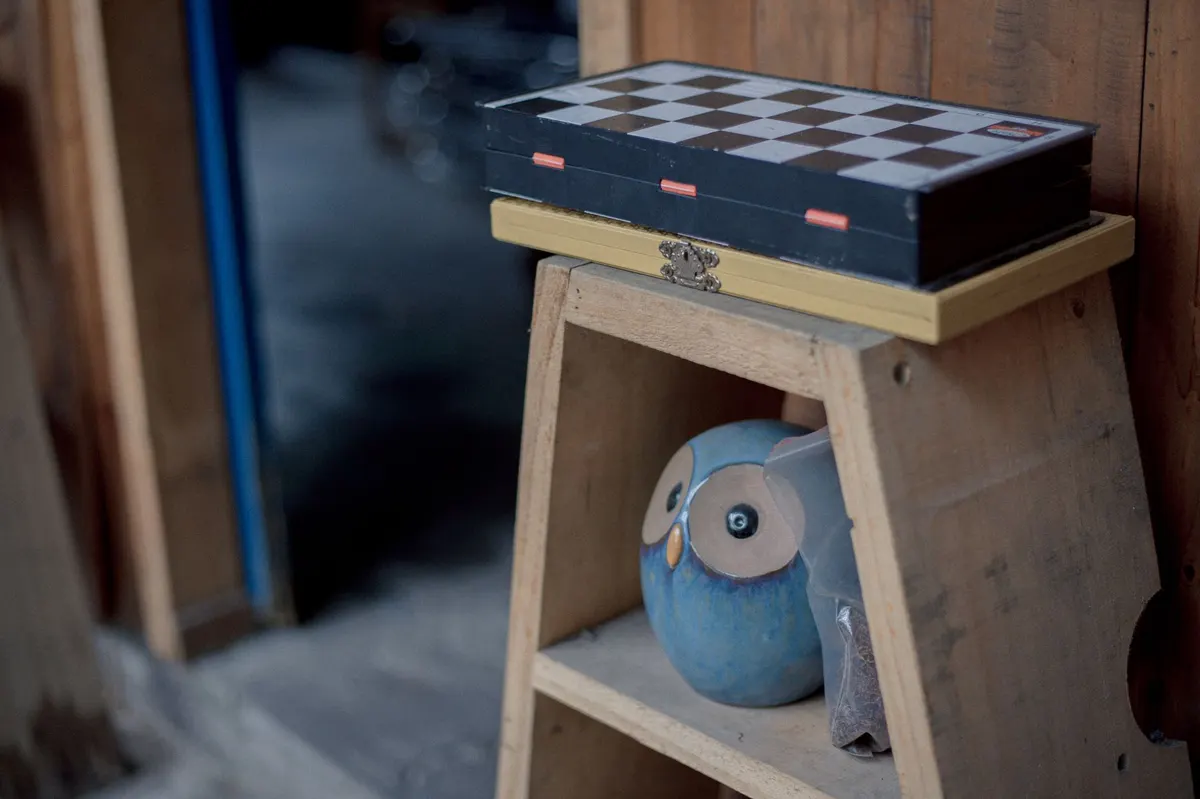
The foundation of this project is a solid wooden box, which is one of the most common items hiding on the shelves of local thrift stores, estate sales, and flea markets. While browsing, look past ugly stenciled patterns, dated high-gloss orange finishes, or personal engravings. Instead, focus entirely on the shape and structure of the box.
- Check the Material: Seek out boxes made of solid wood or heavy composite material. Avoid flimsy, light balsa wood or thin cardboard boxes, which can warp when paint and wet glue are applied.
- Inspect the Hardware: Look for working hinges, sturdy latches, or interesting decorative metal details. While searching the shelves for brass hardware, keep an eye out for genuine pieces using these tips on what to look for when thrifting vintage brass decor.
- Sniff the Interior: Some old wooden boxes can carry a strong musty odor. If you find a box with a slight smell, a quick wipe down with a white vinegar solution and a day in direct sunlight will usually clear it right up.
Step 2: Sourcing Fine Art for Pennies
What sets high-end keepsake boxes apart from standard craft store projects is the quality of the artwork. Skip the bright, modern craft stickers and clip art. Instead, look for historical public domain images. Many world-class museums offer free, high-resolution downloads of their classical archives. Look for Moody Dutch floral still lifes, vintage botanical sketches, historical celestial maps, or classical oil landscapes. Once you find a piece you love, scale it to fit the lid of your thrifted box and print it out. A standard home inkjet print works, but getting a laser print done at a local print shop for about a dollar is highly recommended because laser ink will not bleed or smear when the wet decoupage glue is applied.
Step 3: The Transformation Process
Once you have your box and your art print, the transformation is incredibly straightforward. It takes some patience to let the layers dry, but the actual hands-on work is simple enough for any skill level.
- Prep and Prime: Remove any removable hardware or carefully tape over the hinges and latches with painter’s tape. Give the box a light sanding with medium-grit sandpaper to remove any glossy varnish so your paint can grip the surface easily.
- Apply the Base Color: Paint the entire exterior of the box using a rich, matte paint. Dark, sophisticated shades like forest green, deep burgundy, navy blue, or charcoal gray instantly give a piece a high-end, historical feel. Two thin coats will give you beautiful, solid coverage.
- Decoupage the Lid: Cut your printed art piece to fit the flat top panel of the lid. Apply a thin, even coat of decoupage glue directly onto the wood surface, position your paper carefully, and smooth it down from the center outward to press out any air bubbles. Let it dry completely for about twenty minutes, then seal the top of the print with another thin coat of decoupage glue.
- Distress for Character: Use fine-grit sandpaper to gently sand the edges and corners of the box where natural wear would happen over time. Lightly sand the edges of the decoupaged paper to blend the transition between the paper and the painted wood, making the art look hand-painted onto the surface rather than pasted.
- Apply Antique Patina: To take away the harshness of a new paint job, apply a tiny amount of dark antiquing wax or diluted brown glaze over the entire box. Wipe away the excess with a soft cloth, leaving the dark pigment settled into the wood grain, corners, and crevices to mimic a century of use.
- Add the Midas Touch: Dip your fingertip or a small dry brush into gold metallic wax and lightly rub it along the raised edges of the box, the metal latches, and the border surrounding the art print. This creates a beautifully imperfect, gilded look that looks identical to expensive gold leaf.
Step 4: Lining the Interior
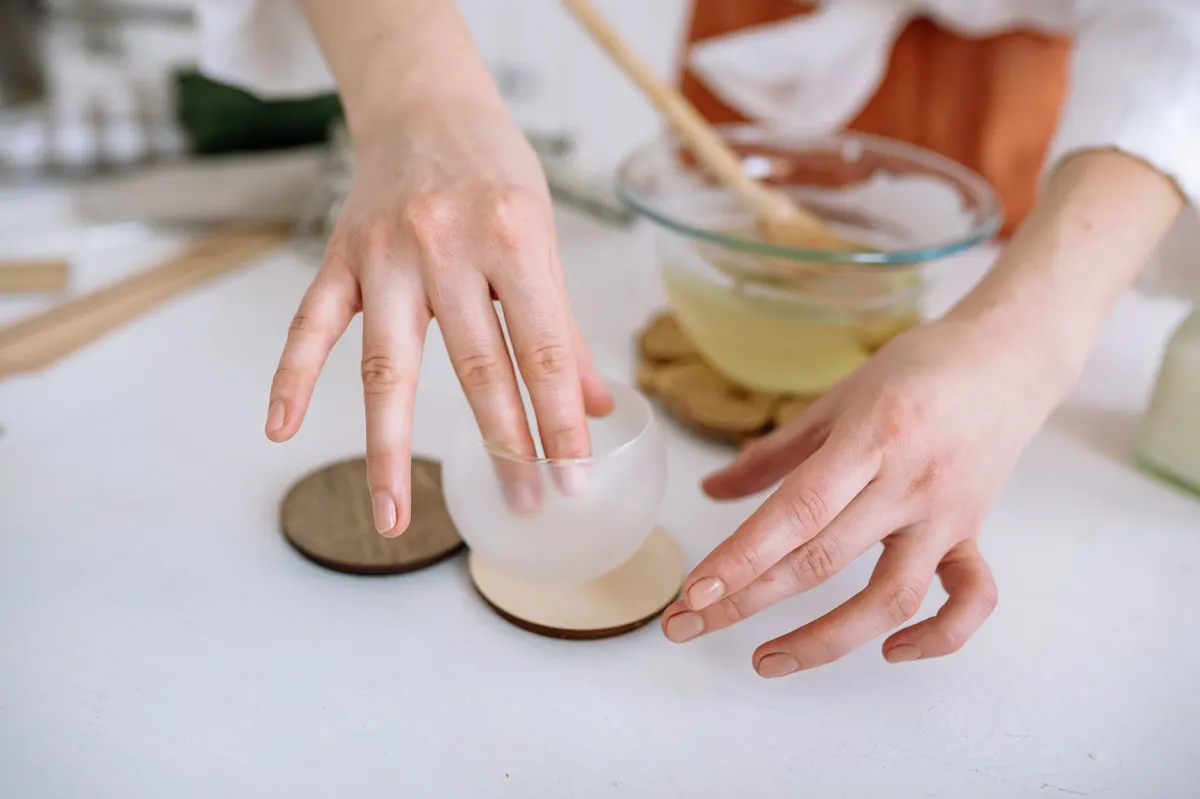
To make this feel like a truly premium gift, do not leave the inside unfinished. If you love transforming plain storage pieces, you can also try a DIY faux bone inlay bedside box from a thrifted wooden box for another stunning gift idea. For our vintage keepsake box, the easiest way to finish the interior is using self-adhesive felt or velvet sheets, which cost around a dollar each at any craft store. Measure the bottom and inside walls of the box, trim the felt sheets to size with sharp scissors, peel off the backing, and press them into place. This covers up any old stains, provides a soft cushion for jewelry or letters, and gives the gift a luxurious, completed feel.
The Cost Comparison
To see just how much budget room this project saves you for the holiday season, here is a quick look at how the costs compare to a typical high-end retail equivalent:
| Box Component | High-End Boutique Version | Budget Thrifted DIY Version | Typical Savings |
|---|---|---|---|
| Solid Wood Box Structure | $80 - $120 | $4 (Thrifted) | $76 - $116 |
| Hand-Applied Fine Art Print | $40 - $80 | $1 (Laser printout) | $39 - $79 |
| Gilded Detailing & Wax Patina | $30 - $50 | $2 (Pro-rated craft supplies) | $28 - $48 |
| Plush Velvet/Felt Interior Lining | $30 - $50 | $1.50 (Adhesive felt) | $28.50 - $48.50 |
| Total Cost | $180 - $300 | $8.50 - $14.50 | $171.50 - $285.50 |
Prices are estimates and vary by store and region.
All in, this beautiful gift will cost you about $14 to make, and it will look right at home sitting next to a stack of designer books or styled on a cozy bedside table. It is proof that with a little patience and a clear eye, you can easily offer gorgeous, high-end designs to those you love without breaking your holiday budget.
You Might Also Like
- What to Look For When Thrifting Vintage Brass Decor
- How to Turn a $12 Thrifted Globe into a $450 Vintage English Terrestrial Globe for $27
- How to Turn an $8 Thrifted Glass Dome into a $340 French Antique Cloche for $22
Frequently Asked Questions
How do you prevent bubbles from forming under the decoupaged paper art?
Apply a thin, even coat of decoupage glue, then smooth the print from the center outward using a scrap scraper tool or clean plastic card to press out trapped air.
Can I use standard printer paper for the vintage art print?
Yes, standard printer paper works great, but a laser print is ideal because the ink will not bleed or smear when the wet decoupage glue is applied.
How do you clean a thrifted wooden box that has a musty smell?
Wipe down the interior with a mixture of white vinegar and water, then let it dry completely in direct sunlight for a day before painting.


0 Comments