

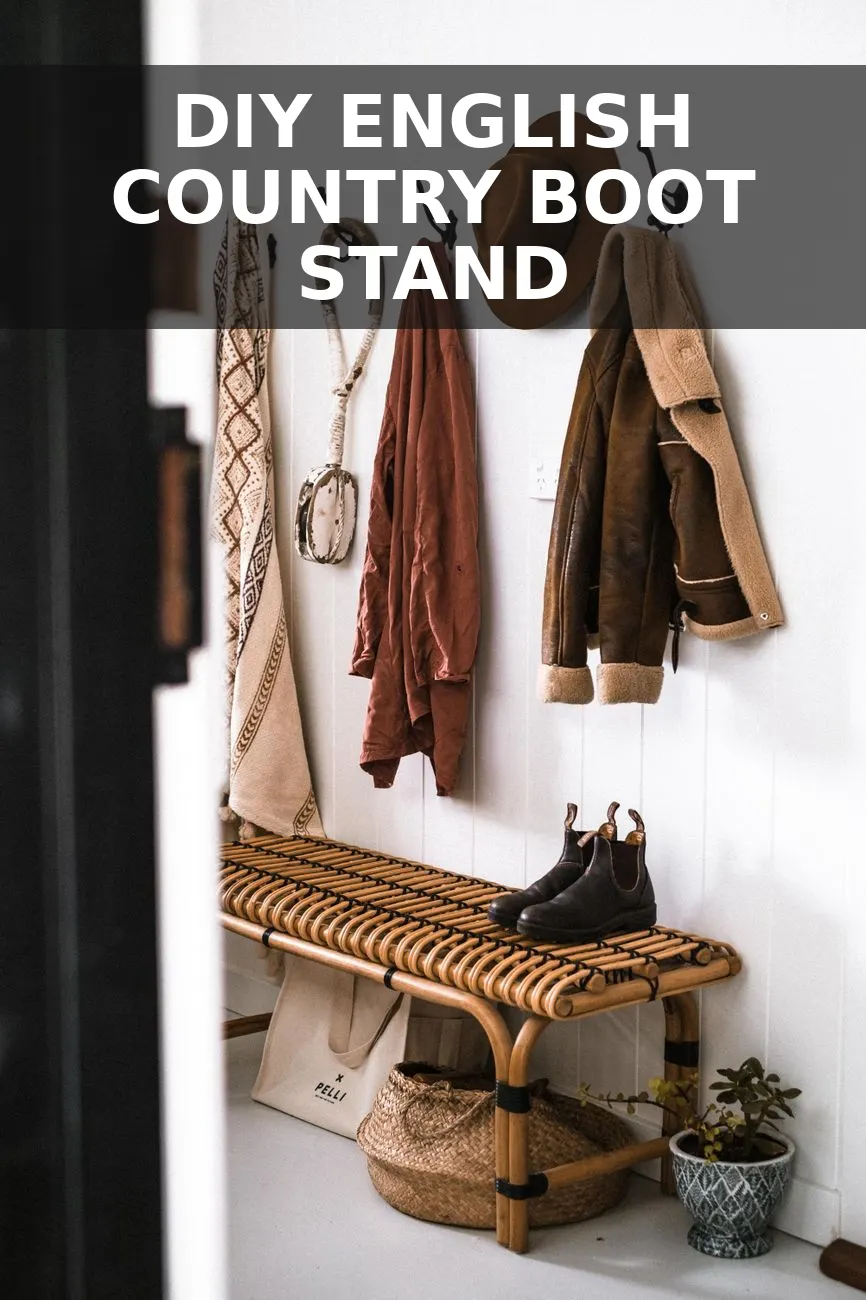
That pile of damp, muddy boots cluttering up the entryway was officially driving me wild. If you have ever looked up those gorgeous, turned-wood Wellington boot stands from high-end British home brands, you know they easily retail for over three hundred dollars. I could not justify spending that kind of cash on something meant to hold dirty shoes, so I set out to make my own using a clunky, orange-toned pine boot rack I found at a local thrift store for just twelve dollars.
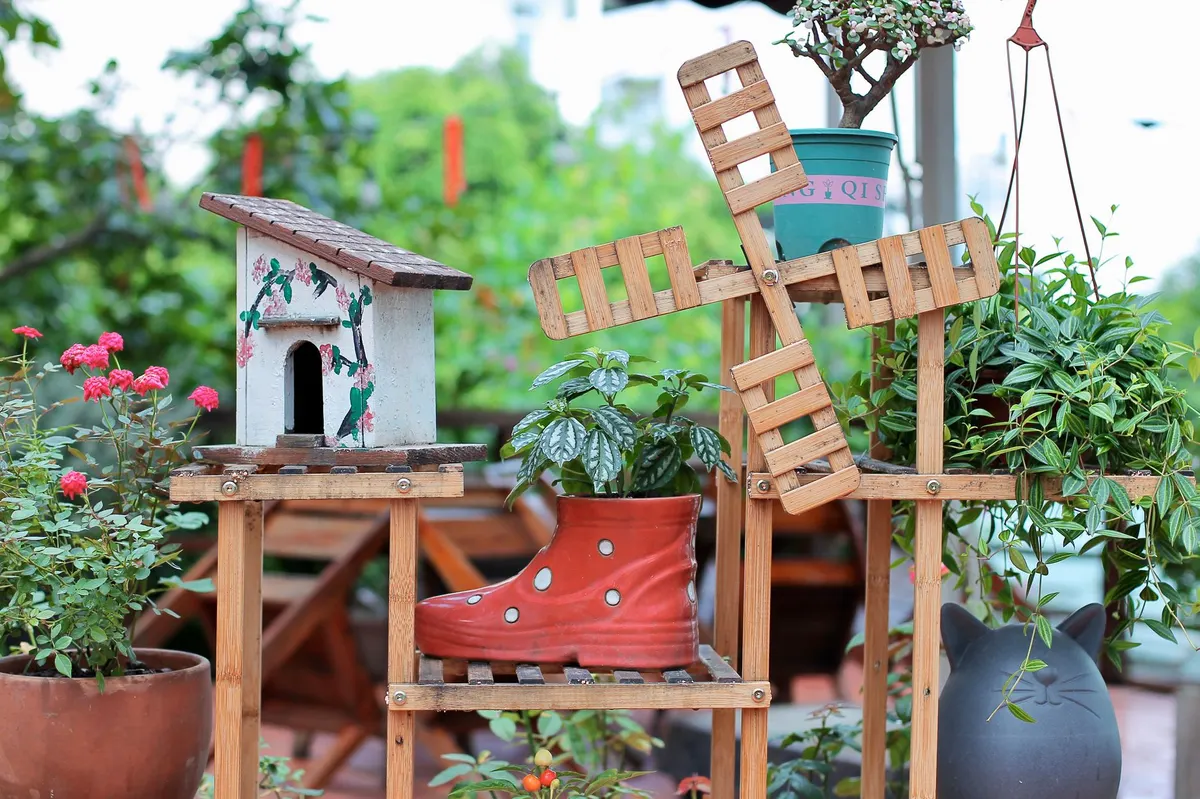
The Magic of a Simple Mudroom Transformation
With a little patience, some sandpaper, and a secret-weapon stain combination, you can turn a basic dowel rack into a piece that looks like it was plucked straight out of a cozy Cotswolds cottage. The best part is that this project requires zero power tools, making it perfect for a quick weekend project. If you are working on sorting out your front door clutter, you could easily pair this completed stand with a vintage English entryway mail holder to keep your keys and letters just as organized.
When I first spotted this boot rack at the thrift store, it was covered in a thick, shiny, plastic-like yellow varnish that made the pine look incredibly cheap. Do not let a bad finish scare you off. As long as the wood is sturdy and the dowels are firmly in place, you can strip away decades of bad finish to reveal the gorgeous grain underneath.
Gather Your Supplies
Before you get started, head to your local hardware store to grab a few basic supplies. You probably already have a few of these sitting in your garage. Here is exactly what I used to get this high-end look for less than the price of a takeout lunch:
| Item | Source | Price |
|---|---|---|
| Thrifted Wood Boot Rack | Thrift Store | $12.00 |
| 220-Grit Sandpaper | Home Depot | $2.50 |
| Minwax Gel Stain (Walnut) | Ace Hardware | $4.50 |
| Wipe-On Polyurethane (Satin) | Home Depot | $4.00 |
All in, this entire project cost me exactly $23.00, which is a massive saving compared to the retail version. Now, let us get into the actual steps to make this beauty.
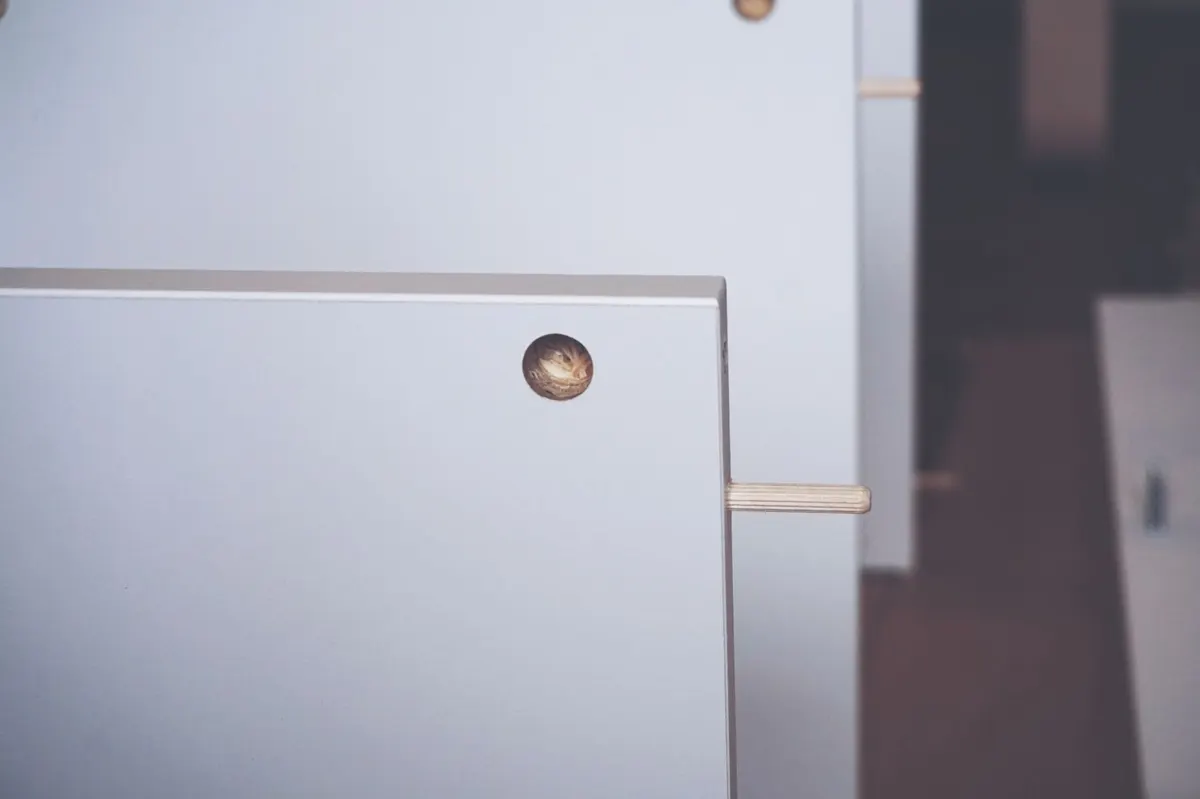
Step-by-Step Instructions
- Prep and Clean the Wood: Give your thrifted rack a thorough scrub with warm soapy water and a splash of vinegar to remove years of dirt, mud, and dust. Let it dry completely before you touch it with sandpaper.
- Sand Away the Old Finish: Using your 220-grit sandpaper, begin sanding down the entire piece. You do not need to strip the wood completely bare down to the raw white fibers, but you do need to scuff up that glossy factory topcoat so the new finish can stick. Sanding down those round vertical dowels took me back to when I stripped down my English country library ladder, so take your time and wrap the sandpaper around each peg to get into the crevices. Wipe away all the sanding dust with a damp microfiber cloth.
- Apply the Gel Stain: This is where the magic happens. Regular liquid wood stain can sink into soft pine unevenly, leaving it looking splotchy and cheap. Gel stain acts more like a glaze, sitting on top of the wood to give you a rich, uniform look. Dip an old cotton sock or lint-free rag into the walnut gel stain and rub it firmly into the wood, following the direction of the grain. Let it sit for about three minutes, then use a clean rag to gently buff away the excess.
- Let It Cure: Gel stain takes longer to dry than standard stain. Leave your rack in a well-ventilated area for at least twelve to twenty-four hours until it is completely dry to the touch and no longer tacky.
- Protect Your Work: Since wet boots will be sitting on this stand, waterproofing is essential. Wipe on three thin coats of satin polyurethane, waiting about two hours between each coat. The satin finish gives it a soft, hand-waxed look rather than a shiny, plastic appearance.
Styling Your New Entryway Piece
Once the polyurethane has cured for a full day, your boot stand is ready to show off. I styled mine right next to the front door with a pair of classic green rubber boots and a stoneware crock filled with umbrellas. It instantly makes the entryway feel warm, established, and incredibly organized.
Pro tip: If your boot rack is a bit lightweight and tends to slide around when you pull your heavy boots off, stick four small adhesive rubber pads to the bottom of the base. This keeps it firmly in place and protects your entryway floors from scratches.
It is amazing how a simple afternoon of sanding and staining can take a piece from looking like a garage sale throwaway to a beautiful, functional heirloom. If you have an ugly wooden rack hiding in your local thrift shop, grab it and give this easy DIY a try!
You Might Also Like
- How to Turn a $10 Thrifted Wire Mail Caddy into a $380 Vintage Brass Entryway Wall Pocket for $23
- How to Turn a $10 Thrifted Wooden Shutter into a $380 Vintage English Entryway Mail Holder for $23
- How to Turn an $8 Thrifted Wall Mail Holder into a $360 English Cottage Pocket Rack for $22
Frequently Asked Questions
What if my thrifted rack has plastic pegs instead of wood
You can replace plastic pegs by unscrewing them and gluing in hardwood dowels from the home improvement store before staining the base.
Do I have to use gel stain or will regular liquid stain work
Gel stain is highly recommended for pine or mixed woods because it sits on top of the wood instead of soaking in unevenly, preventing a blotchy finish.
How do you keep the boots from marking up the stained wood over time
Apply at least three thin coats of wipe-on satin polyurethane to create a durable, water-resistant barrier against wet and muddy boot soles.


0 Comments