

If you have ever spent ten minutes browsing the home aisles of a suburban thrift store, you have definitely walked past an ugly, dust-covered wooden carpenter box sitting on a bottom shelf for under ten bucks.
They were everywhere in the 1980s and 1990s—often built out of solid knotty pine with sloped ends, a thick round dowel running across the top as a carry handle, and a thick coat of sickly amber shellac. Most shoppers pass them by because they look like garage clutter. But when you strip away that glossy orange clear-coat and treat the raw pine with a soft, weathered brown stain, that clunky shop carrier transforms into the exact kind of antique English pine tote that luxury bath retailers sell for nearly four hundred dollars.
Finding the Right Thrifted Caddy
Before you hand over your cash, take thirty seconds to inspect the construction. You want honest timber, not modern synthetic boards that turn to mush under a sander.
- Look for solid wood joints: Turn the box upside down and look at the corners. You want solid pine or fir with nailed or dovetailed corners, never stapled MDF or printed pressboard that will bubble the second bathroom steam touches it.
- Check the center handle: Grab the round dowel and give it a firm wiggle. If it spins freely or feels loose, that is fine—you can tap a finishing nail through the side cheek to lock it down—but make sure the wood around the socket is not split straight through.
- Watch for internal dividers: Some older tool caddies have removable thin slats dividing the interior into three or four narrow slots. A single open compartment or one center divider works best for rolled bath linens and bulky amber bottles.
- Pass on heavy motor oil: A few random paint splatters add wonderful character, but skip any box soaked through with black engine grease, which will bleed through your new stain no matter how hard you scrub.
Stripping the Honey Gloss Down to Raw Grain
Most of these handmade pine caddies were coated in cheap polyurethane that has turned that harsh, radioactive orange over the last thirty years. Sanding it completely by hand in tight corners would take all afternoon, so grab a chemical stripping gel or a coarse 80-grit sanding sponge to break through the surface crust fast.
- Brush a generous layer of Citristrip over the interior compartments, the exterior panels, and the dowel handle, then let it sit for roughly thirty minutes until the old finish wrinkles like wrinkled paper.
- Scrape the softened varnish away with a flexible plastic putty knife. For the rounded handle, pull a piece of coarse steel wool along the length of the dowel to peel off the grime without gouging the curved wood.
- Wipe down the entire box with a rag dampened in mineral spirits to neutralize any residue and lift the remaining gumminess out of the wood pores.
- Once dry, hit every flat surface with 120-grit sandpaper, finishing with 220-grit for a silky, touchable feel. Pay extra attention to the top lip and the handle, rounding off the sharp factory edges slightly so it feels like three generations of hands have carried it.
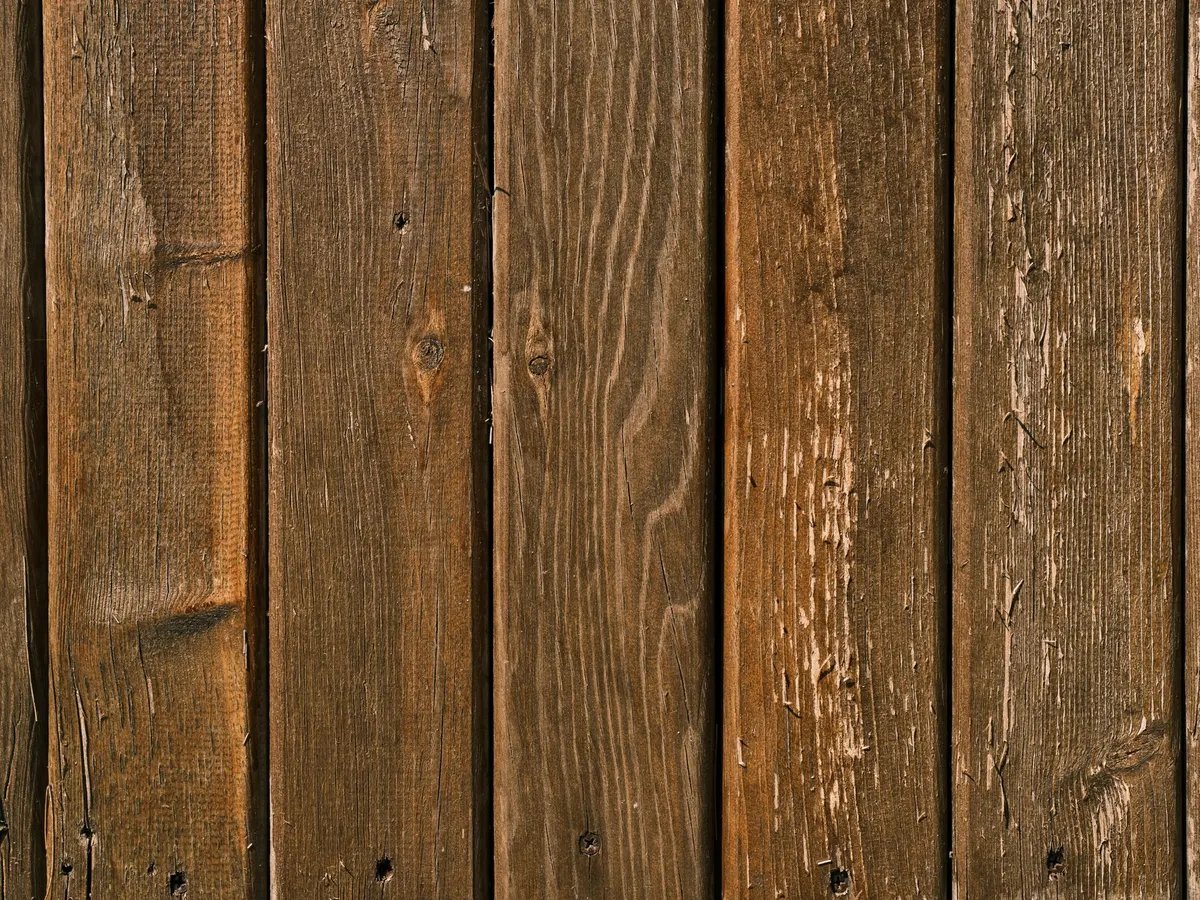
The Secret to That 100-Year-Old English Pine Color
Freshly sanded pine is notoriously stubborn. It tends to blotch, turning muddy yellow if you dump standard hardware store stain right onto it. To get the dusty, muted walnut tone seen in historic English country homes, you want to layer your finish rather than relying on a single heavy coat.
Start with a simple pre-stain wood conditioner or a very quick wash of diluted black tea. The tannins in the tea soak into the soft summerwood fibers of the pine, giving the grain depth and preventing the dark pigment from turning patchy. Let that dry for twenty minutes.
Next, brush on an oil-based stain in a muted shade like Special Walnut or Provincial, and wipe it away almost immediately with a clean cotton cloth. Do not let it pool in the corners. You want the color to settle deep into the raw knots and tool dings while leaving the high points pale and scrubbed. If you want even more depth, dab a tiny bit of dark antiquing wax into the seam corners and buff it out with a shoe brush until it glows softly.
Waterproofing for High-Humidity Bathrooms
Bathrooms are tough on wood. Between steamy showers and wet hands reaching for soap, bare timber will develop dark water rings in a matter of weeks if you leave it unprotected. However, if you slap high-gloss polyurethane over your fresh stain, you instantly undo all that antique charm.
Instead, apply two thin coats of dead-flat water-based polycrylic, or buff in two layers of high-grade carnauba paste wax. The flat polycrylic seals the pores against dampness while remaining completely invisible to the eye. Water will bead on the rim, yet the timber looks raw, dry, and historic. Let the topcoat cure for a solid twenty-four hours in a dry room before bringing it into the bathroom.
The Budget Breakdown
Here is what this project cost from start to finish. I already had sandpaper and mineral spirits in my supply cabinet, but even if you buy every material brand-new, it barely dents your wallet.
| Item | Price |
|---|---|
| Thrifted Pine Tool Caddy | $9.00 |
| Stripping Gel (portion used) | $4.50 |
| Small Can Wood Stain | $5.00 |
| Matte Sealer or Finishing Wax | $3.50 |
All in, this came out to about $22. High-end bath fixture stores and heritage home catalogs regularly charge $350 to $400 for reclaimed pine storage caddies with this exact same profile.
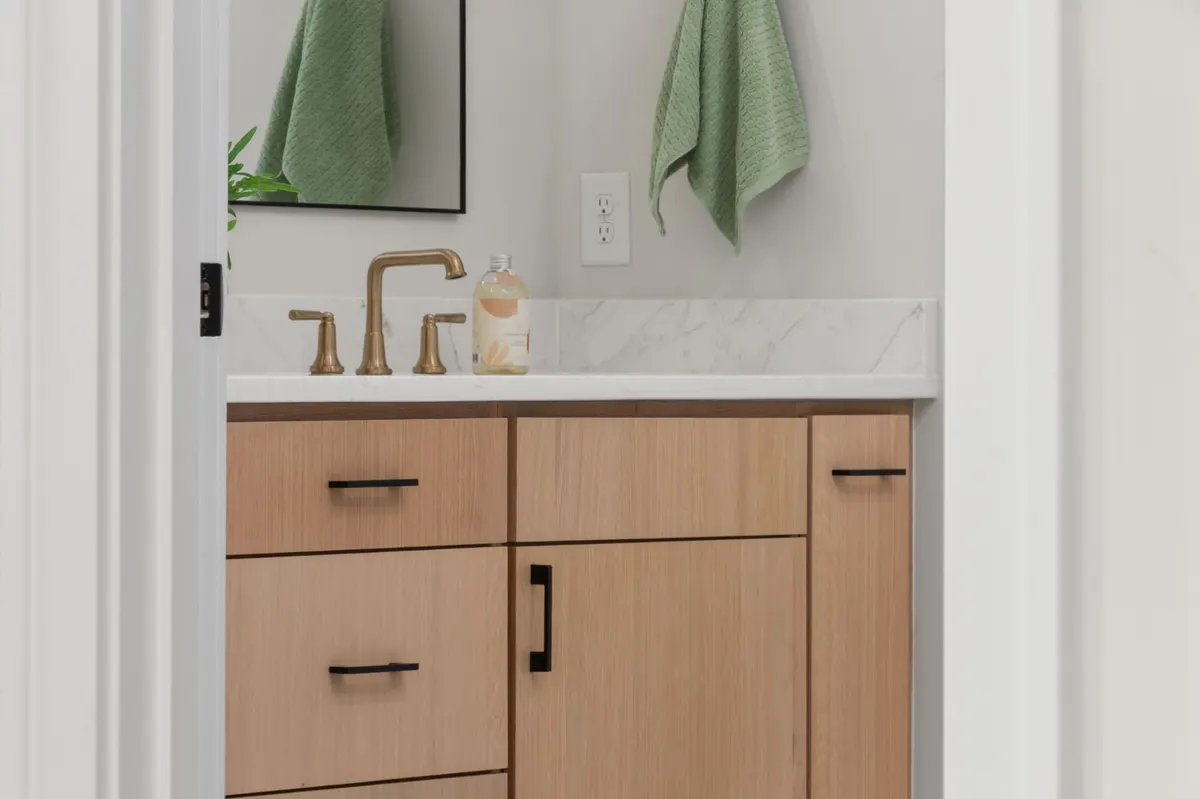
Styling Your New Bath Tote
Once your caddy is completely cured, bring it into the bathroom and treat it as a deliberate focal point rather than basic utility storage. Its warm, chunky wood cuts right through the cold, clinical look of modern white subway tile and porcelain vanities.
Roll up three or four waffle-knit linen washcloths and stand them vertically in one side of the box. On the other side, arrange a pair of heavy glass amber pump bottles filled with hand wash and bath salts, tucking a natural sea sponge and a wooden dry body brush right along the front rim. If you have a freestanding tub with empty floor space nearby, set the caddy directly on the floor beside your vintage English towel pedestal for a layered, collected look that feels effortless. You can also pair it on a wide vanity counter next to a vintage stone counter riser to balance different natural textures across the room.
It looks purposeful, keeps countertop clutter completely contained, and gives a discarded piece of workshop history another half-century of life.
You Might Also Like
- How to Turn an $11 Thrifted Standing Toilet Paper Holder into a $420 Vintage English Towel Pedestal for $25
- How to Turn a $9 Thrifted Wooden Key Cabinet into a $360 Vintage English Medicine Cabinet for $23
- How to Turn an $11 Thrifted Metal Wine Rack into a $380 Vintage Brass Bath Towel Rack for $24
Frequently Asked Questions
Will bathroom steam ruin the bare pine wood
Not if you seal it with a coat of matte polycrylic or water-resistant paste wax, which shields the grain from moisture rings without creating an artificial plastic sheen.
How do you get old workshop oil stains out of the wood
Scrub the timber with mineral spirits and fine steel wool before sanding, which draws out lingering grease so your fresh wood stain penetrates evenly.
Can I use this inside a walk-in shower
Keep it outside the direct water spray on a counter, bench, or vanity, as standing puddle water will eventually swell the joined pine seams over time.


0 Comments