

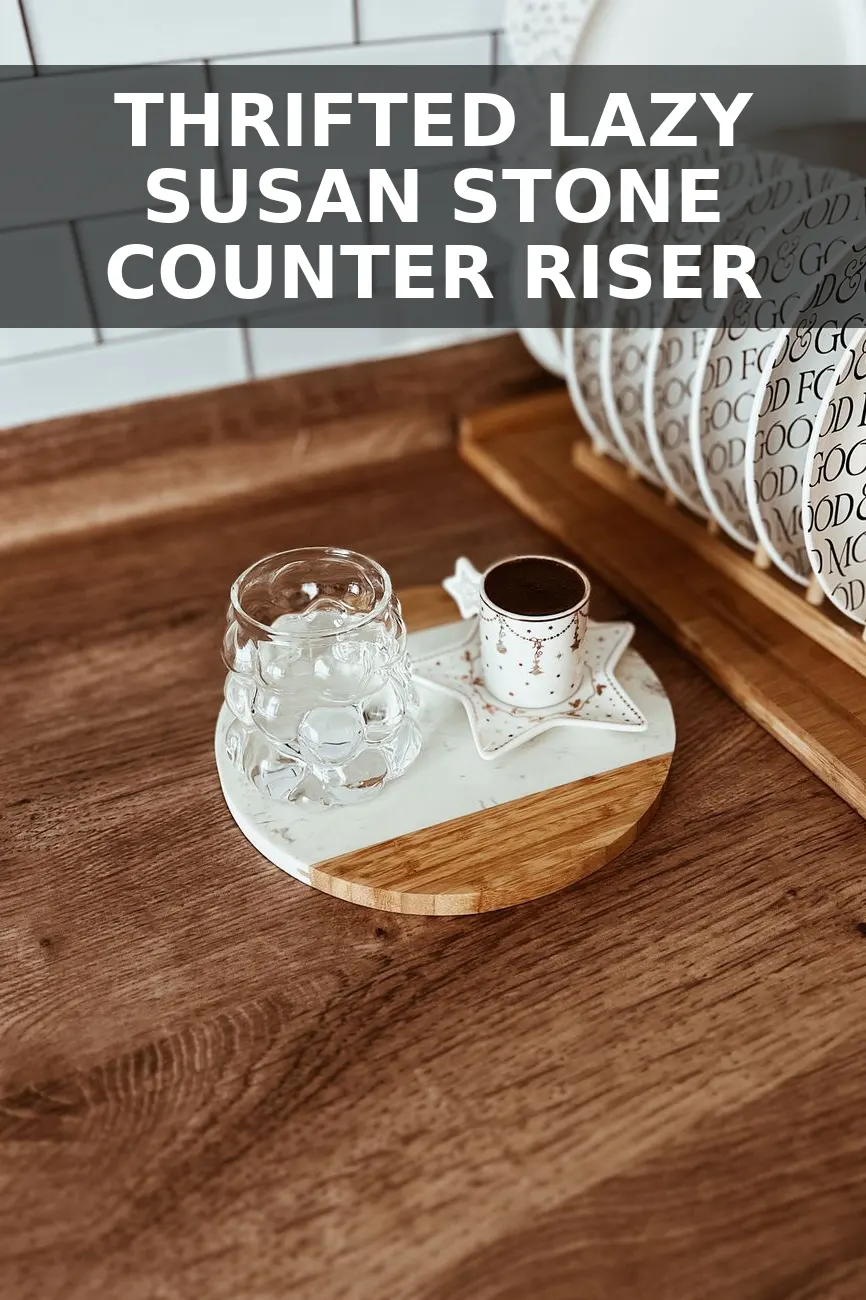
I spotted this beat-up oak lazy susan crammed onto the bottom shelf of a local Goodwill kitchen aisle for $9, complete with sticky cooking spray residue and a very dated 1990s honey varnish. High-end home stores are charging upwards of $380 for those chunky limestone and aged soapstone countertop risers right now, but with a couple of basic hardware store supplies and under two hours of work, this cheap wooden turntable became the absolute star of my stove area.
Why Countertop Risers Make Such a Difference
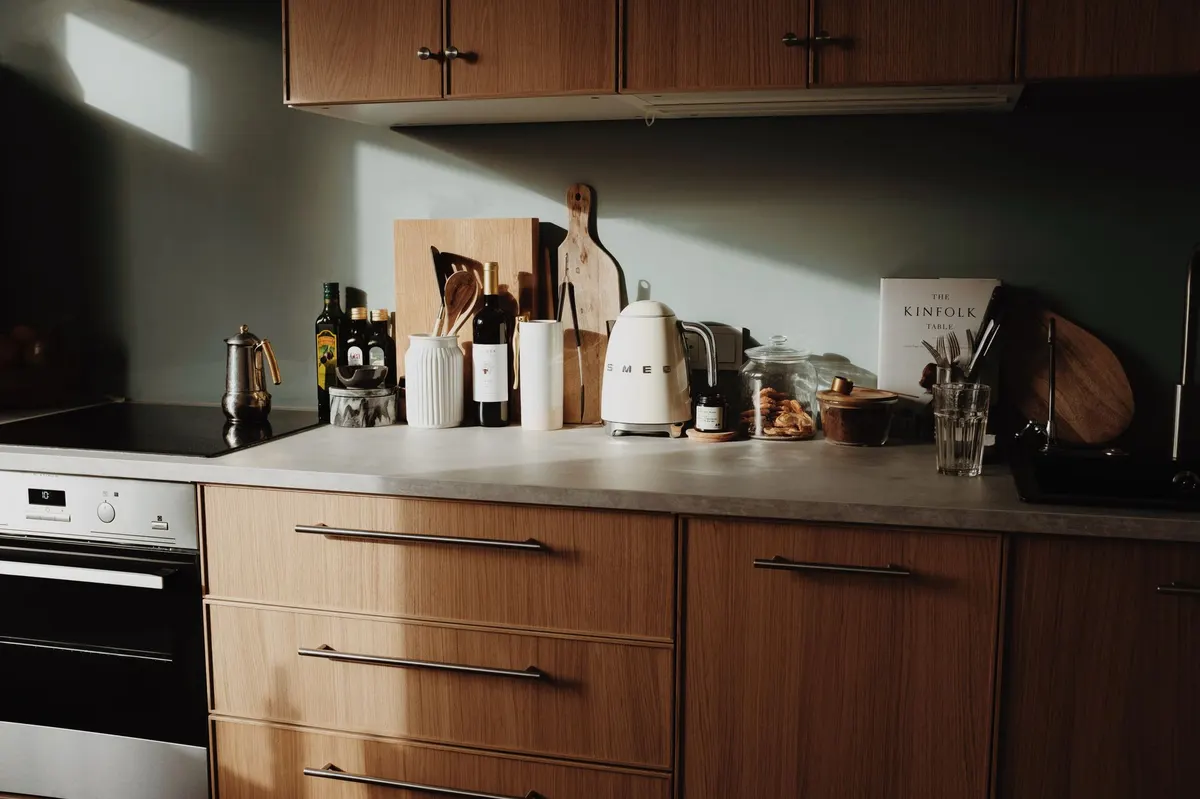
If your kitchen counters constantly feel cluttered with oil bottles, salt cellars, garlic keepers, and dish soap, grouping those items on a single elevated tray instantly cleans up the entire visual footprint. Instead of six separate small containers sitting on your quartz or granite, you have one cohesive vignette that moves as a single unit when you need to wipe down the countertops.
Building or flipping a swivel riser gives you the exact same functional convenience as a cheap plastic turntable, but with the weighty, antique feel of stone that looks like it was plucked from a European farmhouse. If you have already tried your hand at small kitchen upgrades like my vintage brass cookbook stand project, this piece sits right alongside it beautifully on a cooktop flank.
Materials and Cost Breakdown
You do not need fancy woodworking tools or expensive specialty plaster for this project. Everything used here came from a quick trip to Home Depot and my existing stash of sanding blocks.
| Item | Source | Cost |
|---|---|---|
| Thrifted Wooden Lazy Susan | Goodwill / Thrift Store | $9.00 |
| 120-Grit Sanding Sponge | Hardware Store | $2.50 |
| Rust-Oleum Stone Texture Spray Paint | Home Depot | $7.50 |
| Matte Polycrylic Clear Coat Spray | Target / Hardware Store | $5.00 |
All in, this total project came out to $24.00 flat. Considering similar solid stone lazy susans sell for hundreds at high-end boutiques, saving over $350 on a weekend afternoon feels like an absolute win.
Step 1: Prep and Tape the Hardware
The most important step when flipping any functional wooden turntable is protecting the spinning mechanism beneath it. Grease and dust gather inside those metal ball bearings over time, and spray paint will ruin the spin instantly if you do not seal it off properly.
- Flip the lazy susan upside down on your work surface.
- Use blue painter tape to completely cover the metal swivel plate and the inner seam where the base meets the top plate.
- Scrub the exposed wooden top and edges with warm water and a splash of Dawn dish soap to strip off built-up kitchen grease. Let it dry completely.
- Give all wood surfaces a thorough sanding with a 120-grit sanding block. You do not need to strip the wood down to bare timber, but you need to dull the glossy factory coat so your stone paint can grip.
- Wipe away all sanding dust with a microfiber cloth or tack cloth.

Step 2: Build Up the Faux Stone Finish
To get that heavy, pitted, old-world limestone texture on light pine or oak, texture spray paint is your best friend. The trick is applying it in several thin, misted passes rather than one heavy, wet coat, which can puddle and lose its porous pattern.
- First Coat: Set your prepped lazy susan on an outdoor drop cloth or heavy cardboard box. Shake the textured stone spray can for a full minute, then spray light sweeping coats holding the can about 12 inches away. Focus heavily on the outer rim first.
- Drying Time: Let the first layer dry for 30 minutes. It will feel rough to the touch, which is exactly what we want.
- Second Coat: Apply a second light coat across the entire top surface to make sure no original wood grain shows through.
- Custom Tinting (Optional): If the stone spray feels too dark or grey for your kitchen scheme, let it dry for one hour, then lightly dust the top with a warm ivory or off-white matte spray paint (like Rust-Oleum Heirloom White) from 18 inches away. This softens the flecks and gives it that authentic aged French limestone look.
Step 3: Seal for Real Kitchen Cooking Conditions
Since this piece is sitting right next to your stove or sink, oil splashes, sauce drips, and water rings are inevitable. Raw textured spray paint is porous and will stain quickly if left unsealed.
Spray two full coats of matte water-based Polycrylic clear coat over the entire painted piece, allowing 45 minutes of dry time between coats. Make sure to choose a dead-matte finish rather than satin or gloss—the matte clear coat keeps the realistic chalky look of genuine stone while creating a wipeable, non-porous shield.
Styling Your New Countertop Riser
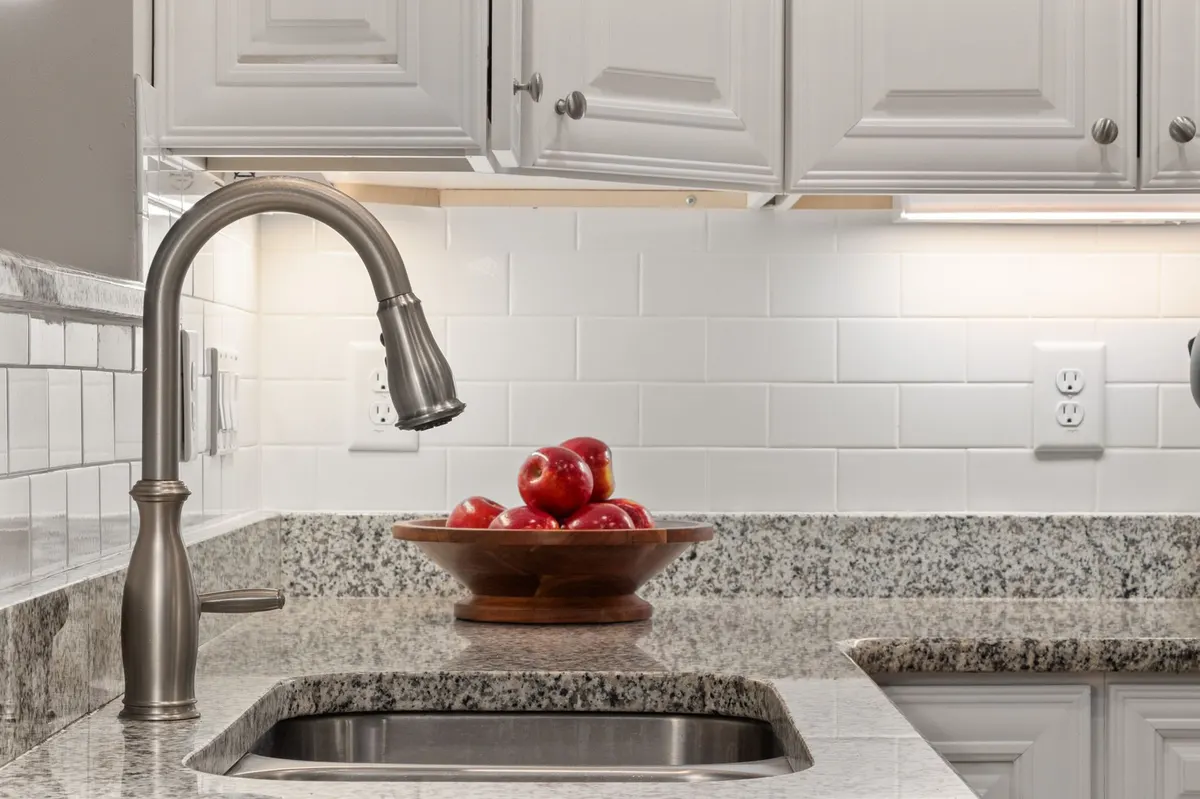
Once the final sealer has cured for 24 hours, carefully peel off the painter tape from the bottom mechanism and test the swivel. Place it next to your range or on your kitchen island to hold everyday cooking essentials.
I like pairing mine with an antique ceramic salt pig, a small vintage bottle of olive oil, a stoneware garlic jar, and a small brass grinder. Much like how a countertop paper towel spindle project grounds your paper products, this stone-look tray brings warmth, texture, and practical organization to your kitchen without taking up an inch of extra counter space.
You Might Also Like
- How to Turn an $8 Thrifted Paper Towel Holder into a $340 Vintage English Counter Spindle for $22
- How to Turn a $10 Thrifted Cookbook Stand into a $340 Vintage Brass Book Easel for $22
- How to Turn a $9 Thrifted Wooden Tie Rack into a $360 Vintage English Bedside Accessory Rail for $22
Frequently Asked Questions
Can I wipe this down with wet soapy water after cooking
Yes, as long as you apply two thorough coats of matte Polycrylic sealer over the stone finish, you can easily wipe off olive oil drips and spice spills with a damp sponge.
Does the lazy susan swivel mechanism still spin smoothly after painting
It spins perfectly as long as you tape off the bottom metal ball-bearing ring with blue painter tape before spraying your paint coats.
What if my thrifted lazy susan has deep scratches or knife marks
Deep marks actually add to the antique stone look, but if they bother you, just press a little wood filler or joint compound into the gouges before your initial sanding.


0 Comments