

I found this chunky little pine key cabinet sitting on a thrift store shelf between two scratched clocks, painted with faded country geese and fitted with four tiny brass hooks inside. It cost nine dollars, and underneath the dated 1990s finish, the proportions were identical to the antique English pharmacy cabinets selling on Etsy and 1stDibs for several hundred dollars.
With small bathroom walls, you rarely have space for bulky storage units, but you always need a dedicated spot for daily skincare vials, pill tins, and perfume bottles that otherwise clutter up your sink countertop. Turning a thrifted wall key box into a tailored wall cabinet took me one Saturday morning, a single strip of craft wood, and some leftover deep olive paint.
What to Look for at the Thrift Store
Almost every thrift shop has a section of small wooden wall hangings, and key cabinets show up constantly. Here is what makes one ideal for this project:
- Solid pine or oak construction: Avoid thin particleboard with printed paper veneer, which swells if moisture ever touches it. Solid wood takes sanding and paint cleanly.
- A recessed door frame: Look for boxes where the front door has an inset panel or an open glass insert. If it has glass, great. If it has a solid wood inset panel, you can either keep it solid or pop it out with a utility knife to add ribbed glass film.
- Depth of at least 2.5 inches: Measure the interior depth with your hand or a tape measure. You need roughly two to three inches of clearance so standard apothecary bottles, nail polish bottles, and rolled washcloths fit snugly inside without catching on the door.
- Sturdy hinges: Check that the side hinges swing freely and aren't stripped out of the wood frame.
Supplies and Budget Breakdown
Most of what I used came out of my existing workshop scrap pile, but even if you buy everything fresh at the hardware store, the total stays well under thirty dollars. If you recently tackled our vintage brass towel rack project, the warm tones here pair with that metalwork naturally.
| Item | Source | Price |
|---|---|---|
| Thrifted pine key cabinet | Thrift store | $9.00 |
| 1/4-inch balsa or basswood strip (for internal shelves) | Craft or hardware store | $3.50 |
| Fluted window privacy film sample sheet | Hardware store / Online | $4.50 |
| Solid brass cabinet turn-catch or mini knob | Hardware store | $4.00 |
| Sample pot of satin paint (Deep English Olive) | Home Depot | $2.00 |
All in, this came out to about $23. Compared to high-end bathroom wall curios that easily run $300 to $400, building it yourself gives you custom shelves sized specifically to the bottles you actually own.
Step-by-Step Instructions
- Strip the hardware and gut the interior: Unscrew the tiny metal key hooks from the back wall and unscrew the door hinges. Keep the hinges in a small dish so you do not lose the screws. If the front has an old decorative ceramic knob, unscrew that as well.
- Sand away the old finish: Use 120-grit sandpaper over the whole exterior and interior to knock down any shiny lacquer or painted graphics. Follow up with 220-grit to leave the wood smooth. Wipe away all dust with a damp rag or tack cloth.
- Build and install custom interior shelves: Measure the inside width and depth of the cabinet box. Use a small hand saw or craft utility knife to cut your 1/4-inch basswood strip into two or three shelf inserts. Apply wood glue to the ends of the shelves, slide them into position at your desired bottle heights, and secure them with painter's tape while the glue cures for 60 minutes.
- Add the ribbed glass effect: If your door already has clear glass, clean it thoroughly with rubbing alcohol. Cut a piece of reeded privacy film slightly larger than the glass pane, spray a light mist of soapy water on the inside face of the glass, lay the film down, and squeegee out bubbles with an old gift card. Trim any excess edge with a fresh razor blade. If your door had an open cut-out with no glass, cut a thin sheet of clear acrylic from the craft store to size and glue it behind the door frame before applying the film.
- Paint the exterior and interior: Apply two coats of rich, muted paint across the cabinet body and door frame. Deep olive greens, rich warm taupes, or aged black create that historic English apothecary look. Let the first coat dry for two hours before applying the second coat.
- Install vintage brass hardware and reassemble: Screw your original hinges back in place to hang the door. Drill a pilot hole on the outer door frame and screw in your new solid brass turn-catch or aged brass ball knob. If you like the look of older pieces, you can also hang this near an English cottage pocket rack for holding brushes or comb sets.
Styling Your New Vanity Cabinet
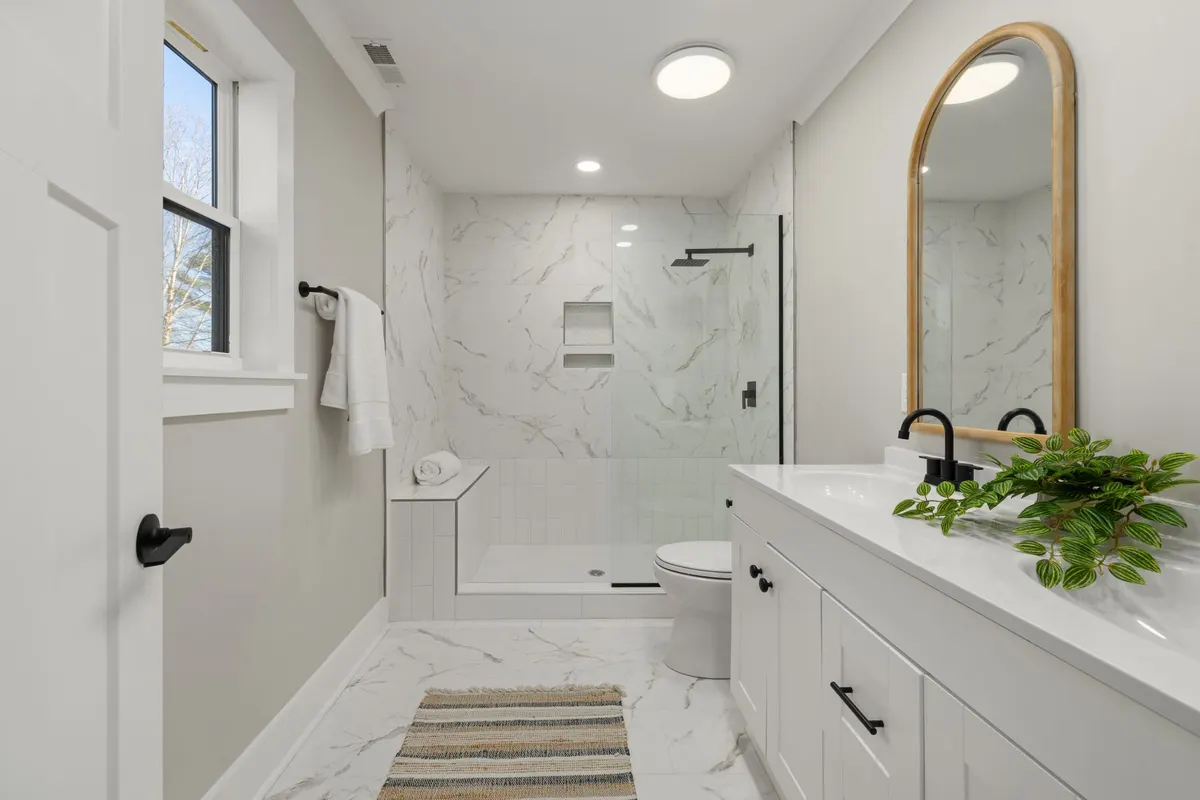
Hang the cabinet at eye level near your vanity mirror or above a single-towel ring. Because the reeded film blurs the contents while letting light filter through, you can store practical items inside without your bathroom looking messy.
On the top shelf, place small amber glass dropper bottles and rolled washcloths. On the lower shelves, set small brass pill boxes, vintage perfume atomizers, and everyday tooth powder tins. For small-footprint bathrooms where every square inch counts, this adds character and useful storage without eating up wall space.
You Might Also Like
- How to Turn an $11 Thrifted Metal Wine Rack into a $380 Vintage Brass Bath Towel Rack for $24
- How to Turn an $11 Thrifted Metal Plant Stand into a $420 Aged Stone Martini Table for $25
- How to Turn an $8 Thrifted Wall Mail Holder into a $360 English Cottage Pocket Rack for $22
Frequently Asked Questions
How do you secure small perfume bottles inside without them falling over when the door opens
Cut a thin strip of balsa wood or adhesive felt along the bottom lip of each shelf to create a tiny guard rail that keeps glass bottles steady.
Can I use real reeded glass instead of window film
You can if the back of the frame has removable clips, but reeded static-cling film gives the exact same look for under six dollars and takes two minutes to trim with a craft knife.
Will bathroom humidity ruin the paint or loosen the wood glue
A quick coat of water-based matte polyurethane over your paint seals the piece thoroughly against daily steam and moisture.


0 Comments