

Every time I see high-end kitchen reveals on Pinterest, my eyes zoom straight past the marble countertops to that one quiet detail sitting beside the stove: a solid, weighty brass book easel holding open an old French culinary book like a tiny piece of museum sculpture. I checked the price tags on the authentic antique versions and the heavy brass reproductions from boutique design houses, and they start around $340 and climb quickly from there. But last Tuesday at Goodwill, I walked past an entire wire basket shelf loaded with cheesy, 1990s black wire cookbook holders with heart-shaped scrolls, priced at ten bucks apiece. I knew right away that with thirty minutes of metal prep and a layered brass patina technique, it could look like a heavy heirloom piece pulled from an English manor kitchen.
The Hidden Potential in Cheap Kitchen Metal
Wire cookbook stands are one of the most reliable finds at thrift stores. People buy them for wedding registries, realize they take up valuable counter space, and donate them within a few years. What you want to search for is a stand with decent weight and architectural balance. Skip anything made of flimsy aluminum wire that bends when you tap it with your thumb. Look for wrought iron, square-profile steel wire, or even tubular metal stands with clean, simple scrollwork or classic straight bars.
The one I grabbed had great proportions: a sturdy folding kickstand in the back, a deep front lip that could easily cradle a two-inch-thick sourdough recipe book, and simple arched tops. The only problem was the flat, matte black powder-coat finish that screamed budget housewares section. Just like when I gave an old rack a new life in my English cottage wall rack project, the right surface texture changes everything.
Gathering the Right Materials
Achieving the look of authentic cast brass requires more than just spraying metallic paint out of a can and calling it a day. Spray paint straight from the nozzle always looks like fake spray paint because it lacks depth, weight, and micro-variations in tone. You need a textured matte primer, an antique gold metallic base, and a touch of dark brown wax to settle into the crevices.
| Item | Price |
|---|---|
| Thrifted metal cookbook stand | $10.00 |
| Rust-Oleum Clean Metal Primer (Matte) | $5.50 |
| Rust-Oleum Warm Gold Metallic Spray | $6.50 |
| Dark antiquing wax (on hand) | $0.00 |
| 0000 Ultra-fine steel wool (on hand) | $0.00 |
All in, this came out to about $22. If you already have a can of primer or spray paint sitting in your garage, your total will be even less.
Step-by-Step: The Faux Aged Brass Technique
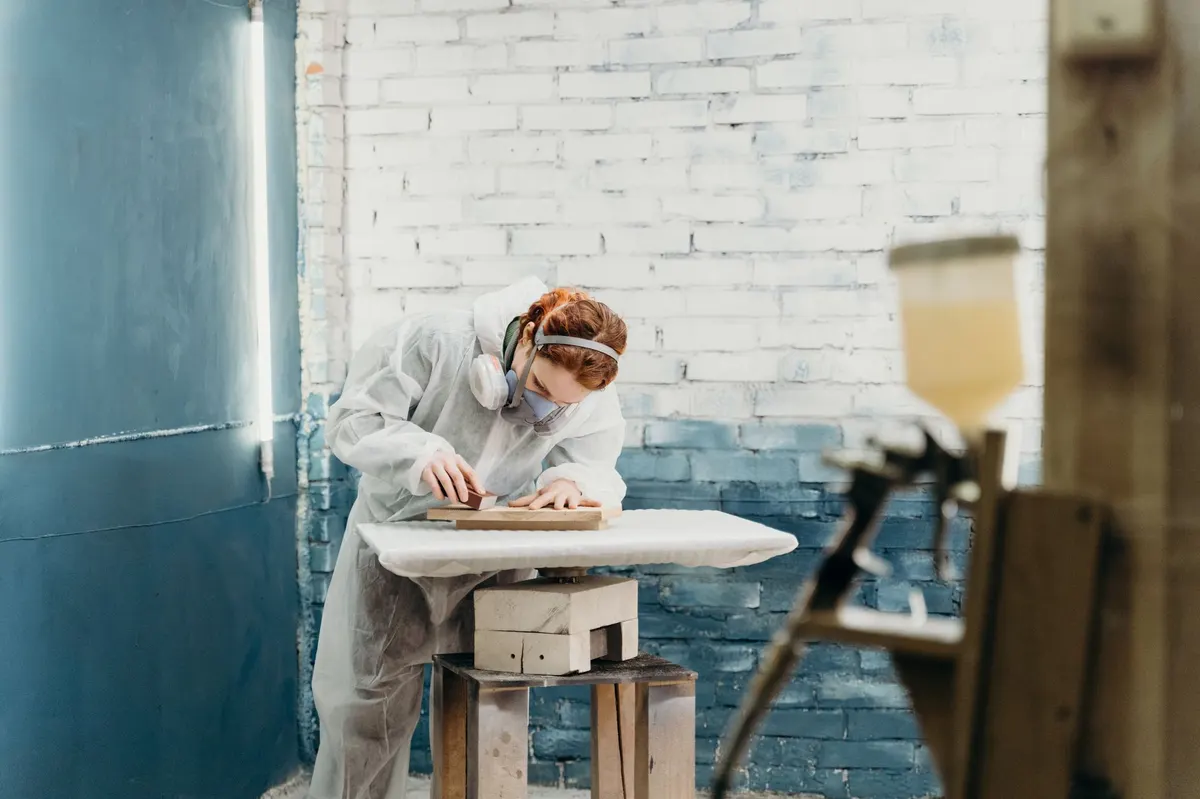
- Scuff and clean the metal surface: Grease and kitchen oils cling to thrifted metal even if it looks spotless. Scrub the entire stand with warm water and Dawn dish soap, dry it thoroughly, and then lightly scuff every inch with 0000 steel wool. This breaks the slick factory clear coat so your primer forms a permanent mechanical bond.
- Apply the texture-building primer: Shake your matte primer thoroughly and mist the stand with two very light, dry coats from about ten inches away. The goal here is not a dripping wet layer; you actually want a tiny bit of dry overspray texture. Authentic vintage brass casting has tiny microscopic pitting, and this matte primer creates that exact tooth.
- Lay down the warm gold base: Once the primer dries for 30 minutes, spray two light coats of warm gold metallic paint. Avoid bright chrome-like gold shades; look for tones labeled warm gold, champagne bronze, or antique brass. Keep your wrist moving and coat every angle, including the underside of the kickstand hinge.
- Create aged depth with dark wax: Let the metallic paint dry for at least four hours so the solvent fully flashes off. Take a dime-sized dab of dark brown finishing wax on a lint-free cotton rag. Rub it across the entire stand, working it directly into the welds, the joint seams, and the folding hinges.
- Buff back the high points: Take a clean section of your cloth and immediately buff away the wax from the broad, exposed surfaces while leaving it nestled in the corners and joints. This recreates a hundred years of handling, where friction keeps the ridges bright while oxidation darkens the hollows. Much like the process of styling an aged kitchen centerpiece, like we did when making a vintage French pedestal board, the contrast between dark patina and glowing metal does the heavy lifting.
Styling Your New Kitchen Easel
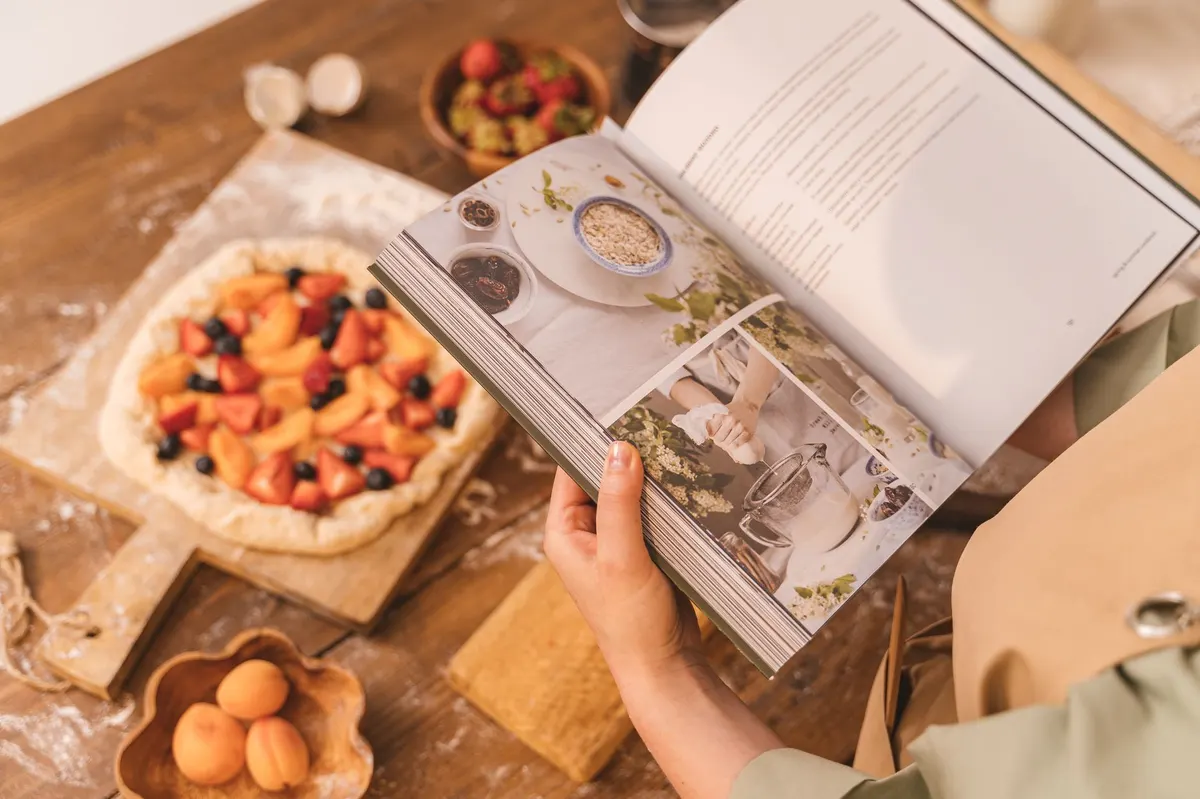
Once the wax has dried for twenty-four hours, the finish takes on a soft, waxy luster that catches the light like true unlacquered brass. Place it on your kitchen counter next to a crock of wooden spoons or tucked into an empty corner of your backsplash. Prop open an oversized linen-bound cookbook, a vintage family recipe binder, or even a framed oil painting print on stiff board when you are not actively cooking. It adds immediate architectural height to your countertops and looks like something uncovered at a Parisian flea market for a fraction of the cost.
You Might Also Like
- How to Turn a $10 Thrifted Quilt Rack into a $440 English Blanket Stand for $24
- How to Turn an $11 Thrifted CD Tower into a $480 Vintage English Pillar Bookshelf for $27
- How to Turn a $12 Thrifted Umbrella Stand into a $450 Vintage Brass Entryway Cylinder for $26
Frequently Asked Questions
Will the paint rub off onto cookbook covers or antique pages
No, once the clear satin enamel cures completely, it seals the pigment and will not transfer onto paper or book cloth.
Can I use this technique on a wooden book stand instead of metal
Yes, just make sure to sand the wood smooth and use an oil-based primer first so the metallic coat does not absorb unevenly into the grain.
How do I wipe away grease splatters without damaging the finish
Use a damp microfiber cloth with mild dish soap and gently dab the spot rather than scrubbing with abrasive cleaners.


0 Comments