


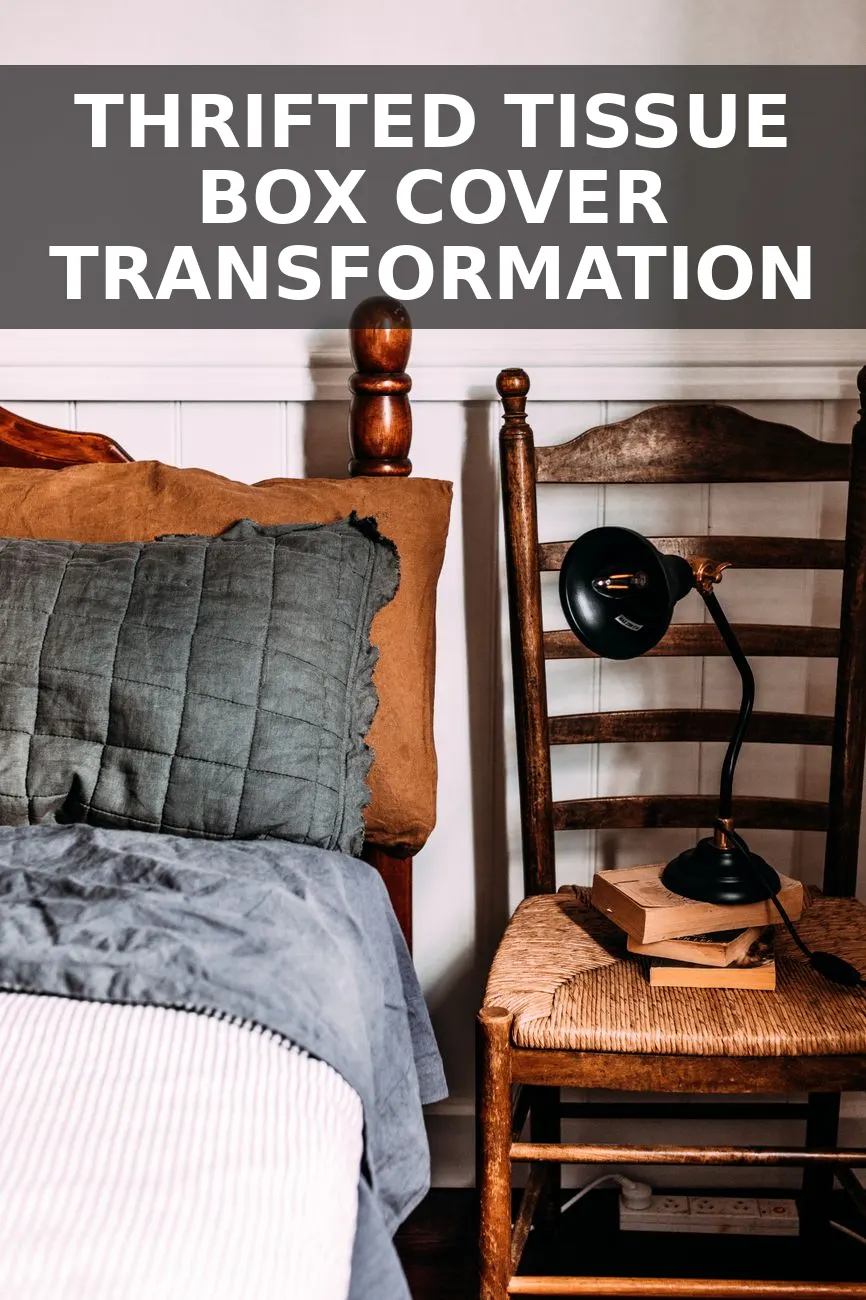
I grabbed a chunky, orange-stained wooden tissue box cover from the Goodwill shelves for $9 last Tuesday, and my husband gave me that familiar look that says, Why are you bringing home trash? If you have ever browsed high-end catalogs like Aerin or Serena & Lily, you already know those scalloped wood tissue covers easily go for $350 or more. They take something totally ordinary like a cardboard box of facial tissues and turn it into a refined, custom piece for your bedside table or bathroom vanity. Spending hundreds of dollars on a tissue box holder wasn't happening, so I decided to make my own using a few simple supplies from Home Depot and my local craft store.
Hunting Down the Perfect Thrift Base
You can find raw wooden tissue box covers at almost any thrift store for under ten dollars. Look in the home office or housewares aisle near the old picture frames and desk trays. Don't worry about ugly varnish, brass corner clips, or weird painted floral motifs from 1994. All we care about is structural integrity. As long as the wood isn't warped and a standard square Kleenex box fits inside, it is a winner.
If your local thrift store comes up empty, craft stores like Michaels sell plain unfinished pine tissue boxes for around $8 to $10. I prefer finding sturdy vintage oak or maple ones at thrift shops because the wood has more weight to it, which stops the box from sliding around when you pull out a tissue.
Supply List and Budget Breakdown
Here is what I used to build this custom piece. Most of these materials are basic items you might already have sitting in your garage or craft closet, but even buying them fresh keeps your total spend incredibly low.
| Item | Source | Cost |
|---|---|---|
| Thrifted Wooden Tissue Box Cover | Goodwill | $9.00 |
| Pre-Cut Scalloped Wood Trim (2 ft) | Craft Store / Etsy | $5.50 |
| Gorilla Ultimate Wood Glue | Home Depot | $3.00 |
| 120-Grit and 220-Grit Sandpaper | Hardware Store | $1.50 |
| Chalk Paint (Warm Linen or Soft Greige) | Target / Craft Store | $2.00 |
All in, this project came out to exactly $21.00. Comparing that to the luxury boutique price tag makes the forty-five minutes of hands-on work feel pretty rewarding.
Step-by-Step Transformation
This project comes together quickly over a single afternoon. Follow these simple steps to build your own scalloped cover.
- Prep and sand the base. Take your thrifted box and wipe it down with soapy water to clear away dust or grime. Once dry, scuff sand the entire outer surface using 120-grit sandpaper. You do not need to strip the original stain completely; you just want to break the shiny topcoat so your wood glue and paint stick properly.
- Measure and cut your scalloped trim. Measure each side of your wooden box. Using a small hand saw or even sturdy craft shears (if using thin basswood trim), cut four pieces of scalloped trim to match the exact width of each side. I like positioning the scallops along the bottom edge so they act as small decorative feet, but placing them around the top rim looks gorgeous too.
- Attach the scalloped molding. Apply a thin line of wood glue to the flat back of your trim. Press it firmly against the lower edge of the box. Wipe away any glue squeeze-out immediately with a damp rag. Secure the trim tightly with painter tape while the glue sets for about 30 minutes.
- Fill gaps and sand smooth. Once the glue dries, pull off the tape. Use a tiny dab of paintable wood filler anywhere the corner joints meet or where small gaps show. After the filler cures, lightly sand those joints flush with 220-grit sandpaper until the molding looks built right into the box.
- Prime and paint. Coat the entire piece in two thin layers of warm off-white or beige paint. I used a chalk-style paint in a soft linen shade because it dries flat and mimics old plaster or hand-carved painted wood. If you want a more traditional English country look, you could apply a rich dark walnut stain instead.
Pro Tips for an Ultra-Polished Finish
- Add weight to the base: If your thrifted box feels lightweight, glue a couple of small washer weights or heavy coins inside the bottom interior rim to keep it grounded.
- Distress the edges slightly: Once your paint dries completely, take a dry piece of 220-grit sandpaper and gently rub along the raised ridges of the scallops. Exposing just a hint of wood underneath gives it an authentic aged feel.
- Seal for bathroom use: If you plan on setting this on a bathroom counter near water splashes, seal the finish with a matte polycrylic topcoat rather than wax.
If you enjoy smaller organizational builds like this one, you might also like the vintage English mail sorter project I completed recently for my home desk. It uses a similar combination of wood trim and paint techniques to bring utility items to life.
Styling Your Finished Piece
Now comes the fun part. Drop a square tissue box inside through the bottom opening and place your new piece on a nightstand beside a ceramic lamp, a small stack of books, and a brass catchall tray. It completely hides that bright commercial box packaging while adding charming texture to the room. It matches the cozy antique aesthetic of the English country wall shelf I finished last month.
Next time you pass by those clunky wooden office accessories at the thrift shop, don't walk past them. A few inches of scalloped trim and leftover paint can completely redefine everyday household items on a tiny budget.


0 Comments