

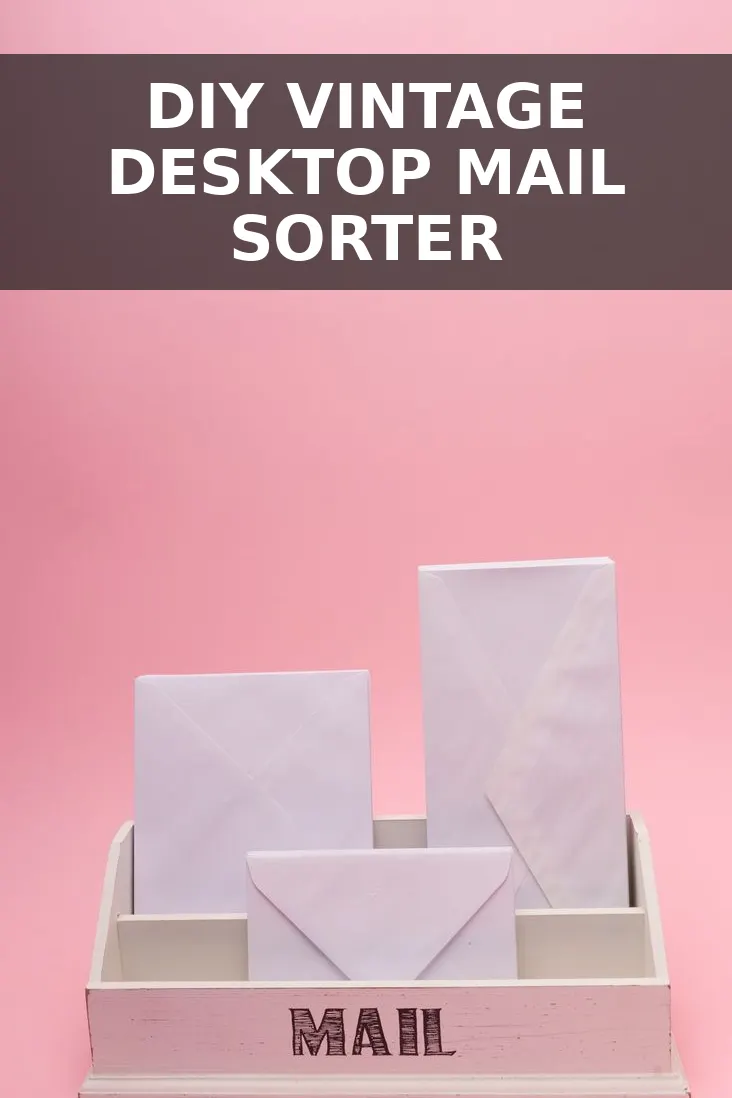
I found this beat-up pine desktop letter organizer sitting on the bottom shelf at Goodwill for $10, covered in sticky tape residue and faded pencil marks. High-end home catalogs sell solid oak and dark walnut mail sorters for $350 to $400, but under that ugly clear coat was real wood begging for a weekend makeover. With twenty minutes of simple trim work and a rich dark stain, I turned it into an English country desktop sorter that looks like a genuine antique shop find.
What to Look For at the Thrift Store
Walk into almost any thrift shop on a Tuesday afternoon and you will likely spot two or three wooden desktop organizers, inbox trays, or letter racks. People toss them out when clearing home offices, which makes them easy to grab for under ten bucks.
- Solid wood over fiberboard: Check the raw edges and the underside. Real wood sands down effortlessly; cheap veneered particle board will swell, crumble, or peel when you glue trim onto it.
- Sturdy joints: Look for neat dovetail or rabbet joints along the corners rather than flimsy stapled cardstock backing.
- Generous slot proportions: Make sure the dividers are wide enough to hold standard envelopes, small notebooks, or stationery without forcing them.
Step 1: Prep the Wood and Glue Architectural Trim
Plain thrifted wood usually feels flat and boxy. To give it an authentic Victorian or Edwardian library feel, we need to add decorative profile edges. I had a similar experience when I transformed an old magazine rack into an English country book caddy—adding small moldings immediately tricks the eye into seeing fine historic craftsmanship.
- Clean and sand: Wipe down every surface with rubbing alcohol to remove grease and sticky price tag residue. Sand all exposed wood with 120-grit sandpaper to break the factory finish, then smooth it out with 220-grit.
- Measure the decorative trim: Grab an eight-foot piece of pine cove molding or decorative screen trim from Home Depot (usually under $4). Measure the front face, top edges, and bottom lip of your organizer.
- Miter and secure: Cut the corners at 45-degree angles using a hand miter box. Run a thin line of wood glue along the trim back, press it firmly onto the organizer edges, and hold it in place with painter tape while it cures for one hour.
Step 2: Create a Deep Antique Walnut Finish
Cheap pine has a bad habit of absorbing stain unevenly, turning blotchy yellow or orange. The trick to getting that rich mahogany or aged walnut tone without buying expensive hardwood is layering pre-stain conditioner and gel stain.
- Apply pre-stain conditioner: Brush on a light coat of wood conditioner and let it soak in for 10 minutes before wiping off the extra liquid. This evens out the grain absorption.
- Wipe on gel stain: Rub Minwax Dark Walnut gel stain over the entire piece using an old cotton rag. Gel stain rests on top of the grain rather than sinking in rapidly, giving you complete control over color depth.
- Add dark wax in the corners: After the stain cures for 24 hours, apply clear paste wax with a soft cloth, then dab a small amount of dark antique wax into the trim joints and corners. Buffing it out leaves a soft, luminous sheen that feels decades old.
Step 3: Mount Brass Hardware and Decorative Metal Feet
This is where the transformation comes together. Simple wood turns into an heirloom piece the minute you add traditional brass accents.
- Attach brass label holders: Pick up a pack of miniature brass card frames online or from a local craft shop. Center one frame on the front face of each divider compartment. Mark the screw holes with a pencil, pre-drill tiny pilot holes so the wood does not crack, and drive in the small screws.
- Add brass corner feet: Flip the sorter upside down. Screw small brass ball feet or decorative bracket feet into the four base corners. Lifting the entire piece off the desk surface gives it a distinct furniture-grade profile.
- Add hand-written labels: Cut small rectangles from heavy tea-stained paper, write your drawer categories (like Inbound, Postage, or Bills) with a dark pen, and slide them directly into the brass frames.
Cost Breakdown
Here is the exact cost breakdown for this build. All in, this project came out to $22, compared to brand-name versions that retail for nearly $400.
| Item | Source | Cost |
|---|---|---|
| Thrifted Wooden Desk Sorter | Goodwill | $10.00 |
| Miniature Cove Molding (8 ft) | Home Depot | $3.20 |
| Mini Antique Brass Label Holders (4 pack) | Amazon | $4.10 |
| Miniature Brass Box Feet (4 pack) | Amazon | $4.70 |
Styling Your Vintage Desk Sorter
Now comes the satisfying part: filling the slots. To keep the classic look going, skip plastic folders and neon sticky notes. Fill the compartments with cream stationery, kraft envelopes, vintage brass scissors, and small cloth journals.
If you are setting up a cozy office nook on a budget, this looks wonderful resting right under a French linen ribbon memo board or placed next to a vintage English schoolhouse clock. You get a high-end, tailored desk setup for a tiny fraction of retail prices.


0 Comments