


I stumbled across a chunky 1980s oak mug tree at my local Goodwill for ten dollars, slathered in thick orange varnish and looking like it belonged in a greasy spoon diner. But with twenty minutes of sanding, a dark wood stain, and a coat of antique paste wax, it turned into the kind of heavy, warm wooden mug stand you see sitting beside a copper kettle in a English country home.

What to Look for at the Thrift Store
You see these wooden mug trees everywhere on thrift store shelves. Usually, they sit tucked away on the back cookware aisle between chipped Pyrex and plastic tumblers. When you are looking for one to makeover, ignore the dated high-gloss clear coat or the yellowed tone. Focus purely on the solid wood structure and the shape of the peg arms.
- Solid Wood vs. Veneer: Look for posts made of solid pine, oak, or maple. Avoid cheap hollow pressboard pieces wrapped in paper wood grain film.
- Screw-In Pegs: Check if the pegs are threaded directly into the central post. Pegs that can be unscrewed make sanding and staining tenfold easier.
- Base Weight: Make sure the circular base feels thick and heavy enough to support heavy ceramic cups without wobbling.
Materials and Budget Breakdown
You do not need an expensive workshop setup to refinish vintage wooden kitchen pieces. Here is the exact cost breakdown for everything I used on this project:
| Item Purchased | Cost |
|---|---|
| Thrifted Wooden Mug Tree | $10.00 |
| 120 & 220-Grit Sandpaper Sheets | $3.50 |
| Dark Walnut Wood Stain (Sample Can) | $4.50 |
| Dark Antique Paste Wax | $4.00 |
All in, this project came out to exactly $22. I already had an old cotton rag and a small sheet of sandpaper in my garage, so keeping the final price under twenty-five dollars was effortless.
Step-by-Step Instructions
- Disassemble the Frame: Unscrew the main central spindle from the round bottom base plate. Unscrew any removable side pegs. Disassembling the tree keeps stain from pooling in the tight joint crevices later.
- Sand Away the Factory Sealant: Take 120-grit sandpaper and scrub off the hard plastic-feeling varnish coating. You do not need to scrape down to bare blonde wood everywhere, but you must remove the glossy sheen so the raw wood grain opens up. Follow up with 220-grit sandpaper to make the timber feel silky smooth to the touch.
- Softened Finial Profile: Many mass-produced wooden trees feature a severe spherical knob right at the very peak. I used a simple hand file to gently flatten the round ball finial into a softer, rounded dome profile that feels far more hand-turned and vintage.
- Apply Dark Wood Stain: Wipe away all leftover sanding dust using a slightly damp cloth. Using an old cotton rag, wipe a coat of dark walnut wood stain over every wood surface. Let it penetrate the timber for three minutes before thoroughly buffing off any wet excess stain.
- Seal with Dark Antique Wax: After letting the stain dry completely overnight, rub a small scoop of dark paste wax across the wood using a lint-free cloth. Work extra wax into the carved turnings and joints where natural dirt and age would gather over time. Let it set for fifteen minutes, then buff briskly with a clean cloth until a soft, velvety sheen appears.
Styling Your English Country Mug Stand
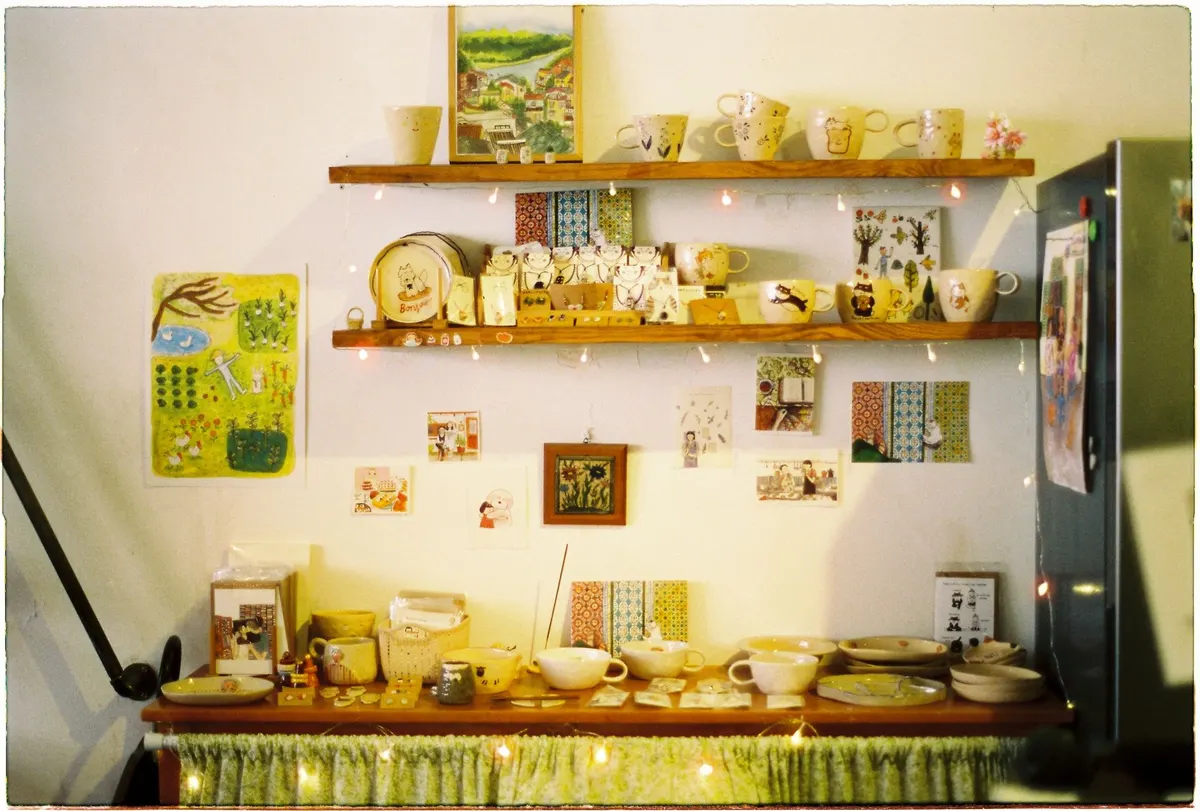
Reassemble the spindle securely into the heavy wooden base plate. Place your fresh mug stand directly onto your kitchen counter right beside your coffee maker or electric tea kettle. Hang four to six chunky stoneware mugs with raw speckled glaze finishes to highlight the rich dark wood tones.
Pairing this warm wooden piece on the counter alongside an aged English counter spindle creates an instantly cozy, tailored look in your kitchen. If you enjoy flipping rustic kitchen accessories, you should also check out how I turned a thrifted wooden lazy susan into a stone counter riser or transformed an old wall piece using an English country wall display rail from a wooden spoon rack.
You Might Also Like
- How to Turn a $9 Thrifted Wooden Lazy Susan into a $380 Vintage Stone Counter Riser for $24
- How to Turn an $8 Thrifted Paper Towel Holder into a $340 Vintage English Counter Spindle for $22
- How to Turn a $10 Thrifted Cookbook Stand into a $340 Vintage Brass Book Easel for $22
Frequently Asked Questions
Can I paint this instead of staining it
A muted cream or charcoal grey chalk paint sanded lightly along the high points gives a gorgeous distressed cottage finish.
Will heavy ceramic stoneware mugs tip the stand over
As long as the circular base is solid wood and you balance the weight evenly across opposite pegs, it stays completely stable.
Do I need to strip all the old clear varnish off first
No full chemical stripping is needed, just sand enough to scuff up the high-gloss shine so your new stain or paint can cling to the grain.


0 Comments