

I almost walked right past this chunky 1980s honey-oak mail organizer at Goodwill, but its deep wood pockets and solid pine backplate had the exact proportions of high-end English cottage wall racks selling for upwards of $360.
Entryways get cluttered fast. Mail stacks up on the kitchen counter, dog leashes end up on dining chairs, and keys disappear right when you need to walk out the door. High-end catalog shops offer gorgeous heritage wall pockets with brass label holders and forged hooks to solve this exact problem, but paying several hundred dollars for hanging entryway storage felt unreasonable. When I saw this $8 thrift shop piece with its dated orange varnish and country heart cutout, I knew ten minutes of prep work and a couple coat applications would give it that moody, bespoke feel for a tiny fraction of retail pricing.
Spotting the Right Base Piece at the Thrift Store
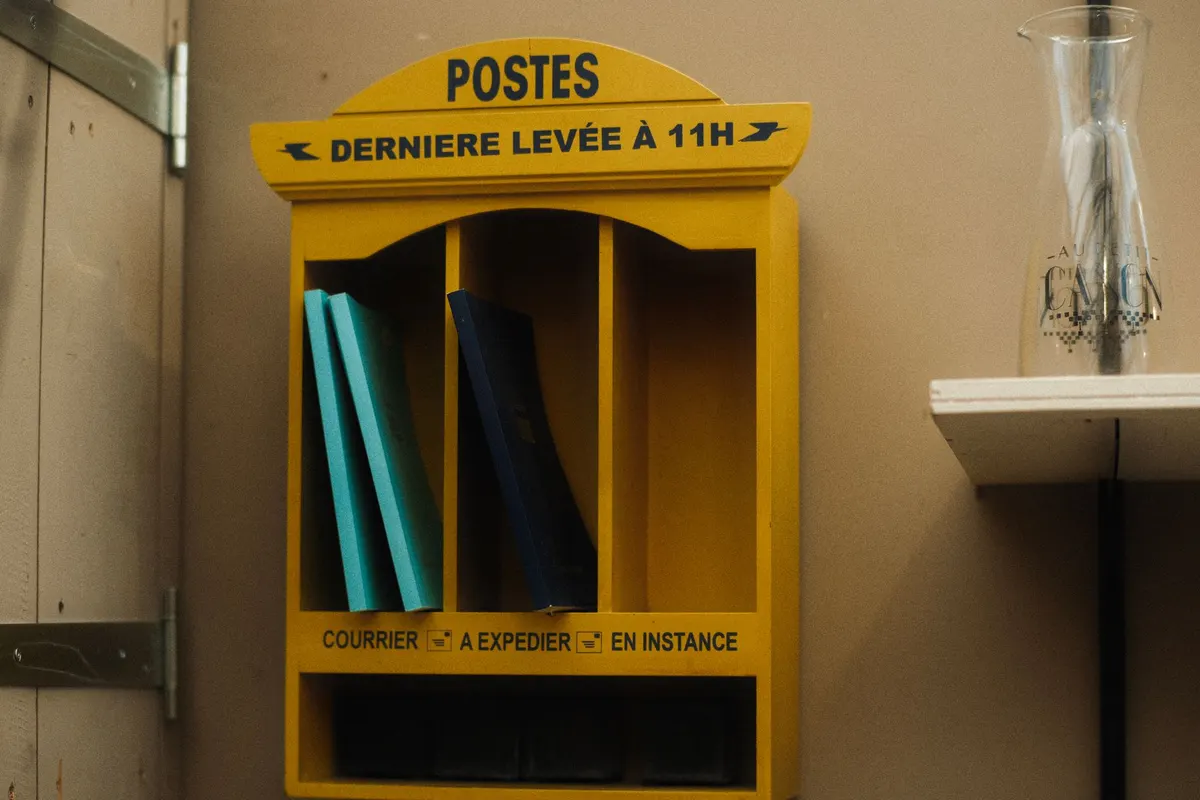
You do not need to find the exact duplicate of my wooden organizer to make this work. Thrift store shelves are constantly packed with vintage wall organizers, letter boxes, and key racks from previous decades. Look past ugly finishes or tacky decorative decals on the front panels.
Here is what you want to keep an eye out for when picking your base piece:
- Solid wood construction: Check the backer board and pocket sides. Real pine, oak, or maple will hold paint and hardware far better than hollow particle board.
- Deep pocket dividers: Ensure the pockets are at least three inches deep so mail, sunglasses, or small notebooks actually stay seated inside without falling forward.
- Clean architectural lines: Square or gently arched top edges translate easily into classic English country styling. Avoid weirdly curved scalloped plastics or laminate edges.
My particular find had a small heart cutout stamped into the top crown rail and three flimsy plastic key hooks along the bottom edge. Both issues took less than fifteen minutes to fix before painting.
Prepping and Modifying the Wood
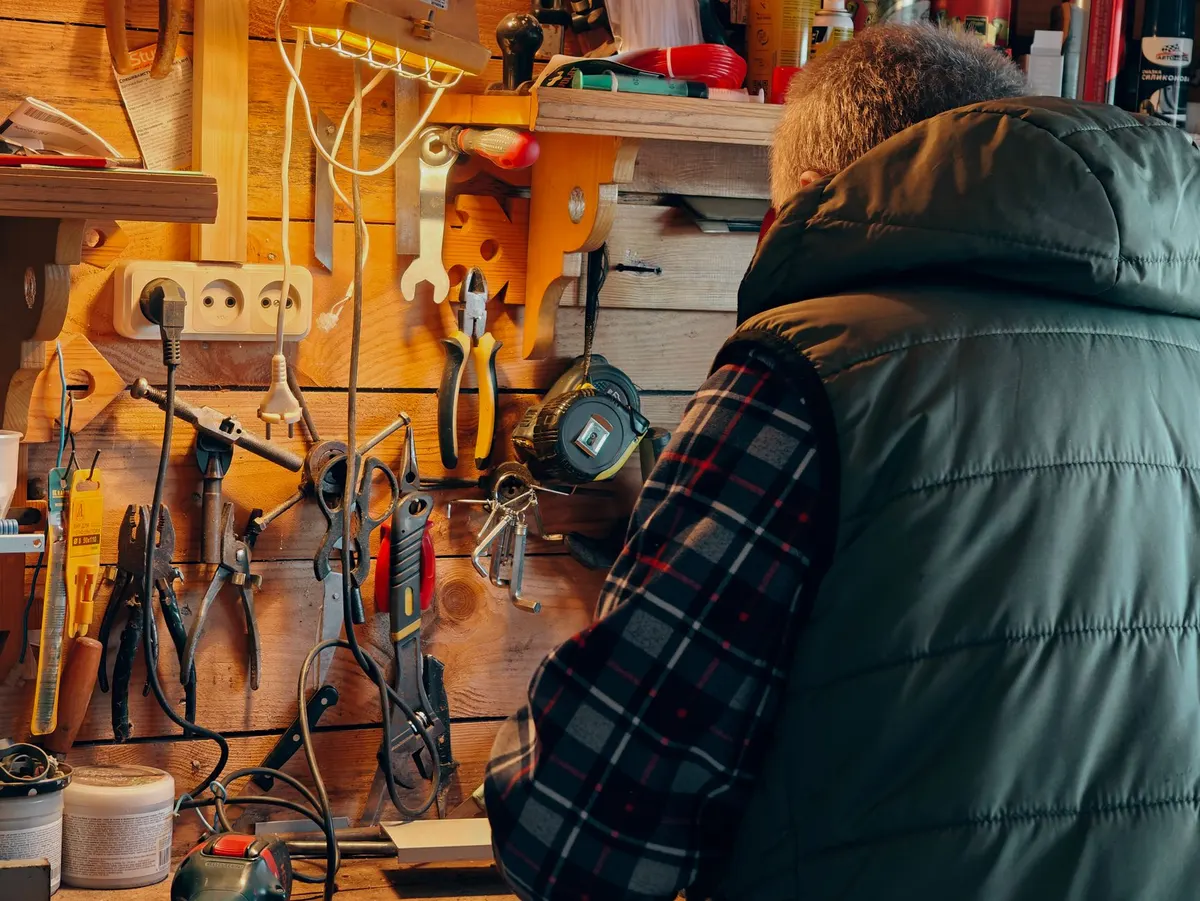
To get that tailored antique look, we need to eliminate any dated details and build a flat, smooth surface ready for paint finish work.
- Remove old hardware: Unscrew all back mounting brackets and bottom hooks using a standard hand screwdriver. Save screw holes if you plan on reusing those exact locations, or fill them if you are repositioning new hardware.
- Fill unwanted cutouts or decorative grooves: Scoop a small dab of stainable wood filler onto a putty knife and press it firmly into decorative cutouts, grooved lines, or hole openings. Overfill slightly, then allow it to dry completely for about one hour.
- Sand everything smooth: Use 120-grit sandpaper over the entire piece to level out dried wood filler and break the original high-gloss sheen. Follow up with 220-grit sandpaper over all edges to create soft, rounded corners that look aged by time.
- Wipe clean: Remove all wood dust with a damp microfiber cloth or tack cloth so your paint coats go on smooth without bumps.
If you enjoy working with vintage wall storage ideas, this prep method works identically to how I updated a countertop setup with a vintage English mail sorter for my desk.
Applying Milk Paint and Vintage Distressing
Traditional chalk paint or true milk paint gives wood an authentic muted matte finish that looks like it belongs in a historic home rather than off a modern store shelf. I chose a rich, deep olive green shade mixed with equal parts water.
Apply your first light coat following the grain of the wood. Don't worry if the coverage looks slightly sheer on the first pass; milk paint builds depth as it dries. Let the first coat dry for 40 minutes, then apply a second full coverage coat across all front faces and pocket interiors.
Once the final paint layer is completely dry to the touch, take a small sheet of 220-grit sandpaper and lightly rub along natural high-contact points—the outer edges of the pockets, top corners, and around hardware mount spots. This exposes tiny slivers of bare wood underneath and gives the piece an authentic aged character without looking artificially distressed.
Seal the entire paint finish by rubbing on clear furniture wax with a lint-free cotton cloth. Buff lightly after ten minutes to leave a soft satin glow that protects the paint from everyday scratch marks.
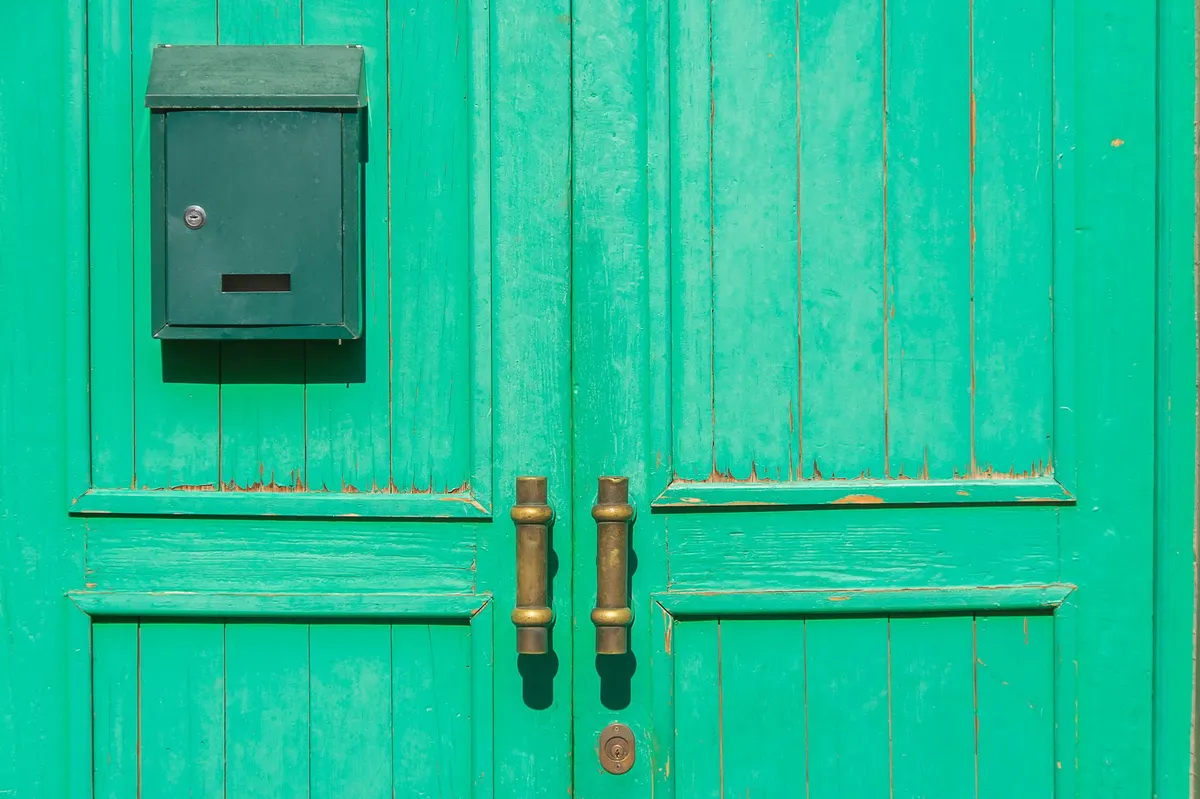
Installing Antique Hardware and Hanging
The secret that turns a simple painted board into an expensive-looking feature item comes down to hardware detail. Toss the cheap plastic or modern wire hooks and replace them with cast iron or aged brass cup hooks along the bottom rail.
Measure equal spacing across the lower edge of your rack. Mark hook placement using a sharp pencil. Pre-drill small pilot holes using a 1/16-inch drill bit or twist a small nail into the mark to give your hooks a starter thread. Screw the aged brass hooks slowly into place by hand until flush against the wood bottom edge.
For extra vintage flair, you can also screw small brass label frame holders to the center face of each mail pocket, allowing you to slide in hand-written card stock labels like Outgoing, Inbound, or Keys.
If you love this aesthetic across your entryway setup, consider pairing this wall pocket alongside a transformed English wall rail nearby for coats and bags.
Budget Breakdown
Here is what this project cost from start to finish using materials I picked up locally:
| Item | Price |
|---|---|
| Thrifted Wall Mail Organizer | $8.00 |
| Sample Jar Milk Paint (Muted Olive) | $5.50 |
| Antique Brass Cup Hooks (4-pack) | $4.50 |
| Wood Filler & Sandpaper (Leftover stock) | $0.00 |
| Clear Furniture Wax Finish | $4.00 |
All in, this came out to about $22. It took about two hours of active work spread over one afternoon. Mounted on the wall right above a narrow entry console table, it keeps all daily clutter completely organized while looking like a high-end heritage antique item that cost a fortune.
You Might Also Like
- How to Turn a $12 Thrifted Umbrella Stand into a $450 Vintage Brass Entryway Cylinder for $26
- How to Turn $8 Thrifted Wooden Bookends into $340 Aged Plaster Arch Bookends for $21
- How to Turn an $8 Thrifted Wire Tomato Cage into a $380 French Garden Obelisk for $22
Frequently Asked Questions
Can I paint over high-gloss varnish without stripping it completely
Yes, just scuff-sand the surface thoroughly with 120-grit sandpaper so the paint has enough texture to grip, then apply a water-based primer before painting.
What if my thrifted organizer has a stamped heart or star cutout on front
Fill small cutouts or decorative grooves flush with wood filler, sand them smooth when dry, and your paint coat will make the surface look entirely seamless.
Do I need special tools to install the brass key hooks
No power tools needed. A simple hand screwdriver and a pre-drilled small pilot hole keep the wood from splitting when turning in small cup hooks.


0 Comments