

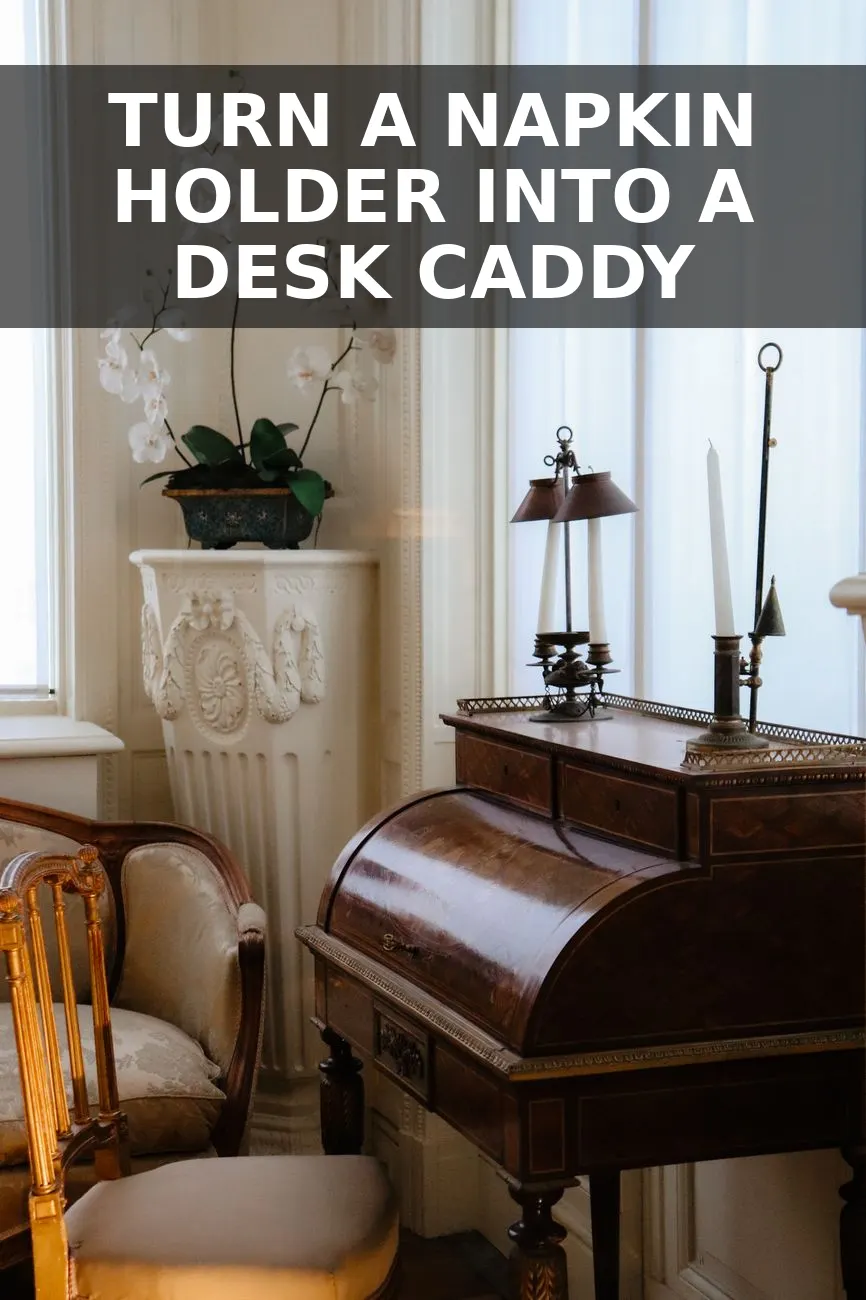
I spotted this clunky honey-oak napkin holder sitting on a crowded shelf at Goodwill for seven dollars. It had that thick 1980s shiny lacquer finish and looked completely dated, but the solid wood construction caught my eye. High-end home decor catalogs sell vintage English desk accessories for well over three hundred dollars, and the basic shape of an upright napkin holder is virtually identical to an antique letter caddy. With a little sanding, a coat of dark walnut stain, and some tiny antique brass hardware, this overlooked kitchen piece turned into a gorgeous desk caddy that looks like it belongs in a historic London study.
Finding the Right Base at the Thrift Store
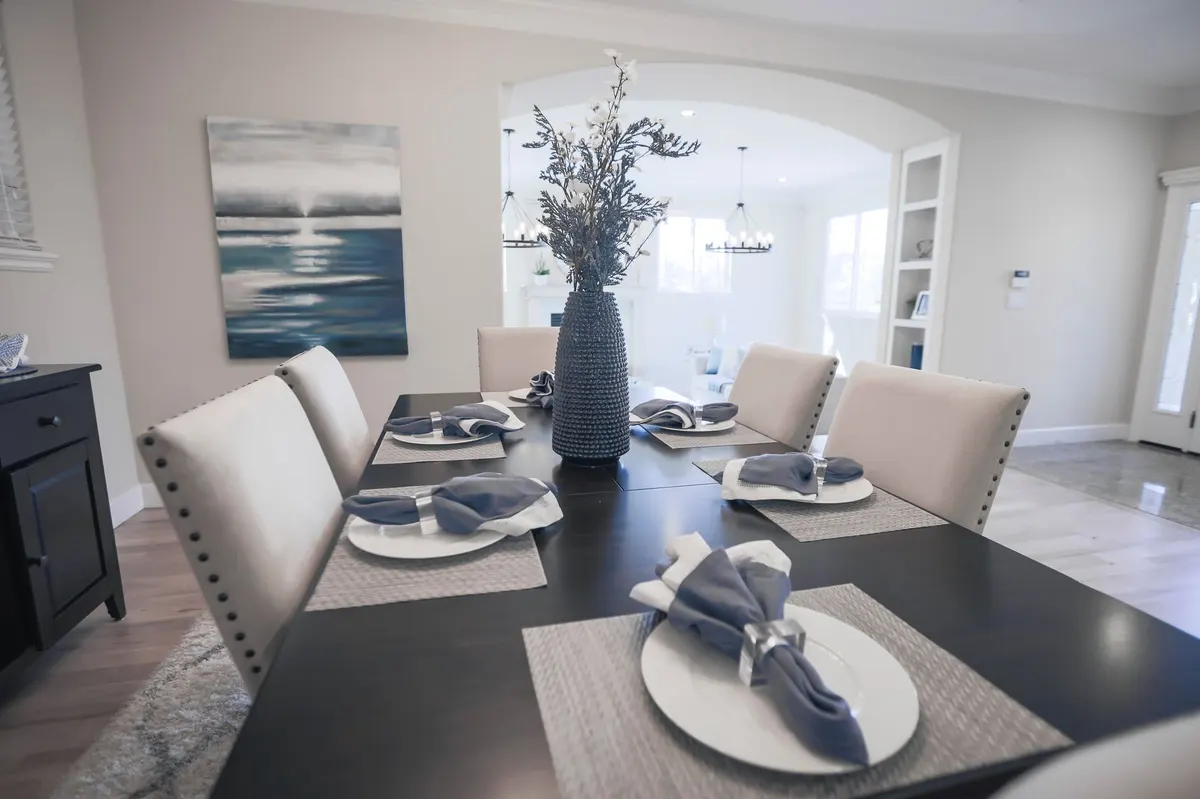
When you are scanning thrift store shelves, skip past the flimsy laminated wood pieces and look for solid pine or oak napkin holders. The best candidates have simple upright panels and a heavy base. You do not need anything fancy—in fact, plain flat sides are better because they give you a clean surface to add hardware later. If you have already tried our thrifted toast rack letter holder project, you know how satisfying it is to turn table items into desk organizers.
Check the joints before buying. Make sure the wood panels are firmly attached to the base without big gaps or wobble. A little dried glue around the joints is fine since you will sand everything down anyway. I paid seven dollars for mine at a local Habitat ReStore, but I routinely see similar upright wooden holders at Salvation Army and local charity shops for under ten bucks.
Prepping and Stripping the Glossy Finish
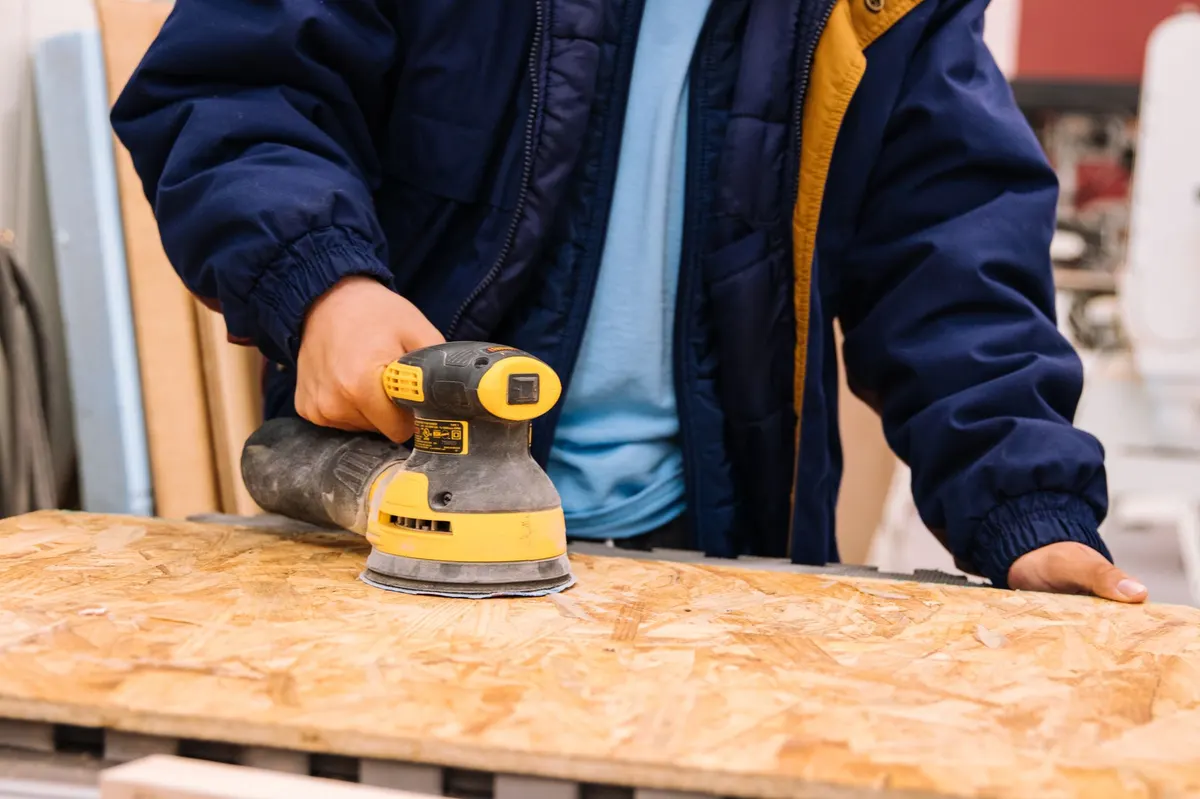
That glossy, yellowed varnish from thirty years ago has to go if you want a rich vintage wood look. You do not need heavy chemical strippers for a piece this small. A block of 120-grit sandpaper will break through the clear coat in about ten minutes of hand sanding.
- Start with 120-grit sandpaper to remove the factory shine down to the bare timber. Pay close attention to the inside surfaces where letters will sit.
- Once the clear coat is gone, switch to 220-grit sandpaper to smooth out any scratches and prepare the grain for stain.
- Wipe away every trace of sawdust with a damp microfiber cloth or a tack cloth. Skipping this cleaning step will leave gritty bumps under your finish.
If you like converting utility pieces into functional decor, this prep routine is identical to what we used on our thrifted wooden caddy project.
Adding English Library Hardware and Trim Details
What separates cheap thrift flips from genuine-looking antique reproductions is the hardware and trim. High-end vintage stationery racks almost always feature raised feet and brass accents that give them presence on a desk.
- Beaded Wood Trim: To give my basic holder some English architectural detail, I bought a tiny strip of half-round beaded wood trim from Home Depot for two dollars. I measured the front base edge, cut the trim to length using a basic hand saw, and glued it flush against the bottom front panel using standard wood glue. Secure it with a piece of painter tape for twenty minutes while the glue sets.
- Brass Ball Feet: Turning a flat wooden bottom into an elevated piece makes a massive difference. I ordered a cheap set of four mini antique brass ball feet online. Mark four pilot holes on the bottom corners with a pencil, drill tiny starter holes, and screw the feet into place. If your wood is too hard, a dab of super glue inside the screw holes keeps everything rigid.
Staining, Waxing, and the Material Breakdown
To get that deep, aged European library oak tone, raw wood needs proper preparation. Apply a liberal coat of pre-stain wood conditioner and let it sit for ten minutes before wiping off the excess. This prevents blotchiness, especially on soft woods like pine.
Follow up with a rich oil-based wood stain like Minwax Dark Walnut or Special Walnut. Brush it on with a cheap foam brush, wait three to five minutes, and wipe off the excess with an old cotton rag. For an authentic antique patina, wipe a little extra stain into the trim crevices so it collects dark in the grooves.
Once the stain dries completely (give it about six hours), buff on a layer of clear or dark brown furniture paste wax using a soft rag. Wax gives solid wood a soft, subtle sheen that feels expensive and smooth to the touch, unlike harsh plastic-looking spray sealers. Finally, screw a small antique brass card holder or label plate right in the center of the front panel.
| Item | Price |
|---|---|
| Thrifted Wooden Napkin Holder | $7.00 |
| Beaded Wood Trim Strip | $2.50 |
| Mini Antique Brass Ball Feet (4-pack) | $4.50 |
| Antique Brass Metal Label Holder | $2.00 |
| Wood Stain & Wax (pro-rated share) | $5.00 |
All in, this project cost me exactly $21.00 and took just over an hour of actual work time, spread across an afternoon to let the stain dry.
Styling Your Finished Desktop Organizer
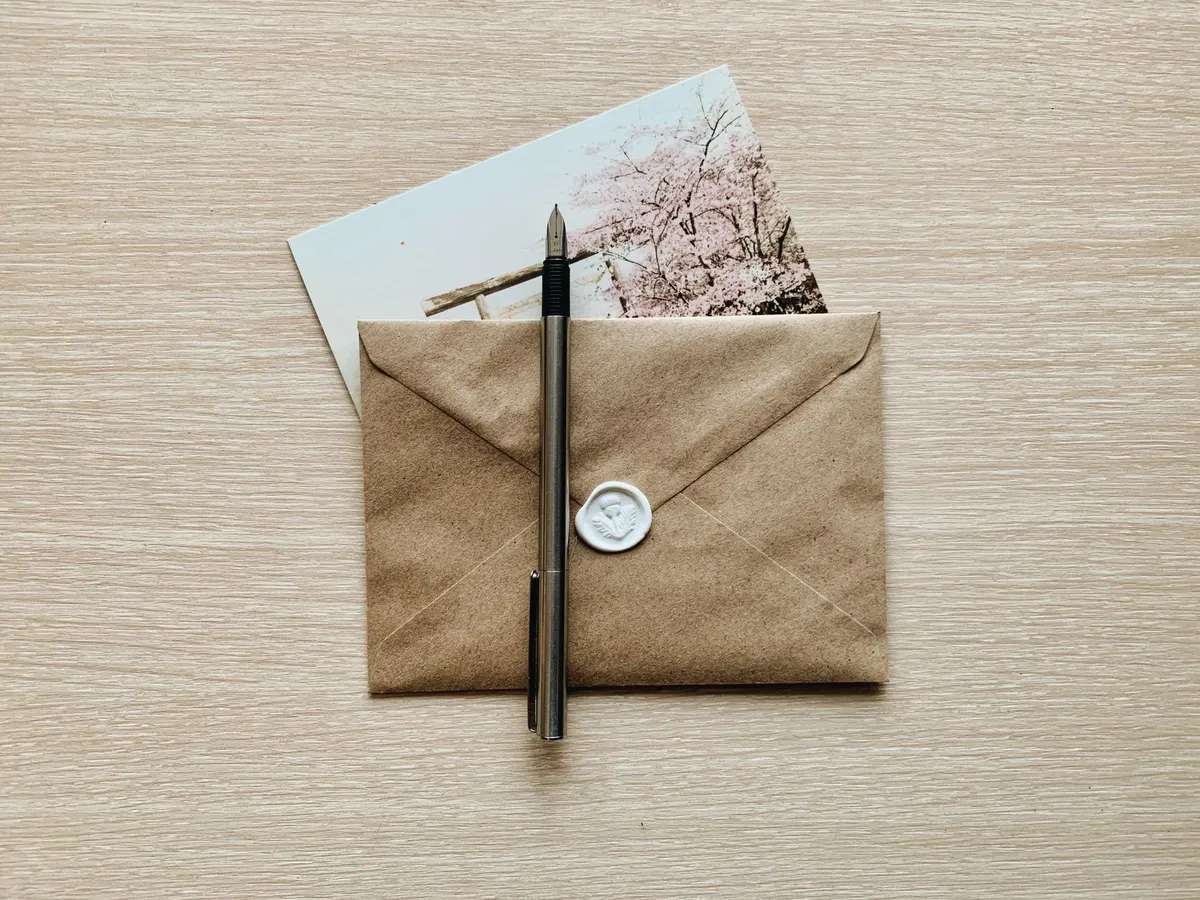
Now comes the fun part: filling it. A vintage English caddy looks best when it holds actual paper goods rather than clutter. Tuck in a mix of linen stationery envelopes, a couple of vintage postcards, or a sleek letter opener. You can place it on an entryway console alongside our wire mail caddy transformation or sit it right next to your computer on your home office desk.
The dark wood stain pairs beautifully with brass desk lamps, leather blotters, or green banker lamps. It adds instant character and historic warmth to a quiet corner of your room, and no one will ever suspect it started as a seven-dollar kitchen napkin holder.
You Might Also Like
- How to Turn an $8 Thrifted Toast Rack into a $340 Vintage English Letter Caddy for $21
- How to Turn an $8 Thrifted Wooden Spoon Rack into a $360 Vintage English Wall Display Rail for $21
- How to Turn an $8 Thrifted Wooden Card Box into a $380 English Library Index Box for $23
Frequently Asked Questions
Can I paint this instead of staining it
Absolutely — two coats of creamy off-white or deep sage green chalk paint followed by a quick buff with dark wax creates a lovely French cottage look.
What if my napkin holder is made of laminate instead of real wood
Laminate cannot be stained effectively, so brush on a coat of bonding primer first and paint it a solid dark color or textured plaster finish instead.
Where do you find tiny brass ball feet and label plates
Search online craft marketplaces or hardware supply sites for box feet and brass label holders — they usually cost under five dollars for a pack.


0 Comments