

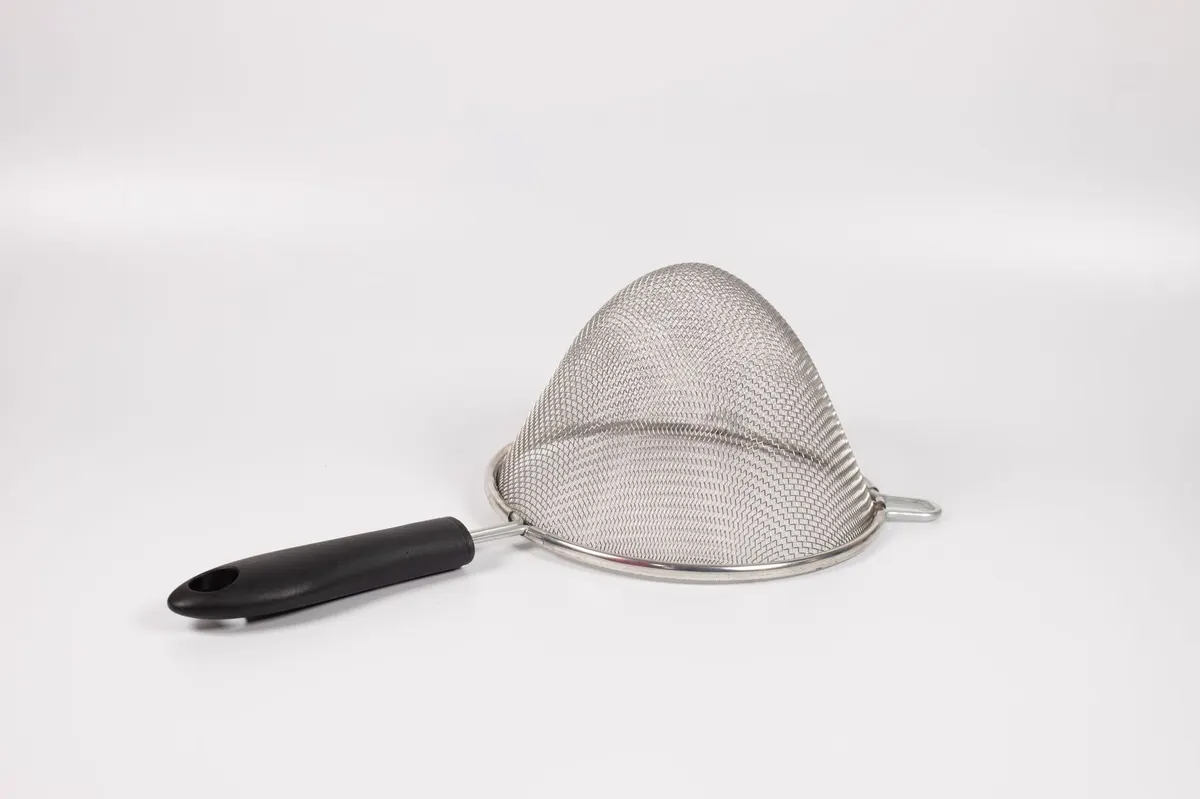
I was walking through the kitchen section of my local Goodwill last Tuesday when a beat-up, scratched metal colander practically jumped off the shelf at me.
It was dented, the aluminum was dull, and it had a tiny price tag of six dollars slapped right on the side. Most people would look at it and see a kitchen tool ready for the scrap heap. But if you look past the scratches, a metal colander has the absolute perfect shape for a classic hanging planter. Those little drainage holes that let water out of your pasta are also fantastic for keeping your houseplant roots from rotting. Plus, those beautiful side handles add so much vintage character that you just cannot get with a basic plastic pot from the big box store.
In a small space, floor real estate is precious. Hanging plants are one of my favorite secrets to make a tight corner feel lush and layered without cluttering up your tables or shelves. This quick project takes under two hours and costs just fifteen dollars all in. Here is exactly how to turn a cheap kitchen thrift find into a stunning vintage brass hanging planter.
Finding Potential in the Kitchen Aisle
When you are looking for a colander at the thrift store, try to find a metal one rather than plastic. Aluminum, stainless steel, or brass-plated colanders work best because they have a sturdy weight and accept paint beautifully. Do not worry about discoloration, light rust, or scratches. As long as the handles are secure and the metal is not rusted completely through, a little surface wear actually adds to the aged look we want to achieve.
If you love turning cold metal pieces into warm, classic treasures, you might also like my project on how to turn an $11 thrifted metal plant stand into an aged stone table. It is another amazing way to bring character into a small room on a tiny budget.
The Materials You Need
Before you get started, gather these supplies. I found almost everything in my garage or at my local Home Depot for just a few dollars. Here is the cost breakdown of my project:
| Item | Price |
|---|---|
| Thrifted Metal Colander | $6.00 |
| Rust-Oleum Universal Metallic Spray Paint (Antique Brass) | $7.00 |
| Brass Jack Chain (3 feet) | $1.50 |
| Brass S-Hooks (pack of 4) | $0.50 |
All in, this project cost me exactly $15.00. Compare that to the two-hundred-dollar vintage brass hanging planters I have been eyeing in high-end antique shops, and this is an absolute steal.
Step-by-Step: How to Transform Your Colander
- Prep and Clean the Metal: First, scrub the colander thoroughly with warm soapy water to remove any grease or kitchen residue. Once it is completely dry, take a piece of medium-grit sandpaper (around 120-grit) and lightly scuff the entire surface. This gives the metal some teeth so the spray paint can stick without peeling later.
- Seal the Bottom Holes: If you plan to hang this indoors, you do not want water dripping all over your floor. To fix this, squeeze a small dab of clear silicone sealant or hot glue over the very bottom circle of drainage holes. Leave the holes on the sides open so the soil can still breathe, but seal the bottom-most ones to create a tiny water reservoir.
- Spray Paint the Base: Place the colander upside down on some cardboard in a well-ventilated area. Shake your antique brass spray paint well. Apply two thin, even coats, waiting about ten minutes between each. Do not spray too close or too heavy, or you will end up with drips. Turn it over and spray the inside rim too, since that part will be visible once your plant is nestled inside.
- Add the Vintage Patina: To make the brass look authentic and expensive rather than like cheap painted plastic, you need a dark glaze. Take a tiny dab of black or dark brown acrylic paint (or dark wax if you have it) on a dry paper towel. Lightly buff it into the crevices around the handles, the rim, and the tiny holes. Wipe away the excess immediately with a clean cloth. This leaves the dark color in the recessed areas, mimicking decades of natural tarnish.
- Attach the Hanging Hardware: Use wire cutters to cut your brass jack chain into three equal lengths (about twelve inches each is usually perfect). Hook an S-hook into each chain end. Loop two of the chains through the side handles of the colander. For the third chain, loop it through one of the drainage holes near the back rim to create a stable three-point hanging system. Bring all three chains together at the top and loop them onto a single larger S-hook or ring.
Managing Drainage Indoors
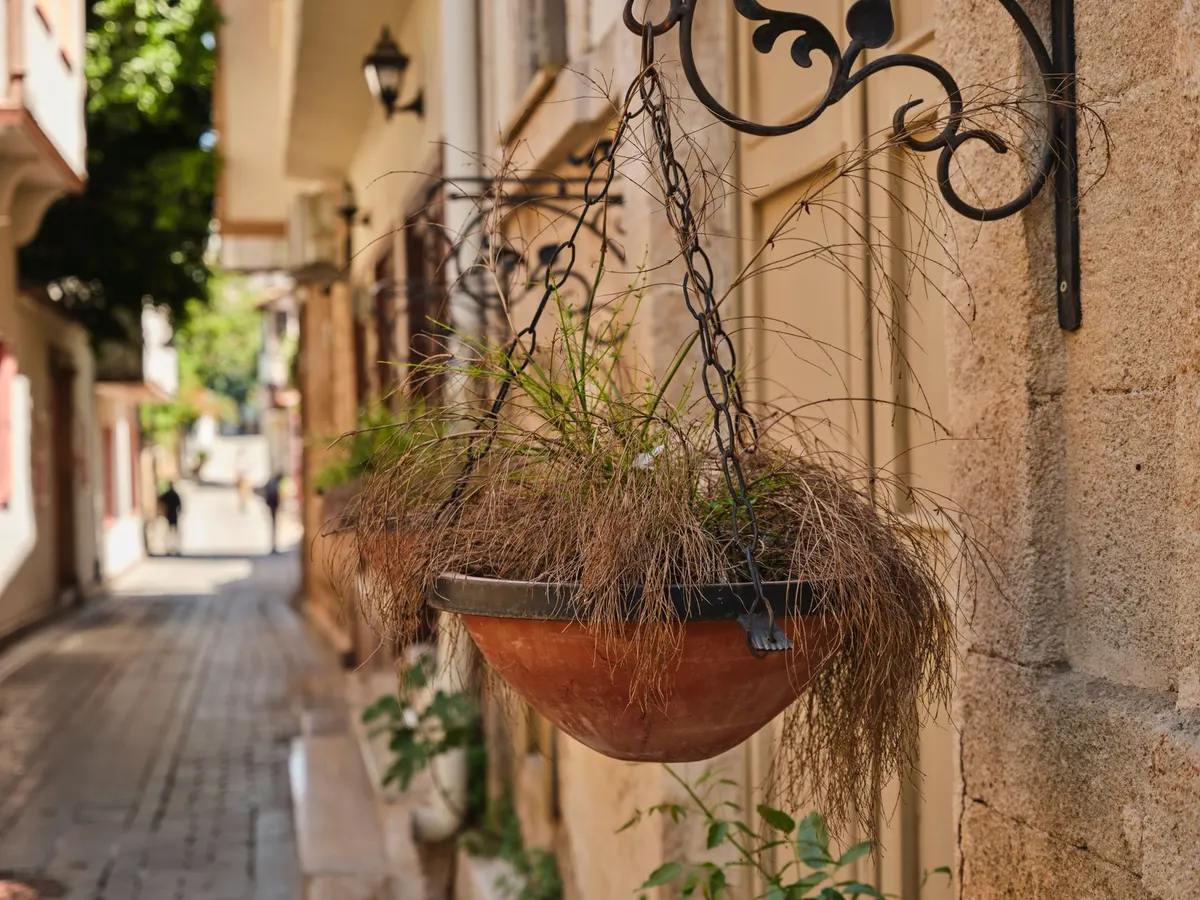
One of the biggest questions I get when making planters out of non-traditional items is how to keep your plants alive without making a mess. Since we sealed the bottom holes, you have two great options. You can use the pot-in-pot method, where you keep your plant in its plastic nursery pot and simply slip it inside the colander. When it is time to water, you just take the plastic pot to the sink, let it drain completely, and pop it back in. This is by far the easiest and cleanest method for small apartments.
If you want to plant directly into the colander, place a one-inch layer of small pebbles or activated charcoal at the very bottom before adding your potting soil. This creates a drainage well so the roots are not sitting directly in standing water. It keeps the plant happy and your floors dry.
Styling Your New Brass Planter
Once the paint is fully dry and the silicone has cured, it is time for the fun part. Because this is a hanging piece, plants with trailing vines look spectacular. I put a lush English Ivy in mine, but a Pothos, a String of Hearts, or a Boston Fern would also look incredible spilling over the brass edges.
Hang your completed planter near a sunny window, let those green leaves trail down against the warm antique brass, and enjoy the cozy character it brings to your space.
You Might Also Like
- How to Turn a $12 Thrifted Step Ladder into a $380 English Country Library Ladder for $24
- How to Turn a $9 Thrifted Accordion Sewing Box into a $420 Vintage English Side Caddy for $25
- How to Turn a $9 Thrifted Corner Shelf into a $380 Vintage English Fluted Corner Shelf for $22
Frequently Asked Questions
Will the hot glue hold up to constant watering
Yes, but for a truly long-lasting waterproof seal, a dab of clear silicone caulk over the bottom holes works even better.
Can I use real plants or should I stick to faux
Real plants do great since the side holes offer excellent aeration, but you will want to keep a small drip saucer underneath when watering.
How do I prevent the brass chain from rusting outdoors
If hanging this on a porch, look for solid brass or zinc-plated chains, and spray them with a quick coat of clear rust-preventative sealer.


0 Comments