


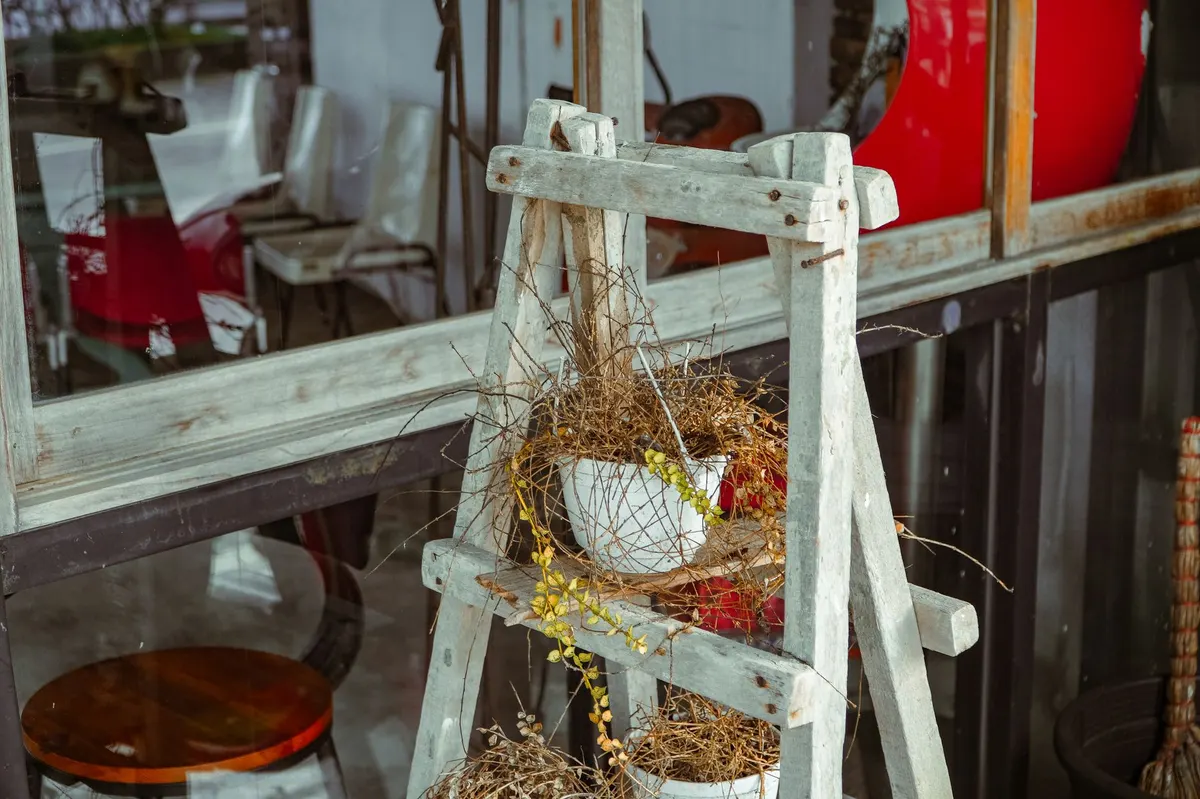
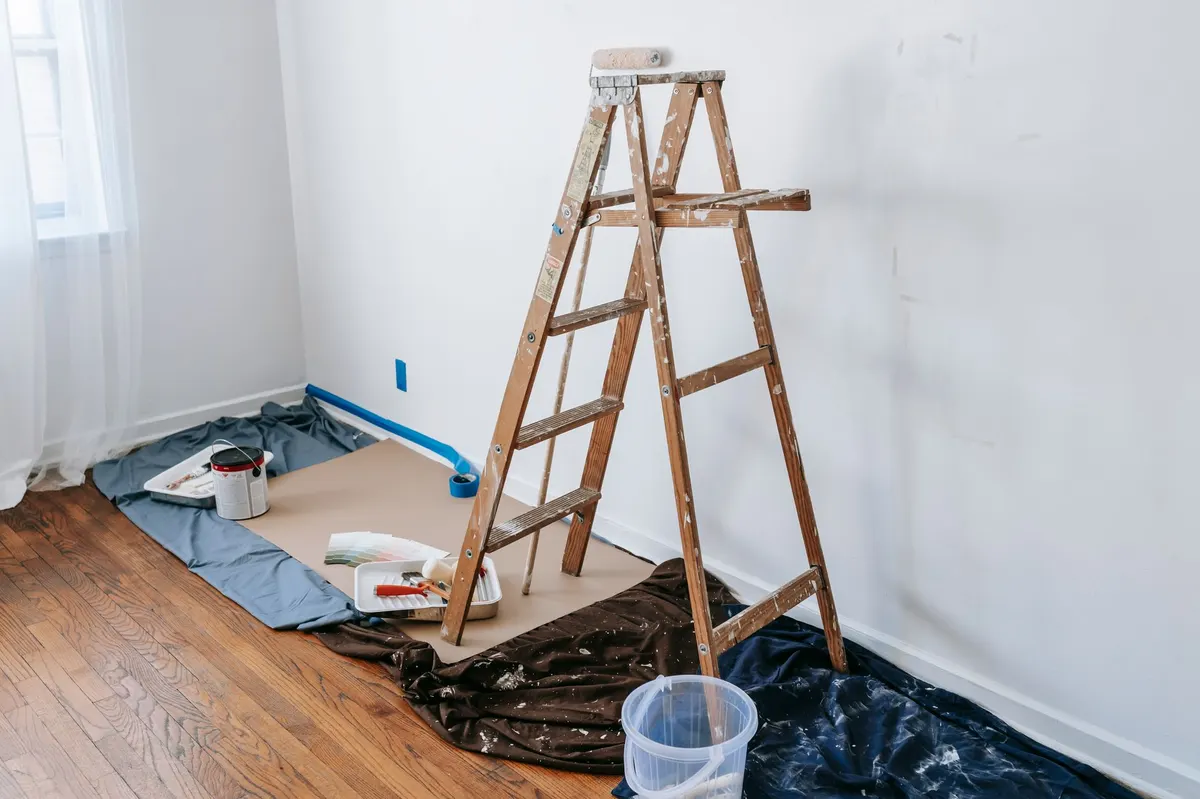
I almost walked right past the dirty, paint-splattered wooden step ladder sitting in the back corner of my local thrift store. It looked like a piece of actual trash, but underneath all that dried drywall mud was beautiful old-growth pine just waiting to be rescued. If you live in a home where floor space is at a premium, you know that every single square inch has to earn its keep. That is why vertical storage is your best friend. This quick weekend project turns a basic household utility item into a stunning, rustic display piece that looks like it came straight out of a historic English cottage.
The Secret to Finding the Right Step Ladder
Before you run out to your nearest thrift store, yard sale, or check Facebook Marketplace, there are a few specific details to keep in mind. You want a genuine, solid wood step ladder. Avoid modern fiberglass, plastic, or aluminum ladders entirely. Look for something between three and five steps high. A four-foot ladder is usually the sweet spot for small apartments because it fits perfectly tucked next to an armchair or in an empty corner without overwhelming the room.
Don't worry about splatters, dirt, or minor surface scratches. Those are actually a bonus because they add instant age once we finish the wood. What you do need to check is structural integrity. Give the ladder a gentle shake. The rungs should be firmly attached, and the metal spreader bars on the sides should open and close smoothly without bowing.
How to Transform Your Wooden Step Ladder
Getting that aged, antique oak look on cheap, dry pine is easier than you think. You don't need any heavy power tools or expensive wood restorers for this one. Here is exactly how to do it step-by-step.
- Deep Clean the Wood: Take the ladder outside and scrub it down with warm, soapy water and a stiff bristle brush. You want to get rid of any loose dirt, cobwebs, and grease. Don't worry about trying to scrub off all the paint drips yet. Let the wood dry completely in the sun for a few hours.
- Sand Away the Rough Spots: Grab an 80-grit sanding sponge and focus on the flat steps where the wood might be splintering or rough. Sand in the direction of the wood grain. You want to smooth out the areas where you will be placing books or decor. Next, switch to a 220-grit sponge to give the entire ladder a smooth finish. Leave a few paint splatters in the deep crevices; they look like authentic history once the stain goes on.
- Stain the Wood: Wipe away all the sanding dust with a damp cloth. Using a lint-free rag or an old cotton t-shirt, apply a generous coat of Minwax Dark Walnut or Special Walnut stain. Work in small sections, wiping the stain on, letting it sit for about three to five minutes to penetrate the dry wood, and then wiping off the excess. This deep, warm brown mimics the look of old English walnut.
- Age the Metal Hardware: Those bright zinc or silver-toned metal brackets on the sides will instantly give away that this is a modern DIY. To fix this, squeeze a tiny pea-sized drop of Antique Gold Rub 'n Buff onto your finger and lightly dab it onto the metal hinges and screws. Buff it gently with a dry cloth to create a rich, tarnished brass finish that looks hundreds of years old.
Styling Your New Display Ladder
Once the stain has cured for a full 24 hours, it's ready to move into your home. Because this shelf has a tiny footprint, it works beautifully in tight spots where traditional bookshelves would feel too bulky. Here are a few styling tips to keep it looking balanced and intentional:
- Ground the Bottom Step: Place your heaviest items on the very bottom step to anchor the piece visually. A couple of thick vintage art books or a small stack of ceramic pots work perfectly here.
- Add Greenery: Let a trailing plant like a pothos or English ivy cascade down from the top step. The vibrant green looks incredible against the dark, warm wood stain.
- Vary Your Heights: On the middle steps, mix up your items. Lean a small framed landscape painting on one step, and place a cozy candle or a stack of small novels on another. Keep it airy so the ladder doesn't look cluttered.
If you're looking for more cozy vertical storage ideas for your home, my guide on how to turn a $10 thrifted quilt rack into an English blanket stand is another great weekend project. Or, if books are your main focus, you'll love reading about how to turn an $11 thrifted CD tower into a vintage English pillar bookshelf. Both are perfect for saving space while adding a ton of character.
The Budget Breakdown
I managed to find my step ladder at a local estate sale for just $12, but you can find them at thrift stores or online marketplaces constantly. I used leftover wood stain from a previous project, but even if you have to buy a small half-pint, this remains an incredibly cheap flip. All in, this project came out to a grand total of $24.
| Item | Source | Price |
|---|---|---|
| Thrifted Wooden Step Ladder | Thrift Store / Yard Sale | $12.00 |
| Minwax Dark Walnut Stain (Half-Pint) | Home Depot | $6.50 |
| Sanding Sponges (80 and 220 grit) | Home Depot | $3.50 |
| Rub 'n Buff (Antique Gold) | Michael's or Amazon | $2.00 |
It is amazing how a little bit of sandpaper and a warm stain can completely change how you view a basic utility item. The next time you spot an old wooden ladder gathering dust in someone's garage or at a yard sale, grab it and give it a second life in your home.
You Might Also Like
- How to Turn a $9 Thrifted Accordion Sewing Box into a $420 Vintage English Side Caddy for $25
- How to Turn a $9 Thrifted Corner Shelf into a $380 Vintage English Fluted Corner Shelf for $22
- How to Turn a $10 Thrifted Wooden Shutter into a $380 Vintage English Entryway Mail Holder for $23
Frequently Asked Questions
Is a thrifted step ladder sturdy enough to hold heavy books
As long as the wood isn't rotted and the steps don't wobble, yes. Just tighten any loose screws or metal brackets before you start styling it.
Can I use spray paint instead of staining the wood
You can, but a rich wood stain preserves the natural wood grain and gives it that authentic, warm English country look that paint often hides.
Do I need to strip the old paint splatters off completely
Not at all. Leaving a few faint remnants of old paint in the crevices adds beautiful character and makes the piece look like a genuine antique with a past life.


0 Comments