

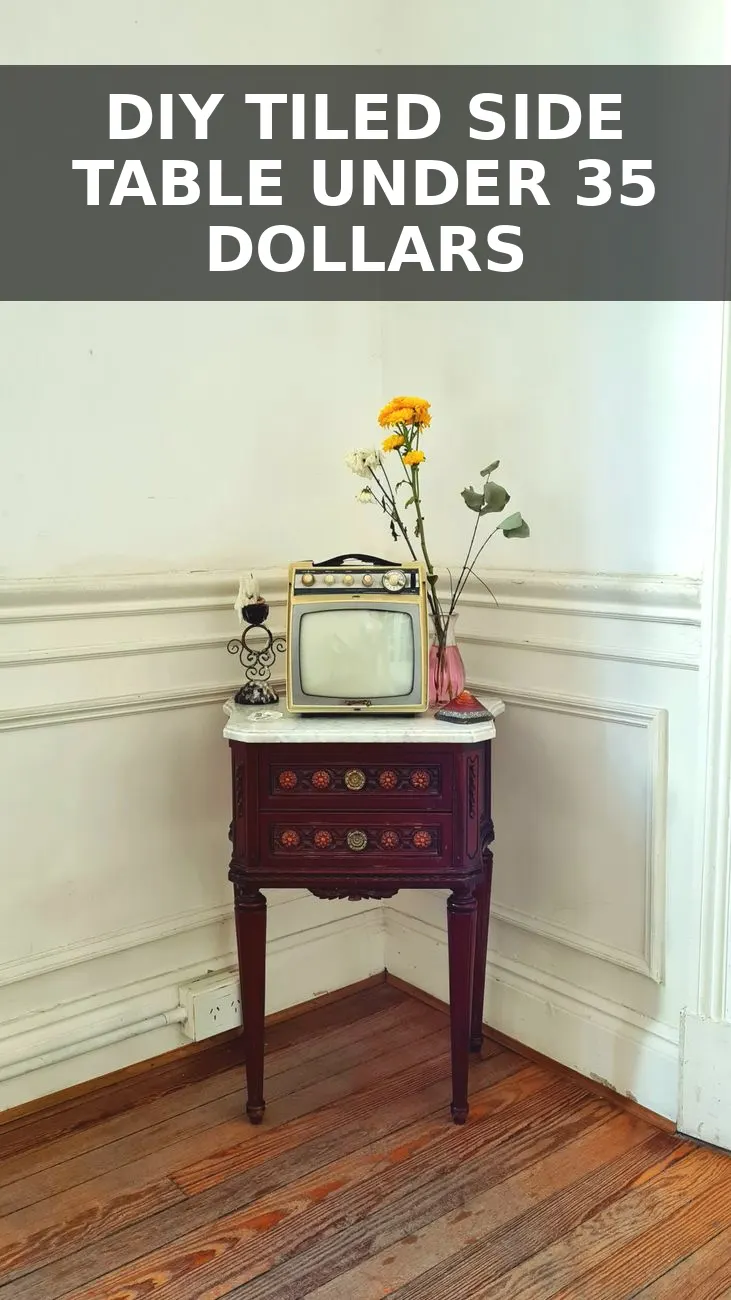
I spent almost a month staring at a $520 tile cube end table on a high-end designer website before I realized something obvious: underneath that grid pattern was just a plain square box with legs. I found a scuffed $8 Ikea LACK side table on Facebook Marketplace, grabbed a few sheets of matte ceramic mosaic tile at Home Depot, and set out to see if I could build my own version over a single weekend for cheap.
Why Plain Laminate Furniture is Perfect for Tiling
The infamous LACK side table weighs practically nothing because it has a hollow honeycomb paper core wrapped in thin fiberboard and laminate shell. On its own, it feels a little flimsy. Once you cover it in ceramic tile and grout, however, the entire piece gains substantial weight, structural rigidity, and a custom weightiness that tricks anyone into thinking it came out of a boutique showroom in West Hollywood.
You do not need a wet tile saw or expensive heavy machinery for this project. Because mosaic tile sheets come attached to a flexible mesh backing, you can cut the backing with a simple utility knife to fit the flat surfaces. For the edges where full tiles do not line up perfectly, you can either select a tile size that fits your table dimensions cleanly or use a simple $12 manual tile nipper tool from the hardware store aisle.
If you remember when we tackled sanding smooth veneer in our cane webbing credenza project, preparing slick surfaces is critical. Ceramic adhesive will slide right off standard glossy laminate if you skip roughing up the finish first.
Gathering the Supplies and Cost Breakdown
You can use almost any square side table for this technique, but the square legs and 20-inch boxy proportions of the LACK table match 2-inch square mosaic tiles almost identically. Here is exactly what I bought and spent at my local Home Depot and thrift store to finish the table.
| Item | Price |
|---|---|
| Thrifted Ikea LACK Side Table | $8.00 |
| 2-inch Matte White Square Mosaic Sheets (4 sheets) | $14.80 |
| Premixed Tile Adhesive & Grout (1 Quart, Charcoal Gray) | $7.98 |
| 3/16-inch Plastic V-Notch Trowel | $2.25 |
| Grout Sponge | $1.47 |
| Total Cost | $34.50 |
All in, this came out to about $34. Compare that to the five-hundred-dollar version sitting in my online cart, and the savings are massive. I loved the organic warmth of our thrifted burl wood accent table, but for this specific corner of my living room, I wanted a bold, geometric pop with strong contrast.
Step-by-Step Instructions
- Scuff the Table Surface Completely: Take 80-grit sandpaper and rub down every exposed inch of the top, sides, and legs of the table. You are not trying to sand away the wood fiber, just destroying the shiny coat so the tile mastic has something rough to grab onto. Wipe down the sanding dust with a damp rag or microfiber cloth.
- Dry Fit Your Mesh Tile Sheets: Place your mosaic sheets on top of the table without any glue. Position them so the grout lines hang naturally over the outer edges. Trim the mesh backing along tile seams using a box cutter or household scissors. Planning your grid layout before mixing adhesive prevents scrambling when glues start to dry.
- Apply the Premixed Mastic: Scoop out a small dollop of ceramic tile adhesive onto the top surface of the table. Use the notched side of your trowel to comb ridges into the paste. Keep the layer thin and even—thick globs will squeeze out between the tiny tile seams and cause a messy cleanup later.
- Press the Tile Sheets Firmly into Place: Lay your first mesh sheet onto the ridges. Press down firmly with a flat wooden block or the palm of your hand to embed the tiles into the adhesive without sinking them unevenly. Repeat this process for the remaining top surface, aligning the grid spacing consistently across sheets.
- Tack the Legs and Side Skirting: Apply mastic to the four legs and side skirts. Press smaller strips of tiles cut from your main sheets onto the vertical faces. Secure vertical tiles with blue painter tape temporarily near corner edges to hold them snug while the mastic cures over 12 hours.
- Fill the Seams with Grout: Scoop premixed grout onto your rubber float or flexible squeegee. Press grout firmly into every single gap at a 45-degree angle. Ensure all corners where legs meet the undersides of the tabletop are packed solid with compound.
- Wipe Away the Haze: Wait roughly 15 to 20 minutes until the grout turns slightly dull and tacky on top of the tiles. Soak a tile sponge in clean water, wring it out until barely damp, and gently wipe the surface in circular sweeps. Rinse the sponge frequently in a bucket of clean water. Wipe a final time with a clean microfiber towel to strip off residual haze.
Crucial Tips for a Clean Finish
Do not use regular wall spackle or joint compound instead of real tile adhesive. Spackle cracks under stress when you set heavy drink coasters or ceramic lamps on top of the table later on. Using proper premixed tile adhesive and sanded grout ensures your accent table stays sturdy when bumped by pets or vacuums.
If you want a softer Scandinavian look, pick bright white grout to match white matte tiles so the grid lines melt away softly. I chose contrasting charcoal grout because I wanted the graphic grid layout to stand out sharply against my cream couch and neutral living room rug. Either way, this simple project turns throwaway hollow furniture into a heavy piece that feels built to last.


0 Comments