

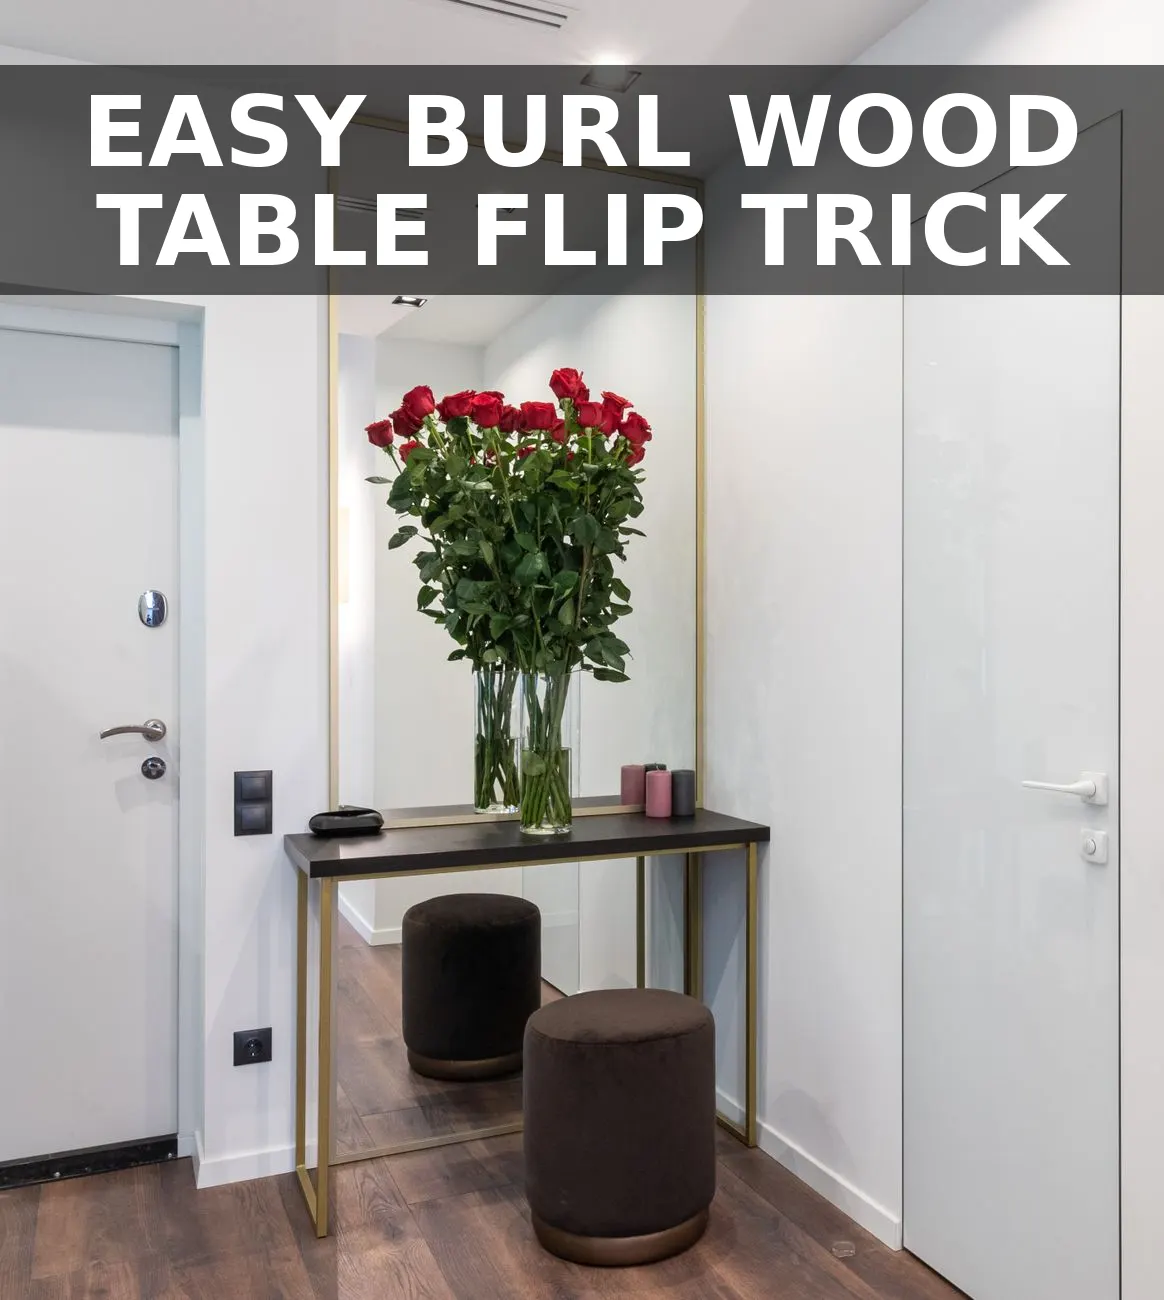
I saw an olive ash burl wood console table at a high-end design shop last month priced at $850, and I couldn't get it out of my head. The rich, swirling grain pattern had so much movement and warm character, but dropping almost nine hundred dollars on a hallway table was out of the question. I knew I could recreate that luxury look without spending a fortune if I found the right base piece. Two days later, I found a beat-up pine entryway table on Facebook Marketplace for twenty bucks, picked up a roll of heavy-duty burl wood architectural film, and set to work in my garage over the weekend.
Finding the Best Base Piece at the Thrift Store
Not every piece of furniture is a good candidate for this project. When you're searching thrift stores, Habitat ReStore, or local online listings, look for furniture with flat planes and clean geometric lines. Rectangular tops, square legs, or simple boxy shapes are surprisingly easy to wrap. Steer clear of ornate carved details, spindle legs, or deep grooves, because vinyl film simply will not adhere cleanly to intricate curves without bunching up.
I picked a simple rectangular console table made of solid pine. It had plenty of scratches and a faded stain, but structural integrity was solid. If you have tackled projects like my Cane Webbing Credenza, you know that finding a sturdy piece with good bones is half the battle.
Materials and Budget Breakdown
You do not need specialized woodworking machinery for this flip. A few basic prep tools and patience will yield incredible results. Here is exactly what I bought and spent to pull this off:
| Item | Source | Cost |
|---|---|---|
| Thrifted Pine Console Table | Facebook Marketplace | $20.00 |
| Textured Burl Wood Architectural Film Roll | Amazon | $19.00 |
| Felt-Edged Vinyl Squeegee & Craft Knife Set | Amazon | $4.50 |
| 220-Grit Sanding Sponge | Home Depot | $2.50 |
| Satin Clear Acrylic Sealer Spray | Home Depot | $8.00 |
The materials subtotal came out to exactly $34.00. Combining that with the $20 table purchase, the entire project cost me $54 out of pocket—a microscopic fraction of the $850 original designer piece.
Step 1: Prep the Surface Until It Is Glass-Smooth
Vinyl film is unforgiving when it comes to surface imperfections. If there is a grain bump, a tiny paint drip, or a lingering speck of sawdust, the film will magnify it once applied. Start by sanding the entire table down with a 220-grit sanding block to knock down high spots and smooth out scratches.
- Fill deep gouges: Use a fast-drying wood filler on any deep dents or nail holes. Let it cure for 30 minutes, then sand it completely flush with the surrounding wood.
- Wipe down thoroughly: Vacuum off all dust, then wipe every square inch with isopropyl alcohol on a microfiber cloth. Any oils or sanding dust left behind will weaken the adhesive.
- Check the edges: Slightly round any razor-sharp wooden edges with your sanding block. Sharp 90-degree wood corners can slice through vinyl wrap during application, so a microscopic rounded radius makes wrapping much smoother.
Step 2: Apply the Burl Wood Film with Heat
Working with architectural film is similar to wrapping a huge present, but with a hairdryer. Measure your table surfaces and cut film pieces with roughly two inches of excess overhang on every side. Never try to cut the film to exact dimensions before sticking it down.
- Start from the center: Peel back about four inches of the backing paper, align the pattern on your tabletop, and press down the edge. Slowly peel away the backing from underneath while smoothing the top surface outward with your felt squeegee.
- Work out air pockets: Push air bubbles toward the outer edges in overlapping diagonal strokes. If a persistent bubble gets trapped, poke a tiny hole in the center with a pin and press the air out flat.
- Use mild heat on corners: Set a hairdryer or heat gun on warm (not high) and warm up the film as you wrap it around edges. Heat softens the vinyl, allowing it to stretch slightly and hug tight angles without creasing.
Step 3: Miter Corners and Trim Flush
The secret to making wrapped furniture look like real solid wood lies in how you treat the corners and joints. Real wood grain doesn't magically stretch around corners; it meets at clean cuts or natural end-grain seams.
At each table corner, make a diagonal slit from the film overhang directly to the corner point. Fold the main side down tightly first, then lap the adjacent flap over it. Use a brand-new precision razor blade to slice through both overlapping layers along the corner edge. Peel away the excess trimmed strips, and the two edges will butt up together cleanly without bulky double-layers. I used a similar precise trimming technique on my Apothecary Cabinet when aligning drawer fronts, and taking your time here makes all the difference.
Step 4: The Secret Spray Finish Trick
When you finish wrapping, the table will look great, but raw vinyl can sometimes have a plastic sheen under direct overhead light. Here is my favorite trick to make film look identical to real varnished timber: spray it with a thin layer of satin acrylic clear coat.
Take the table outside or into a well-ventilated garage. Apply two light, even coats of satin clear acrylic spray from about twelve inches away, letting it dry 15 minutes between passes. The clear coat cuts that slight synthetic glare, adds an authentic low-luster furniture sheen, and protects the film edges from peeling back over time.
Styling the Finished Piece
Once dry, I brought the table inside and styled it near my entryway. I added a heavy ceramic lamp, a stack of vintage linen-bound books, and a brass tray for keys. Visitors literally lean in and touch the wood surface, assuming it is genuine burled walnut or olive ash. It has held up to daily key drops and coffee mugs for weeks now without a scratch, proving you don't need a designer budget to get custom furniture in your home.


0 Comments