

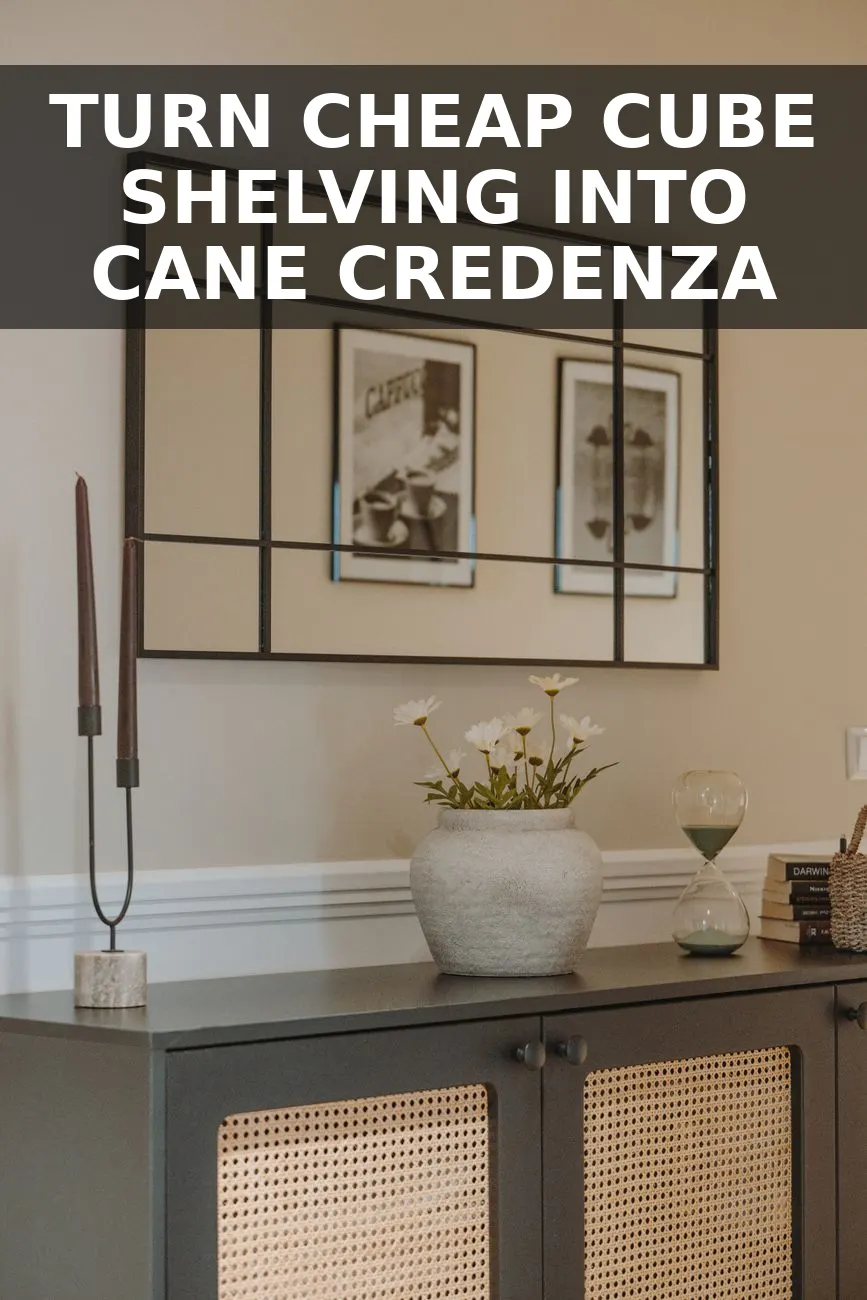
I stared at this scratched-up, four-cube Ikea Kallax sitting on a driveway with a $20 price tag, and all I could picture was a Scandinavian cane credenza I had been drooling over online for $650. The laminate finish was peeling on one edge, and it looked straight out of a college dorm room. But the frame was sturdy. It took two pine boards, a roll of natural cane webbing, four wood legs, and one Saturday afternoon to strip away that cheap look completely.
The Materials and Real Cost Breakdown
You do not need a shop full of power tools to pull this off. A hand saw, a basic staple gun, and a cordless drill are all it takes. I bought my cane webbing in a roll online, and picked up simple 1x2 pine furring strips from Home Depot for the door frames. If you already have paint or wood stain sitting in your garage, your out-of-pocket total will drop even lower.
| Item | Where I Got It | Price |
|---|---|---|
| Ikea Kallax (4-cube unit) | Facebook Marketplace | $20.00 |
| 1x2 Select Pine Boards (8ft - 3 pieces) | Home Depot | $14.25 |
| Natural Open Rattan Cane Webbing (18 inch x 3 ft) | Amazon | $21.50 |
| 6-Inch Tapered Wood Legs (Set of 4) | Amazon | $13.99 |
| Surface Mount Cabinet Hinges (4 pack) | Home Depot | $7.48 |
| Magnetic Push Latches & Screws | Hardware Store | $5.60 |
| Minwax Gel Stain (Special Walnut) | Home Depot | $8.98 |
All in, this came out to about $91.80. Considering retail stores charge anywhere from $500 to $800 for cane storage units, keeping roughly $500 in my pocket felt pretty great.
Step 1: Build the Custom Door Frames
The secret to hiding the iconic open-cube layout of an Ikea unit is building full-coverage doors. I built two frame doors that each hide two stacked cubes. Measure the front outer opening of your unit carefully—mine measured roughly 15 inches wide by 30 inches tall per side.
Cut your 1x2 pine boards to size. If you have a plastic miter box, cut 45-degree angles for tight corners. If you only have a basic hand saw, straight butt joints work just fine. Apply a good swab of wood glue to the joint surfaces, then secure them on the backside using flat metal L-brackets and half-inch wood screws. Sand the face of each wood frame with 180-grit sandpaper so the joints sit completely flush.
Step 2: Prep and Stretch the Cane Webbing
Working with woven cane can feel tricky if you have never handled it, but there is one trick that changes everything: soak it first. Dry cane is stiff and brittle. If you try to stretch and staple dry cane, it will buckle, crease, or split right down the center.
- Fill your bathtub or a plastic storage tote with warm water. Submerge the roll of cane webbing for 30 minutes.
- Take the cane out and pat it dry with an old towel. It will feel soft, pliable, and easy to bend.
- Lay your glued pine door frame face-down on a flat workbench or floor. Position the wet cane mesh across the back opening.
- Using a heavy-duty staple gun, staple the cane along the middle of the top rail, pulling it snug. Move to the bottom rail, pull it straight down, and staple. Repeat for the left and right sides.
Do not pull so hard that you warp the woven pattern. Keep the tension even across the entire frame. Pulling wet material taut over a frame takes the exact same patience I used when wrapping fabric for my thrifted bouclé accent chair project. As the cane dries over the next two hours, it shrinks slightly and pulls itself drum-tight automatically. Trim off the excess overhang around the edges with sharp kitchen shears.
Step 3: Add Tapered Legs to Lift the Silhouette
Furniture sitting flat on the floor has a heavy, cheap look. Raising the cabinet off the carpet changes the visual weight instantly.
Flip the Kallax base upside down. Place the metal mounting plates for your wood legs about one inch in from each corner of the bottom panel. Mark your screw holes, drill small pilot holes, and drive in the screws. Thread your 6-inch tapered wood legs into the center hardware plates. I bought plain, unfinished pine legs so I could stain them to match the door frames exactly.
Step 4: Paint the Body and Stain the Wood Trim
Before installing the doors, wipe down the pine frames and legs with gel stain using a scrap cotton rag. Gel stain is ideal for softwood like pine because it sits on top rather than sinking in blotchy. I applied two light coats of Special Walnut gel stain, allowing four hours of dry time between coats.
For the main Kallax box, I wanted a warm cream color to contrast the natural wood. Standard latex paint will peel off laminate furniture within a week if you don't prep properly. Lightly scuff the laminate surface with 220-grit sandpaper, wipe away the dust with a damp cloth, and apply one solid coat of Zinsser BIN Shellac-Based Primer. Once dry, paint two coats of your favorite satin interior paint. Building sturdy frames out of simple pine boards like this reminded me of constructing the frames for my custom wood pantry shelving build—good prep makes cheap materials feel solid.
Step 5: Mount Hinges and Magnetic Latches
Instead of wrestling with a Forstner bit to cut deep recessed holes for traditional concealed hinges, use non-mortise surface mount cabinet hinges. They screw directly onto the interior side wall of the Kallax and onto the back of your pine door frames. Mount two hinges per door, align the doors so they sit square, and tighten the screws down.
Screw magnetic push-to-open latches onto the middle fixed shelf inside each side. That way, you just press the corner of the cane door to pop it open, avoiding the need for front hardware knobs so the front stays clean and minimal.
Pro Tip: If your floor is slightly off-level, glue small felt pads under the front or back wooden legs until the center gap between your cabinet doors looks perfectly straight.
Set a table lamp, a couple of heavy ceramic vases, and a small stack of books on top. Nobody who walks into your house will guess this started as a discarded vinyl-wrapped organizer box. It works as an entry table, dining room sideboard, or hallway linen storage, all for under a hundred bucks.


0 Comments