

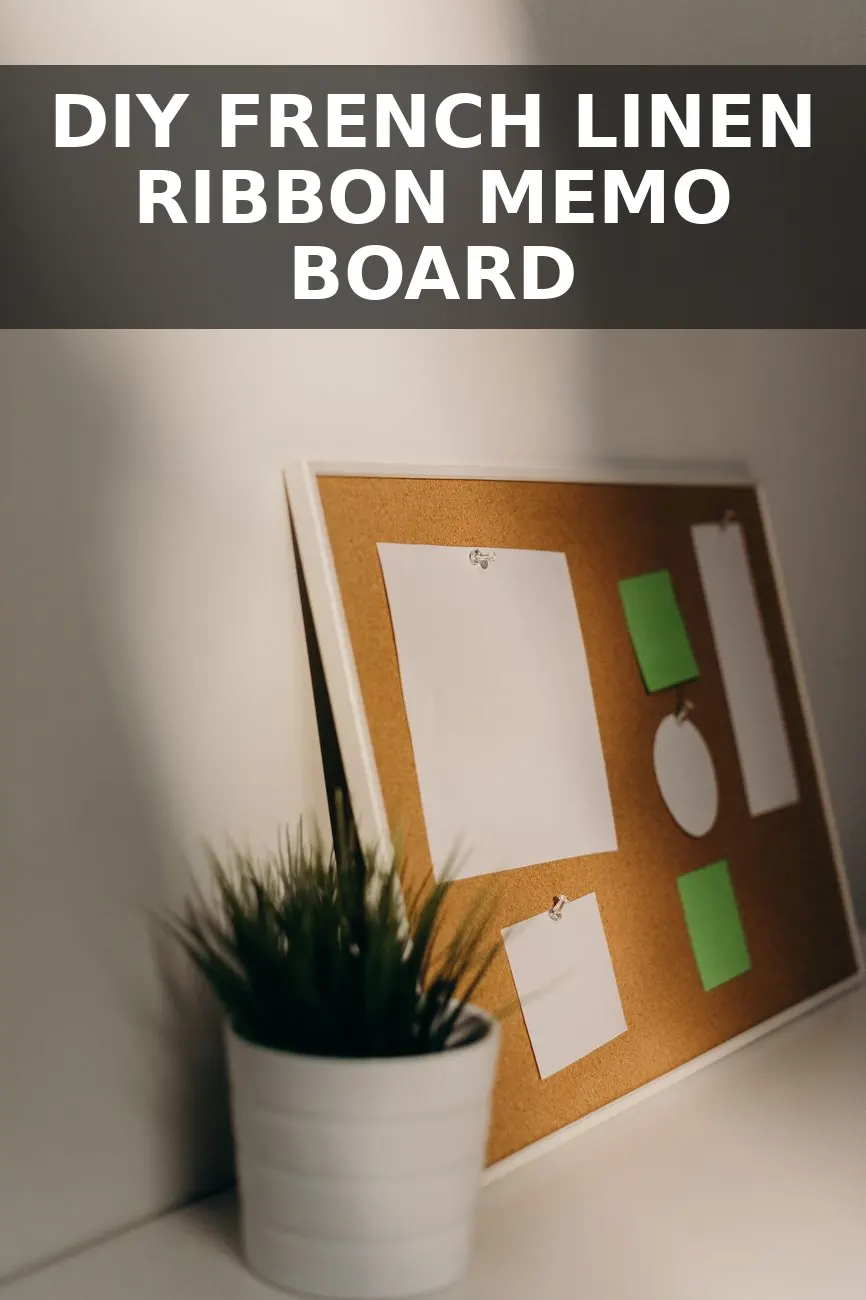
I saw a custom linen memo board with crisscrossing French ribbons and antique brass studs at a high-end designer showroom last month, and my jaw dropped when I flipped the price tag over: $385. It was literally a padded board covered in fabric and ribbon, meant for pinning receipts, postcards, and swatches. I walked straight out, stopped by a local craft shop, grabbed a plain framed cork board, and made my own version for under $28 in less than two hours.
Standard cork pinboards tend to look like college dorm leftovers. The yellowish composite cork dries out, crumbles around the edges, and never really looks intentional in a living room, hallway, or home office. Adding a soft layer of batting, textured flax linen, and tailored ribbon turns that utility item into a classic piece of wall art that holds everything from family recipes to vintage prints without needing sharp pushpins.
The Materials You Actually Need
You do not need woodworking tools or sewing skills for this project. If you can use a staple gun and a measuring tape, you can finish this in one afternoon. Here is the exact list of supplies I used:
- Basic Cork Board: Look for a 20x30 inch or 24x36 inch board with a sturdy wood frame. Thrift stores almost always have them for $5 to $10, or you can grab a simple one from Target or Walmart for around $14.
- Medium-Weight Linen Fabric: Pick an unbleached oatmeal, flax, or warm cream linen-cotton blend. A 3/4-yard cut is plenty for a standard board. Linen provides that rich, organic texture that flat cotton cannot duplicate.
- Low-Loft Quilt Batting: A craft remnant or 1/2 yard of polyester or cotton batting gives the board a subtle, plush cushion so the ribbon tucks in nicely.
- 5/8-inch Ribbon: Cotton twill tape, velvet ribbon, or grooved grosgrain ribbon works best. I picked an olive-sage grosgrain ribbon for a classic English country look.
- Antique Brass Upholstery Tacks: A small pack of decorative domed nailheads from the hardware store or craft aisle.
- Tools on Hand: Heavy-duty staple gun (with 1/4-inch staples), fabric scissors, rubber mallet, painter tape, and a clear ruler.
Step 1: Pad the Frame and Wrap the Linen
Start by laying your quilt batting flat on a clean table or floor. Place your cork board face down directly onto the batting. Pull the batting taut around the back edge of the wood frame and staple it every three inches. Trim away the excess batting so your back stays relatively flat.
Next, lay out your ironed linen fabric face down, centering the padded board on top. This step requires a bit of patience:
- Start in the centers: Pull the linen snug around the top center edge and fire two staples into the back of the wood frame. Move directly across to the bottom center, pull firmly (not stretching so hard that the weave distorts), and staple. Repeat for the left and right center edges.
- Work outward: Move from the centers toward the corners, smoothing the fabric with your hand as you go and adding staples every two inches.
- Fold clean hospital corners: When you reach a corner, fold the point straight in against the wood frame, tuck the two side flaps over it like wrapping a neat gift box, and staple securely. Trim away bulky folded fabric so the board will hang flush against your wall.
Step 2: Map Out the Diamond Ribbon Pattern
This is where most people get nervous, but there is an easy trick that eliminates all guesswork. You want your ribbons to form symmetrical diamonds across the face of the board.
Measure the length and width of your padded board and mark the exact halfway points on all four outer sides using small bits of painter tape on the back edge. Then divide each side into even sections—usually every 6 to 8 inches depending on board size.
Cut long strips of ribbon with a couple of extra inches on each end. Lay your first diagonal ribbon from a top mark to a side mark, pulling it taut across the front of the board. Secure the ribbon ends around the back frame with two firm staples. Continue laying parallel ribbons in one diagonal direction across the entire board, keeping the spacing consistent with your ruler. Once the first diagonal set is stapled down, lay the opposing diagonal ribbons across them to form the intersecting diamond grid.
Quick tip: Keep your ribbon taut as you staple the back, but avoid yanking it so tight that it deeply dents the padded linen before you even add the decorative studs.
Step 3: Set the Brass Nailheads
Now comes the satisfying part that gives the board its tailored finish. Wherever two ribbons cross over each other, you are going to push in an antique brass upholstery tack.
Push each tack through the ribbon intersection straight into the cork core beneath. If your cork base has a wood backing behind it, tap the tacks gently with a rubber mallet (or a regular hammer padded with a folded washcloth) so you do not scuff the brass finish. As each nailhead sinks in, it pinches the ribbon and batting down, creating that plush, high-end tufted effect.
To clean up the back, you can optionally hot-glue a piece of brown kraft paper or felt over the raw stapled fabric edges, though nobody will see the back once it is on your wall.
The Total Budget Breakdown
Here is what I spent on materials to make a 24x36 inch custom ribbon board:
| Item | Where to Buy | Cost |
|---|---|---|
| Wood-Framed Cork Board (24x36 in) | Target / Amazon | $14.00 |
| Natural Flax Linen Blend (3/4 yard) | Fabric Store / Remnant Bin | $5.25 |
| Low-Loft Quilt Batting Remnant | Craft Store | $2.75 |
| Grosgrain Ribbon (10-yard spool) | Craft Store | $2.50 |
| Antique Brass Upholstery Tacks (50-pack) | Hardware Store | $2.80 |
All in, this came out to about $27.30. Comparing that to boutique versions that sell for $300 to $400, the savings are incredible—and you get to choose the exact ribbon color and fabric texture that matches your room.
Where to Hang and How to Style It
I mounted mine right above my desk in the workspace nook, pairing it with warm brass accents and soft lighting. If you have been looking for simple ways to build a cozy desk setup, this pairs wonderfully next to an antique-style cordless brass lamp or mounted right above an English country wooden peg rail in an entryway.
The best part about a French ribbon board is that you do not need pushpins to use it. Simply tuck postcards, botanical sketches, theater tickets, stationery notes, and fabric swatches behind the ribbon grid. The tension of the ribbons and brass tacks holds everything securely in place without putting holes through your favorite keepsakes.


0 Comments