

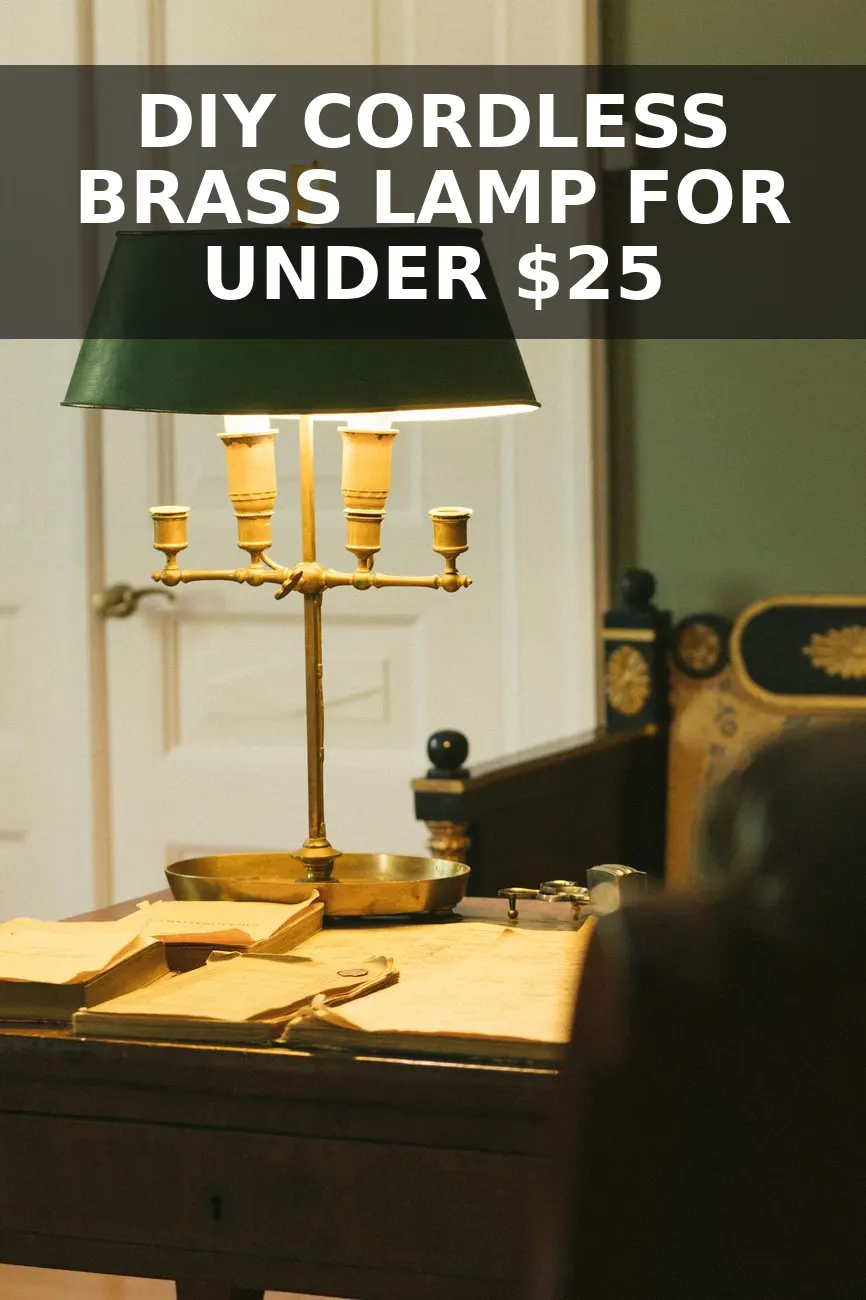
I kept seeing those tiny, rechargeable designer accent lamps tucked into bookshelf corners and styling high-end dinner tables for $360 a pop, and I knew right away that nobody should pay that. Last Tuesday, I picked up a heavy, vintage brass candlestick at Goodwill for $8, grabbed a cordless puck bulb and a mini clip shade, and built my own version at the kitchen table in under an hour.
Cordless mood lighting changes the entire feel of a room because you can park a lamp anywhere: in the middle of a dining table without dangling cords over your guests, deep inside an unpowered bookcase nook, or on top of a kitchen stack of cookbooks. Here is exactly how I built mine, down to the washer sizes and assembly steps.
What to Look For at the Thrift Store
The secret to making this look like a heritage luxury piece instead of a cheap craft is the base. You need real brass with actual weight. Skip the hollow tin candlesticks or lightweight coated aluminum ones.
- Check the base diameter: Look for a candlestick base at least 4.5 to 5 inches wide. You want a broad footprint so the lamp stays rock solid once you add the shade.
- Look for unscrewable rods: Most traditional solid brass candlesticks are assembled with a threaded metal rod running down the center, held together by a nut under the felt base. If you peek underneath, you can usually feel or see that construction.
- Pick a height between 7 and 10 inches: Anything shorter feels squat under a lampshade; anything taller than 11 inches gets top-heavy without a cord anchoring it down.
- Embrace a little natural tarnish: A little patina in the crevices gives the lamp aged character that matches what high-end retailers charge hundreds for.
The Materials and Budget Breakdown
You do not need any electrical wiring experience for this build. We are using a simple push-fit threaded lamp rod adapter and a magnetic rechargeable LED puck light with a remote control, which avoids tearing apart walls or hiding cords.
| Item | Where to Buy | Price |
|---|---|---|
| Heavy solid brass candlestick | Local thrift store | $8.00 |
| Mini paper or fabric clip-on empire shade (5-inch) | Craft store or Amazon | $6.50 |
| Magnetic rechargeable puck bulb with remote | Amazon (4-pack split or single) | $5.25 |
| 1/8-IP hollow threaded lamp nipple & finial ring | Hardware store / Home Depot | $2.50 |
| Scrap floral cotton or block-print fabric | Stash / thrifted remnant | $1.75 |
| Total Cost | $24.00 |
All in, this came out to about $24, compared to the $360 cordless lamps filling luxury design catalogs right now. Just like when I made my wireless gallery picture light, skipping hardwired electrical parts saved a ton of money and made the lamp completely portable.
Step-by-Step: Assembling the Cordless Lamp Base
- Clean and prep the brass: Wipe down the candlestick with warm water and mild dish soap to remove years of dust. If you want it brighter, hit the high points with a dab of brass polish on a microfiber rag, but leave the darker patina in the grooves.
- Set up the shade mount: Candlestick cups are designed to hold a standard 7/8-inch taper candle. Screw a short 1.5-inch hollow lamp nipple into a brass finial base (or use a rubber compression adapter plug made for candle holders, available in hardware plumbing aisles) and seat it snugly down into the candle cup.
- Mount the magnetic plate: Most rechargeable puck bulbs come with an adhesive metal disc. Stick that metal disc securely to the top platform of your adapter plug inside the cup.
- Snap on the light: Place the magnetic rechargeable bulb onto the disc. Test the remote to ensure the brightness levels and warm-white color temp (stick to 2700K for a cozy incandescent glow) work properly.
Making the Custom Pleated Shade Cover
You could stop at a plain cream clip-on shade, but a pleated or gathered fabric shade adds that bespoke English country style that makes the finished piece feel so expensive.
You do not need a sewing machine for this step:
- Cut a strip of lightweight cotton: Cut your fabric about 2.5 times the bottom circumference of your mini shade, and roughly 1.5 inches taller than the shade height. A lightweight lawn, gingham, or mini floral print works best.
- Press your folds: Using an iron on medium heat, press crisp 1/2-inch accordion pleats across the length of the strip. It takes about ten minutes while watching TV.
- Wrap and adhere: Working in small sections, apply a thin line of clear fabric glue along the top and bottom inner rim of the paper shade. Press each pleat against the rim, keeping the spacing consistent as you wrap around.
- Finish the rims: Tuck the extra 3/4-inch fabric allowance neatly over the wire rings on the inside of the shade and glue down flat. Add a tiny strip of matching bias tape or grosgrain ribbon over the inner seam for a clean finish.
Quick styling tip: Place this little lamp on a marble kitchen counter next to your wooden cutting boards, or on an entryway console right by your catchall tray. Because it is battery-operated, you can pick it up and carry it out to the patio whenever you have dinner outside.
Charging and Everyday Maintenance
The magnetic puck pops right off the brass base in one second when the battery runs low. Plug it into any standard USB-C charger for two hours, pop it back onto the base, and you get around 12 to 18 hours of continuous warm glow on the medium brightness setting. It brings instant warmth to dead corners without adding cord clutter to your space.


0 Comments