

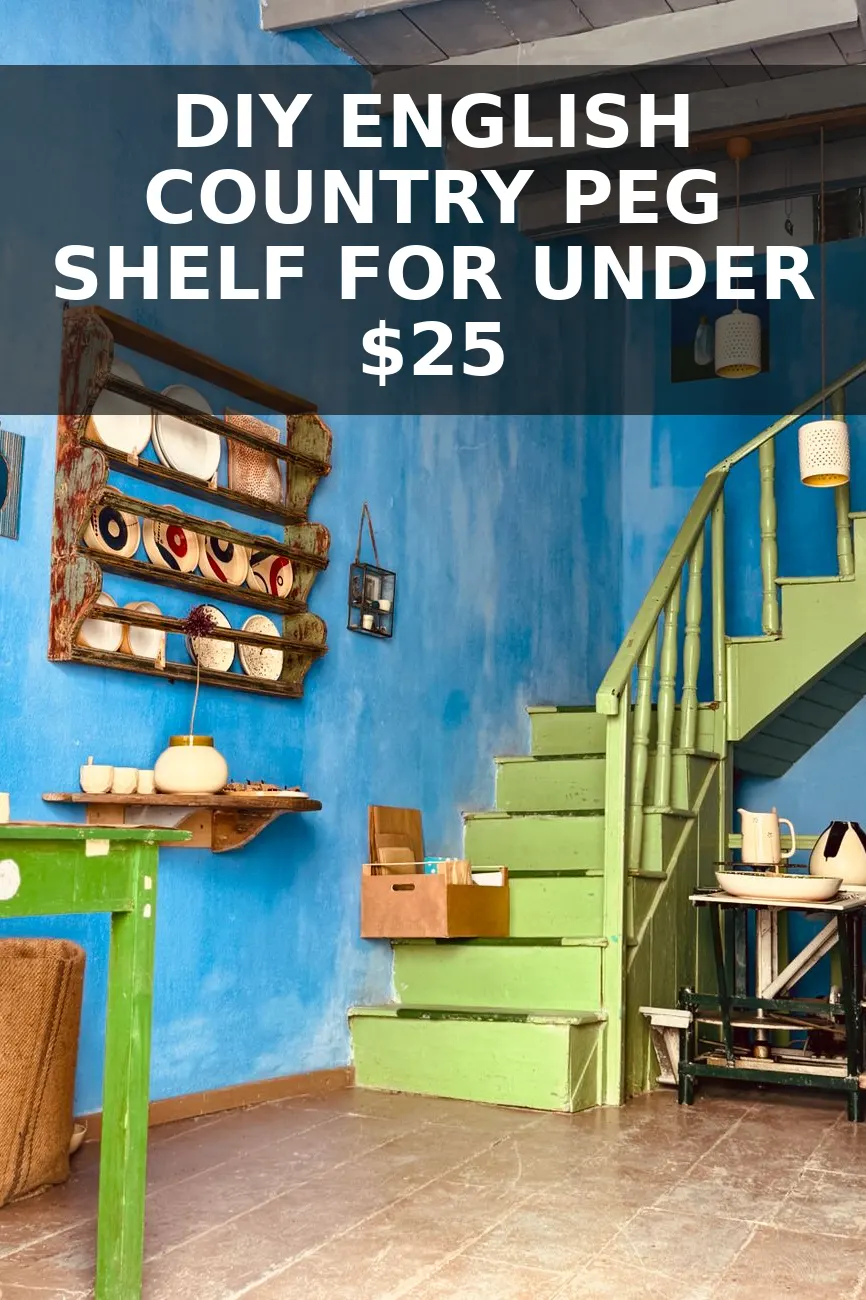
I spent months obsessing over the handmade shaker peg shelves sold by bespoke British kitchen studios for nearly $400 before I took a hard look at how they are actually built. It is literally three straight cuts of lumber, a handful of wooden shaker pegs, and a rich, aged wax finish. Once you see the anatomy of it, paying designer prices feels silly.
Last Saturday morning, I walked into Home Depot with a tape measure, spent less than twenty minutes in the lumber aisle, and had this entire shelf built, stained, and mounted in my entryway before dinner. Here is the exact breakdown so you can build your own this weekend without fancy woodworking machinery.
Why Those English Cottage Shelves Look So Good
The difference between a cheap flat-pack shelf and the timeless pieces you see in historic English cottages comes down to two details: proportions and edge softening. Commercial shelves usually have razor-sharp machine edges and skinny, skimpy brackets that look flimsy.
To get that high-end heritage look, you want:
- Substantial wood thickness: Use 1-inch nominal pine (which is 3/4-inch actual thickness) rather than thin hobby board.
- Generous shelf depth: A 5-inch to 6-inch deep top shelf gives you enough room for ceramic crocks, framed prints, or folded tea towels without feeling top-heavy.
- Subtle rounded edges: Hand-sanding the sharp factory corners creates the soft, worn silhouette of a piece that has been dusted and wiped down for fifty years.
The Materials and Budget Breakdown
You do not need hardwood like walnut or white oak to pull this off. Standard select pine from the home center has clean grain, minimal knots, and takes stain beautifully when prepped right.
| Item | Where to Buy | Price |
|---|---|---|
| 1x6 Select Pine Board (6 ft) | Home Depot / Lowe's | $11.50 |
| 1x4 Select Pine Board (4 ft) | Home Depot / Lowe's | $4.80 |
| Wood Shaker Pegs with Screws (Pack of 6) | Hardware store / Amazon | $4.20 |
| Wood Glue & 1-1/4 inch Trim Screws | Toolbox stash / Hardware store | $3.50 |
| Dark Paste Finishing Wax | Hardware store | $0.00 (On hand) |
All in, this came out to about $24. When you compare that to boutique online retailers asking $350 to $420 plus freight shipping for the exact same footprint, the savings are wild. It feels just as satisfying as the time I tackled our custom wood pantry shelves on a shoestring budget.
Step-by-Step Build Guide
- Make your three lumber cuts: For a 36-inch wide wall shelf, cut your 1x6 board to 36 inches (this is your top shelf). Cut your 1x4 board to 36 inches (this is your peg rail backing board). From the leftover 1x6 scrap, cut two simple triangular corbels or small rectangular support blocks roughly 3.5 inches tall by 4 inches deep.
- Mark your peg spacing: Take your 36-inch backing board and mark a center line along its length. For 5 pegs, place the first and last pegs 4 inches in from each outer edge, then space the remaining 3 pegs evenly at 7 inches apart. Measure twice. Uneven pegs are the only thing that will give away that this is homemade.
- Drill your peg holes: Most screw-in wooden shaker pegs require a 1/8-inch pilot hole. If you bought tenon-style wooden pegs (the smooth dowel end without screws), use a 1/2-inch Forstner drill bit wrapped with painter tape at a 1/2-inch depth stop so you do not drill through the front of the board.
- Assemble the frame: Run a generous line of wood glue along the top narrow edge of the 1x4 backing board. Butt it underneath the back edge of your top 1x6 shelf to form an L-shape. Clamp it tight and secure it from the back using 1-1/4 inch countersunk trim screws every 8 inches. Wipe off any squeezed-out glue with a damp cloth immediately.
- Attach the end brackets: Glue and clamp your small support blocks underneath the top shelf on each far end, flush with the outer edges. Drive one screw down through the top of the shelf into each block, and one screw through the backing rail into each block.
- Set the shaker pegs: Add a dab of wood glue to each peg hole and insert your shaker pegs, wiping away any excess glue with a damp rag.
The 2-Step Aging Finish That Fakes 100 Years
Raw pine can look yellow and cheap if you slap an ordinary walnut stain directly on it. To give it the warm, hand-rubbed patina of an antique piece—similar to the look we achieved on our vintage English library stool—use this layering method:
- Sand soft edges first: Take 150-grit sandpaper and run it along every hard corner, especially the peg tips and the front lip of the top shelf. You want gently rounded edges, not sharp 90-degree angles.
- Apply a diluted medium stain: Wipe on a coat of medium brown stain (like Early American or Provincial) and wipe it off within two minutes. You want the grain to show through clearly, not turn muddy or opaque.
- Buff with dark finishing wax: Once the stain dries for 4 hours, take a cotton rag and work a dark paste wax (like Briwax in Antique Mahogany or dark Tudor oak) into the wood, focusing around the joints and base of the pegs where natural grime accumulates over decades. Buff it out with a clean rag after 15 minutes. It gives the wood a rich, velvety sheen that polyurethane can never duplicate.
How to Hang It Securely
A loaded peg rail holding heavy coats, dog leashes, and stoneware bowls needs solid anchorage. The neatest trick is to screw directly through the backing rail into wall studs right between the pegs, counter-sinking the screw heads slightly and covering them with a dab of matching wood wax.
If your studs do not line up with the shelf width, use two heavy-duty zinc drywall toggle anchors rated for 50 pounds each. Once hung, it is completely rigid, rock-solid, and looks like it was built with the house a century ago.


0 Comments