

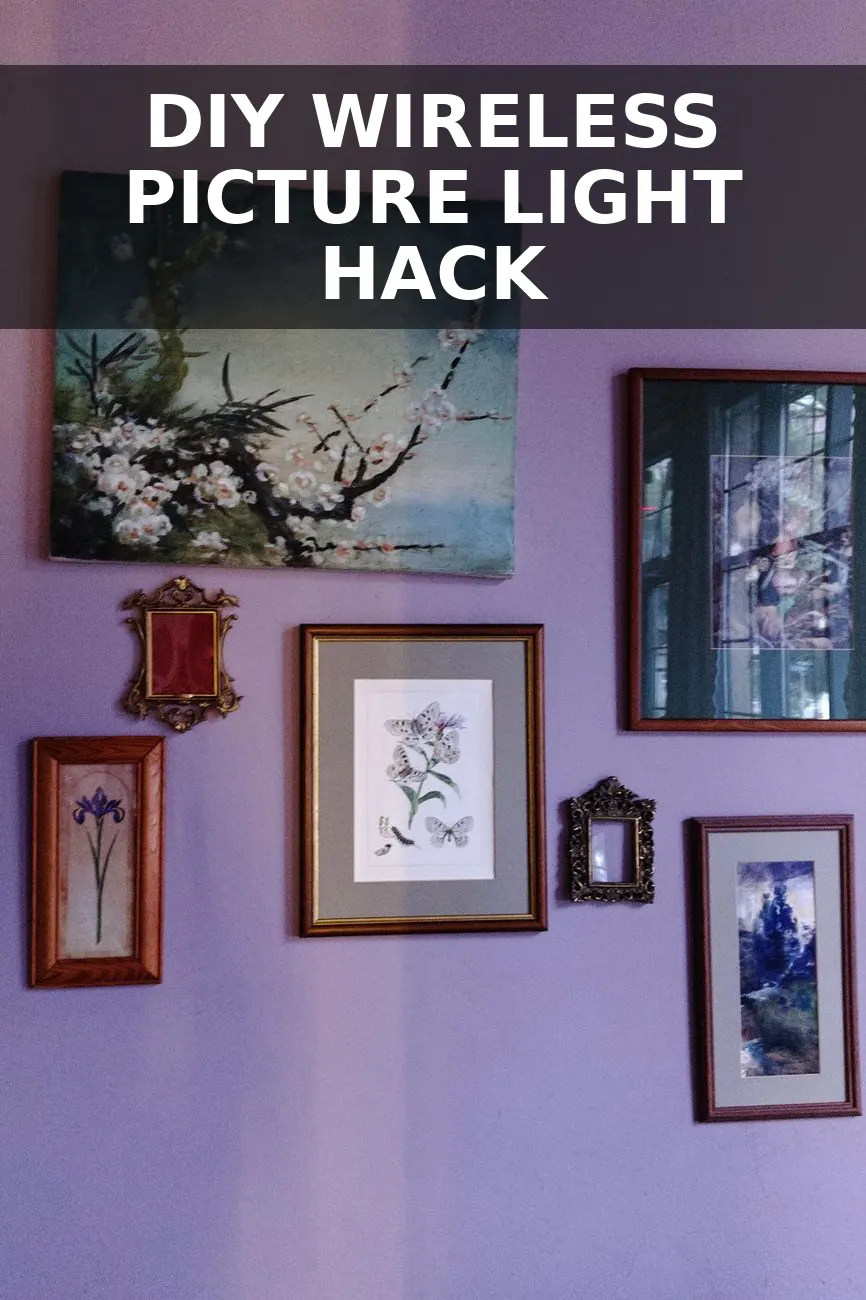
I spent three months eyeing a $380 solid brass picture light online, waiting for a holiday sale that never brought it below $290. The battery-operated versions I found on Amazon looked like cheap plastic stick-on nightlights, and hiring an electrician to hardwire a fixture over my living room gallery frame was out of the question. Then I was walking the plumbing and hardware aisles at Home Depot and noticed something: the classic vintage picture light is really just a curved neck piece, a slender cylindrical hood, and a wall mount plate. I realized I could assemble those exact shapes using a basic $12 curved towel bar, a metal pipe shield, and a puck light.
Why High-End Picture Lights Cost So Much (And How We Skip the Price Tag)
When you look closely at designer art lights from places like Visual Comfort or Rejuvenation, you are paying for two things: heavy antiqued brass finishes and concealed electrical wiring. The cheaper battery options usually fail because they use lightweight white plastic bodies and cool-toned LED bulbs that make artwork look like a grocery store aisle.
To get that heavy, heirloom look without wiring, we assemble hard metal components, weight them properly, and finish them with a multi-step paint-and-wax technique. The end result hangs directly on your wall or art frame with two drywall screws, runs on rechargeable batteries, and turns on with a warm-toned remote control.
Materials and Tool Checklist
Here is everything I picked up to build mine. You can find most of these items at any big-box hardware store, craft shop, or online.
- 1/2-inch Curved Brass Towel Bar or Grab Handle ($12): Look for one with standard round wall mounting flanges on both ends. Amazon and Home Depot have several simple curved styles.
- Galvanized or Brass Pipe Cover / Craft Metal Cylinder ($5): A 7-inch to 9-inch metal sleeve or half-round trim piece forms our light hood.
- Puck Light with Remote ($5): Get a warm 2700K LED puck light, ideally one with a magnetic backing plate for easy recharging.
- Metal Primer and Matte Black Spray Paint ($2): Shared cost from spray cans in the garage.
- Antique Gold Rub 'n Buff Wax ($2): A tiny drop gives raw metal the look of unlacquered vintage brass.
- E6000 or Heavy-Duty Construction Adhesive: To attach the hood to the neck arm securely.
Step 1: Prep and Cut the Hood Frame
The key to making this look custom rather than homemade is getting the proportions right. Your light hood should span roughly half to two-thirds the width of the frame you are lighting.
- Take your metal sleeve or pipe shield and trim it to your desired width using a basic hacksaw or tin snips. An 8-inch width works perfectly for framed art up to 24 inches wide.
- Smooth down any sharp metal edges along your cuts using 120-grit sandpaper or a metal file.
- Drill a 1/2-inch hole directly in the center top of the hood so the end of your towel bar neck can sit flush inside it.
Step 2: Connect the Neck Arm and Hood
Remove the wall mounting brackets from your towel bar. Most bars detach from their end caps with a tiny Allen wrench or screw underneath.
Thread one end of the curved metal bar into the top hole you drilled in your hood. Apply a generous bead of E6000 glue around the connection joint on the inside of the shade where nobody will see it. Clamp it gently or hold it straight for ten minutes while the glue sets, then let it cure overnight. This creates a solid, single-piece fixture that feels surprisingly heavy in your hand.
If you enjoy building simple wall features that anchor a room, this light looks especially striking placed over an English country peg rail with shelf, casting a soft glow down across hung framed prints or thrifted earthenware.
Step 3: Fake the Aged Brass Finish
Raw hardware metal rarely matches across different parts, so we need a unified finish. Standard gold spray paint usually looks synthetic, so we use a layered painter process instead.
- Lightly scuff all exterior surfaces with 220-grit sandpaper so the paint sticks smoothly.
- Apply one thin coat of metal primer, followed by one full coat of matte black spray paint. The dark base coat adds visual weight and creates deep shadows in the crevices.
- Once dry, squeeze a pea-sized dot of Antique Gold Rub 'n Buff onto your fingertip or a soft rag. Gently rub it across the black surface in short circular motions.
- Leave tiny traces of black paint visible around joints and edges to simulate aged, unlacquered brass patination. Buff with a clean cloth to a soft satin sheen.
Step 4: Mount the Wireless Light Engine
Now for the fun part that makes this practical for renters or anywhere without an electrical junction box. Glue a thin flat metal washer or magnetic disc inside the hollow interior of your hood using E6000.
Attach the magnetic base of your battery puck light to that washer. This allows you to pop the puck light out in two seconds whenever you need to swap AAA batteries or plug it into a USB charger, without taking the fixture off the wall.
Much like the technique used when building a tailored linen pendant shade, keeping the light fixture independent from heavy permanent hardwiring gives you total freedom to place lighting exactly where your room needs warmth.
The Final Budget Breakdown
Here is what I spent to make one complete gallery light. All in, this project came out to $26, saving more than $320 compared to buying an store-bought cordless picture light.
| Item | Where I Got It | Cost |
|---|---|---|
| Curved Brass Towel Bar | Home Depot / Amazon | $12.00 |
| Metal Sleeve Hood Piece | Hardware Store / Craft Shop | $5.00 |
| Warm LED Puck Light (3-Pack Portion) | Amazon | $5.00 |
| Spray Paint & Primer (Pro-rated) | Garage / Store | $2.00 |
| Rub 'n Buff Wax (European Gold) | Craft Store | $2.00 |
| Total Cost | $26.00 |
Mounting and Styling Tips
Mount the back bracket plate directly to your wall about two inches above your picture frame using two standard drywall anchors and screws. Slip the light fixture base onto the bracket and tighten the small set screw underneath.
Use the remote control to set the light to a warm 2700K temperature setting and set the automatic timer for 2 hours every evening. It creates that cozy, museum-style glow right when the sun goes down, without a single ugly cord hanging down your wall.


0 Comments