

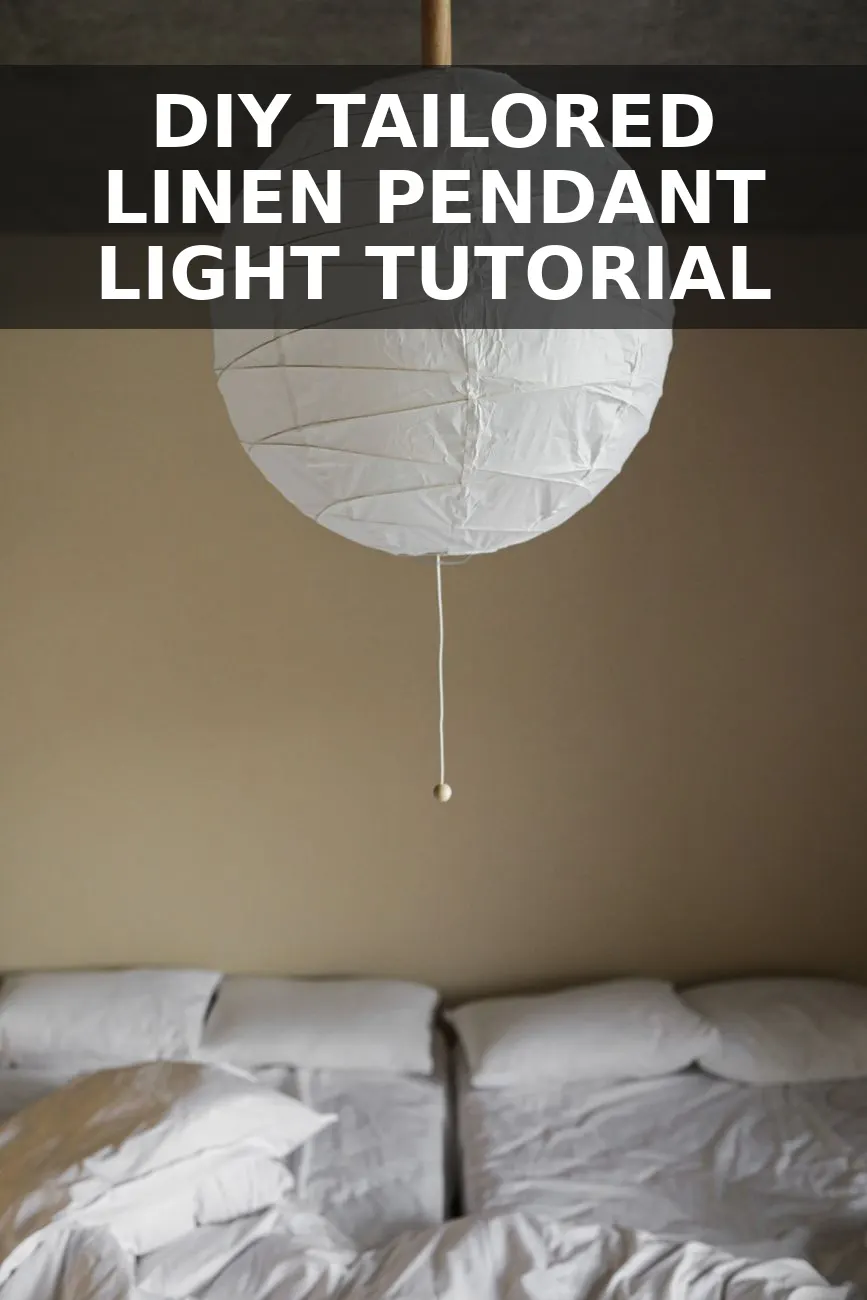
I almost dropped $520 on a large pleated linen pendant shade from a high-end design boutique last month before I caught myself, closed the browser tab, and drove straight to the nearest craft supply store. I knew the secret to those heavy, beautifully structured fabric light fixtures isn't expensive wiring or designer metalwork—it is having a clean, lightweight internal frame that holds its shape. A basic $12 paper sphere shade from Ikea or Amazon gives you that exact geometric structure for a fraction of the price, ready to be wrapped in crisp, tailored linen.
Why Paper Lanterns Make the Ultimate Lamp Framework
Paper rib lanterns are cheap, but their collapsible wire framing is actually an incredible foundation for DIY lampshades. They give you a perfectly symmetrical curved silhouette that would take hours to construct from scratch using wire rings. The main problem with paper lanterns on their own is that they look paper-thin and temporary. When you cover that collapsible wire structure with a mid-weight linen or cotton blend fabric, the light diffuses into a low, warm glow that makes your whole ceiling look custom-built.
I tried this project on a whim over a rainy weekend, pairing the soft linen texture with my nearby bouclé accent chair to tone down the hard angles in my living corner. The entire process took me under two hours, and nobody who visits believes there is a $12 paper sphere hiding underneath all that tailored fabric.
Materials and Cost Breakdown
You do not need specialized lamp-making tools for this project. Most of these items can be picked up at your local craft store or ordered online. If you happen to have leftover drapery material or an old linen tablecloth sitting around, your total price will drop even further.
| Item | Source | Price |
|---|---|---|
| 18-Inch Paper Sphere Lantern | Ikea / Amazon | $12.00 |
| 1.5 Yards Oatmeal Linen Blend Fabric | Joann Fabrics / Thrifted | $12.00 |
| Fabric Spray Adhesive (Permanent Hold) | Home Depot / Target | $3.00 |
| 1/2-Inch Cotton Twill Tape Trim | Craft Store | $2.00 |
| Hot Glue Gun & Clear Glue Sticks | Already Owned | $0.00 |
All in, this project came out to right around $29. Compare that to the $520 boutique version, and you are keeping nearly $500 in your pocket without sacrificing an ounce of style.
Step 1: Expand and Stabilize the Paper Base
Start by expanding your paper lantern using the wire expander insert that comes inside the package. Make sure it snaps securely into the top and bottom loops so the paper is pulled completely taut. If your paper shade has any loose sagging spots, the fabric will pull unevenly later.
Once the frame is open, take a roll of painter tape or masking tape and wrap a single strip around the top wire ring where the hanging cord sits. This keeps the expander bar locked in place so it won't pop loose while you stretch and glue fabric over the outer surface.
Step 2: Measure and Cut Your Linen Panels
Instead of trying to wrap one giant sheet of stiff fabric around a round sphere—which creates messy bulk and awkward puckers—you want to cut vertical gore panels (banana-shaped strips) that taper at the top and bottom. This allows the linen to wrap smoothly around the curve of the paper lantern.
- Measure the vertical circumference from the top opening of your lantern down to the bottom hole following the outer curve. Add 2 inches to this length for fold-over margins.
- Divide the horizontal middle circumference of the lantern by 8. This tells you how wide each panel needs to be at its center point.
- Cut 8 matching tapered strips out of your linen. Use sharp fabric shears so you get clean, crisp edges without fraying threads hanging off.
- Iron all your cut linen strips on high steam before applying glue. Any creases left in the fabric will show up clearly when the bulb lights up inside the completed fixture.
Step 3: Apply the Fabric to the Paper Sphere
Working in a well-ventilated area, take your first fabric panel and spray the backside evenly with a light coat of spray adhesive. You don't want the fabric dripping wet, just sticky enough to grab onto the paper surface instantly.
Align the middle of the fabric strip with the widest equator line of the paper shade. Press the center down gently, then smooth the fabric outward toward the top and bottom openings using the palm of your hand. Repeat this around the entire sphere, overlapping each panel by roughly a quarter-inch so no white paper shows through the seams.
Pro Tip: Work slowly and avoid pulling the linen too tight. Paper lanterns can tear if you yank hard on the outer shell. Gentle, even pressure works best to press out air bubbles.
Step 4: Tailor the Pleats and Edge Trimmings
Once all 8 panels cover the paper lantern, you will have about an inch of excess fabric extending past the top rim and bottom opening. Warm up your hot glue gun and fold those raw fabric edges inward over the plastic/wire rims of the shade, sticking them firmly to the inside interior.
To give the edges that crisp, tailored finish seen on custom boutique lamps, take your cotton twill tape and run a single neat line of hot glue around the inside edge of both openings. This buries all raw fabric edges under a clean cloth border. If you hung a DIY fluted console table nearby, matching the shade trim to your wall trim or wood tone ties the whole room visual together seamlessly without looking over-designed.
Step 5: Wiring and Safety Considerations
Hanging your new linen pendant requires a standard cord set (available at hardware stores or Ikea for under $10). Because we added a layer of real fabric over paper, you must pay attention to bulb wattage and heat output.
- Use LED bulbs only: LED bulbs produce almost no heat compared to traditional incandescent bulbs, making them completely safe inside a fabric-covered shade.
- Choose warm temperatures: Opt for a 2700K warm white LED bulb. Higher kelvin bulbs (4000K+) look sterile and cool, while 2700K lights up the textured linen with a cozy, soft ambient glow.
- Double-check weight: The finished linen shade weighs less than one pound, so standard ceiling cord hooks or existing light fixture cords hold it effortlessly.
Styling Your New Tailored Pendant
This tailored linen pendant works anywhere you need focal warm lighting: above a breakfast nook, centered over a bed, or hanging low over a side table. If your space feels full of hard wooden edges or cold metal surfaces, soft woven textiles on light fixtures balance out the room texture immediately. You get the structured look of a custom $500 designer fixture, made entirely with basic items you can assemble at your kitchen table in an afternoon.


0 Comments