


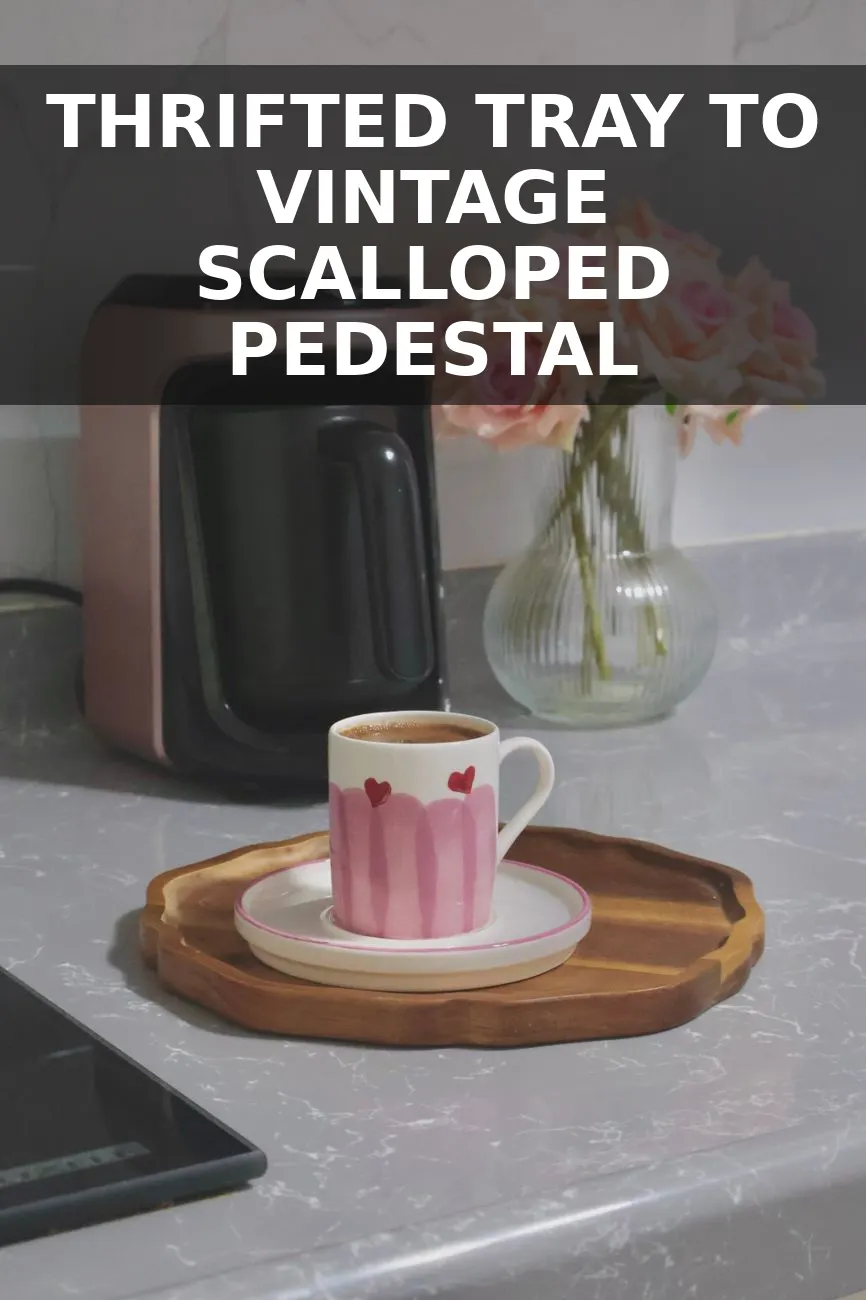
I spotted this clunky, orange-toned pine serving tray sitting on the bottom shelf at Goodwill for ten dollars, covered in light water rings and missing one of its side handles. Most people walked right past it, but all I could see was the thick solid wood base and perfectly flat edges that were begging for a custom scalloped gallery rail and some classic wooden feet.
Why Spend $380 When You Can Build It for $24?
If you have ever flipped through high-end boutique decor catalogs, you have probably seen those heavy, hand-carved scalloped pedestal trays holding ceramic crocks on kitchen counters or sitting on living room ottomans. They look ancient, heavy, and undeniably custom, which explains why designers charge upwards of $380 for them. The trick to making a cheap tray look like a custom heirloom isn't buying expensive timber—it's adding distinct architectural detail to the border and lifting it off the surface with solid wood feet.
When I was working on my kitchen styling recently, I knew I needed something with height to group my salt cellars and olive oil bottles together. After finding success with my project on turning an $8 thrifted cutting board into a vintage French pedestal board, I knew a larger tray with a decorative gallery rail would be the logical next step. The structure is already built for you; all you are doing is refacing the edges and altering the silhouette.
Gathering Materials and Budget Breakdown
To pull this off, you do not need a fancy workshop or expensive woodworking tools. A simple hand saw or a pair of heavy-duty craft shears (if you use thin wood scalloped trim), some quality wood glue, sandpaper, and four small wooden feet will do all the heavy lifting. I grabbed my scalloped trim molding from a craft supply site and picked up a set of four 1.5-inch wooden ball feet from the local hardware store.
| Item | Where I Got It | Cost |
|---|---|---|
| Thrifted Wooden Tray | Goodwill / Thrift Store | $10.00 |
| Unfinished Scalloped Wood Trim (4 ft) | Craft Store / Amazon | $5.50 |
| Unfinished Wooden Ball Feet (Pack of 4) | Home Depot / Craft Shop | $4.00 |
| Gorilla Wood Glue | Hardware Store (In Cabinet) | $1.50 |
| Wood Filler & Sandpaper (220 Grit) | Hardware Store (In Cabinet) | $1.00 |
| Dark Walnut Gel Stain & Antiquing Wax | Home Depot (In Cabinet) | $2.00 |
All in, this project came out to exactly $24.00. Considering the catalog version I was eyeing cost $380 before shipping, saving $356 on a single afternoon project felt like a massive win for my home budget.
Step-by-Step: Building the Scalloped Pedestal Tray
Take your time with the measuring stage here. Getting clean corner joints on the trim makes all the difference between something that looks homemade and something that looks like an antique store treasure.
- Prep and strip the original tray: If your thrifted tray has cheap hardware handles, remove them with a screwdriver. Fill any remaining screw holes with stainable wood filler and let it dry completely. Give the entire tray a thorough sanding with 120-grit sandpaper to remove old varnish, then smooth it down with 220-grit. You want raw wood so the glue and new stain stick evenly.
- Measure and cut the scalloped trim: Measure each side of your tray outer frame. Using a miter box or hand shears, cut your scalloped wood trim at 45-degree angles on the corners so they meet flush. If cutting angles feels intimidating, you can also make straight butt joints and sand the outer corners rounded—just ensure the scallop pattern aligns visually along the edge.
- Attach the gallery rail trim: Apply a liberal strip of wood glue along the back of your scalloped trim and press it directly flush against the outer rim of the tray. Clamp the trim in place using painter's tape wrapped tightly around the tray perimeter, or use small bar clamps. Wipe away any glue squeeze-out immediately with a damp rag, as dried glue blocks stain from soaking into the wood. Let it cure for at least two hours.
- Install the wooden ball feet: Flip the tray upside down. Mark four equal points about one inch inside each corner on the bottom of the tray. Apply wood glue to the flat top of each wooden ball foot and press firm. For extra structural hold, drive a short flathead wood screw through the inside bottom of the tray down into each foot (countersinking the screw head slightly and filling with wood filler later).
- Fill gaps and final sand: Once everything is rock solid, use a tiny dab of stainable wood filler along the corner seams where the trim meets. Let it dry for 30 minutes, then light sand every joint until smooth to the touch.
- Stain and age the finish: Apply a coat of dark walnut gel stain using a lint-free cloth, rubbing it deep into the scalloped crevices and grain. Wipe off the excess after three minutes. Once completely dry, rub a light layer of dark antiquing wax over the scalloped details to exaggerate the shadows and give it that aged 100-year-old patina.
Where to Style Your New Scalloped Tray
Once the wax has cured overnight, your pedestal tray is ready to put to work anywhere in your house. Here are a few ways I love styling mine:
- Kitchen Oil Station: Set it right next to your stovetop holding a small crock of wooden spoons, a glass bottle of olive oil, and a salt cellar. It lifts everyday cooking items off the counter and keeps splatters off your backsplash stone.
- Coffee Table Anchor: Use it to group a scented candle, a small brass match holder, and a small footed bowl filled with dried botanical accents. The scalloped detail adds organic texture to sleek tabletop surfaces.
- Bathroom Vanity Caddy: Place it on your bathroom counter to organize rolled linen washcloths, hand cream, and a vintage soap dish. If you enjoyed the detailed woodwork on my tutorial for turning a $9 thrifted tissue box cover into a scalloped English country box, pairing these two pieces together on a counter creates a cohesive high-end look without looking cluttered.
- Entryway Catchall: Keep it near the front door on a console shelf—similar to how you might style an English country wall shelf—to catch brass keys, mail, and sunglasses in style.
Next time you are walking through your local thrift shop, ignore scratched paint or ugly varnish on flat wooden items. Look at the basic shape, think about what a little scalloped molding and four wooden feet can do, and give it a whole new life for less than the cost of takeout.


0 Comments