

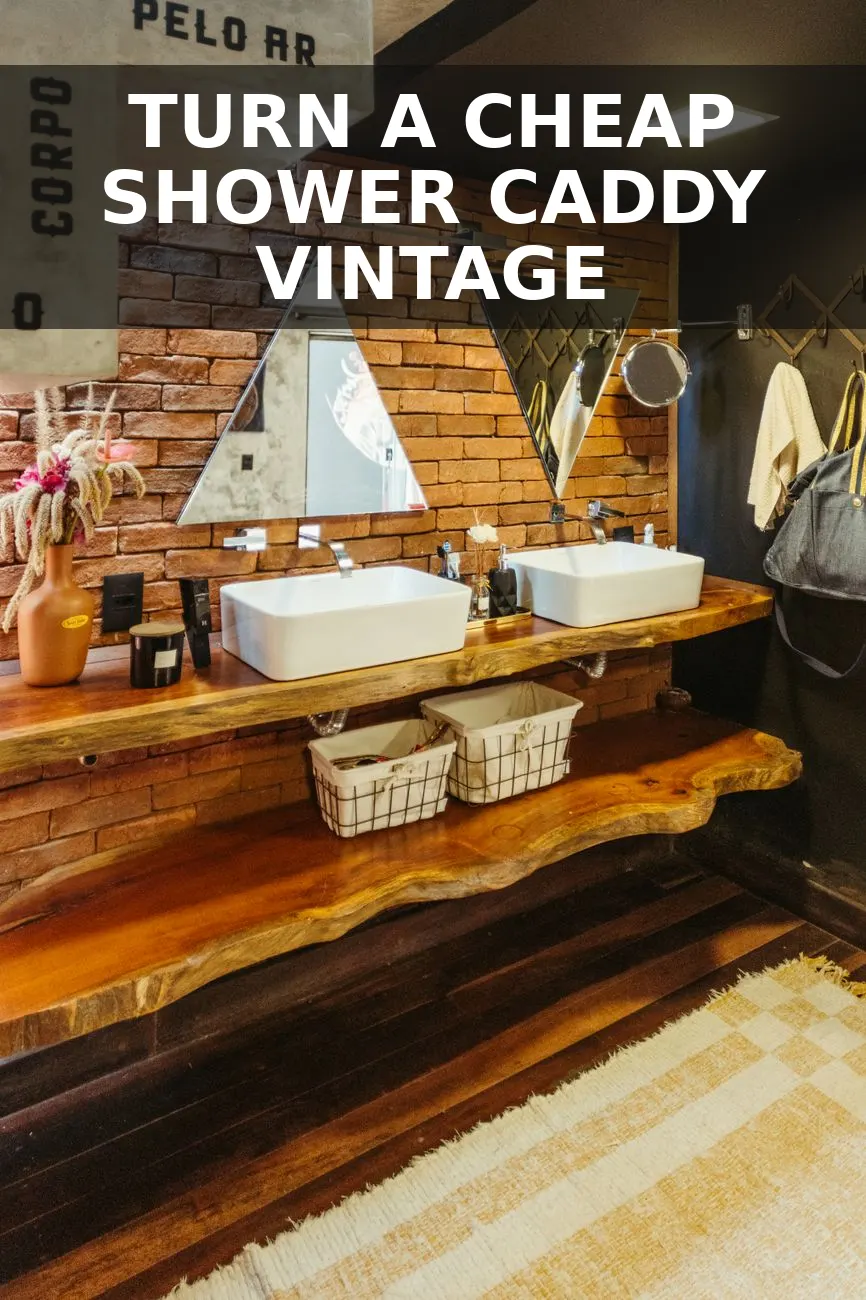
Stop scrolling past those sad, rusty metal shower caddies in the thrift store basement. You know the ones: the cheap wire racks designed to hang over a showerhead, usually coated in peeling white plastic or covered in green water spots. I found one last Tuesday at my local Habitat ReStore for exactly eight dollars, and it looked like it belonged in a dumpster. But under that grime, the wire structure was solid, and it had beautiful curved contours that look remarkably like high-end French country wirework.
With a bit of elbow grease, some sandpaper, and a simple layering trick to get a convincing antique brass finish, I turned it into a gorgeous hanging wall organizer. It now holds hand towels and pretty amber bottles in my guest bath, looking like it came straight out of a historic English hotel. If you have tackled my project to turn a thrifted wire tiered stand into a vintage brass bathroom caddy, you already know how satisfying it is to rescue abandoned metalwork and give it a classic, aged look.
What to Look For at the Thrift Store
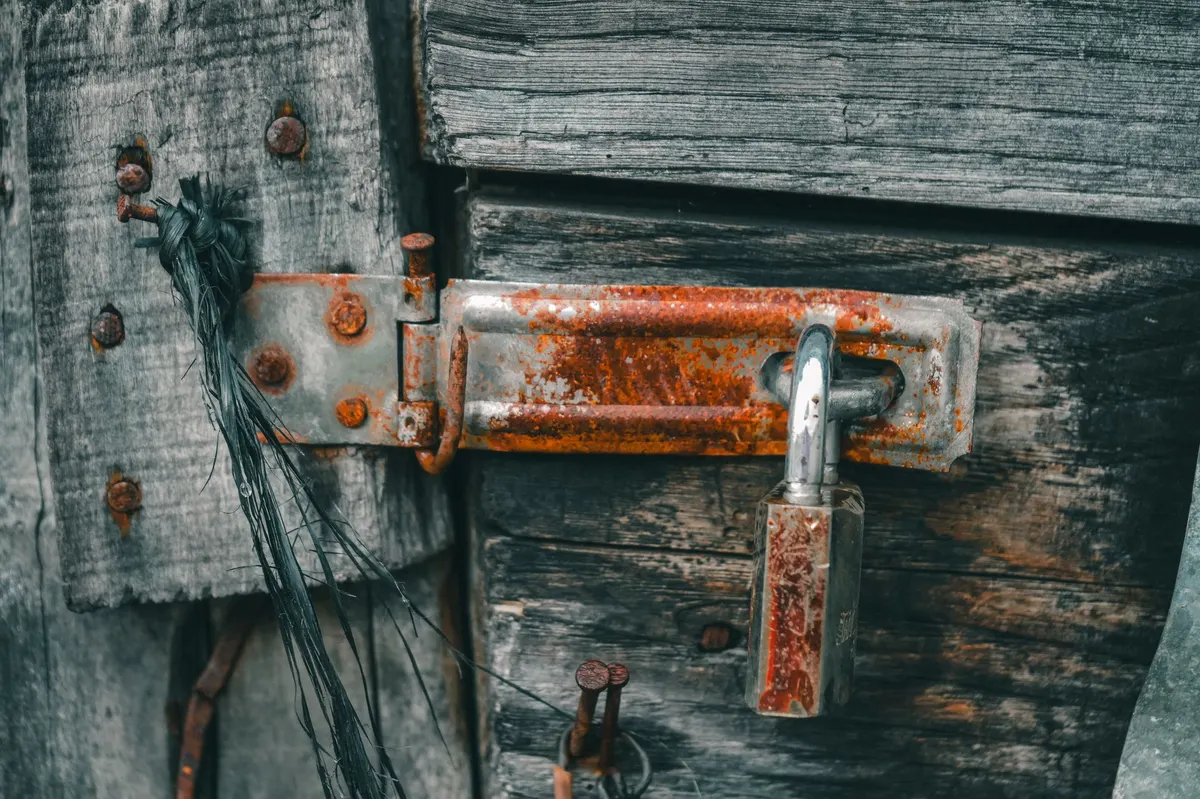
When you are hunting for a caddy to transform, ignore the color and the rust. Instead, pay attention to the bones of the piece. You want a wire organizer with some visual interest. Look for hoops, curved guard rails, or built-in hooks at the bottom. The thicker the main structural wires, the better. Avoid the flimsy, flat-wire modern versions from discount big-box stores; they lack the vintage character we want to mimic.
This project is a fantastic companion piece if you also want to try making a French country metal trolley for extra bathroom linen storage. Together, they create a beautifully cohesive, curated look that makes a basic bathroom feel custom and styled.
How to Prep and Transform the Wire
The secret to a flawless paint finish on old metal is all in the prep work. If you skip these steps, your paint will bubble, peel, or scratch off the moment a bottle slides across the shelf.
- Scrub and strip: Use hot soapy water and a stiff wire brush to remove any loose rust, scale, or mineral deposits. If your caddy has a thick rubbery plastic coating that is already peeling, use a utility knife to slice it open and peel it off entirely. If the coating is fully intact and stuck tight, just sand it lightly to give it some tooth.
- Sand the surface: Take a medium-grit sanding sponge (around 120-grit) and run it over every single wire. You want to smooth out any rough transitions where rust was eating into the metal. Wipe the entire piece down with a tack cloth or a damp rag to remove every speck of dust.
- Apply the primer: Hang the caddy outside from a tree branch using a scrap piece of wire or wire hanger. This lets you spray all sides without touching it. Spray the entire piece with a thin, even coat of rust-inhibiting primer. I highly recommend Rust-Oleum Clean Metal Primer for this step. Let it dry for thirty minutes.
The Layered Antique Brass Paint Technique
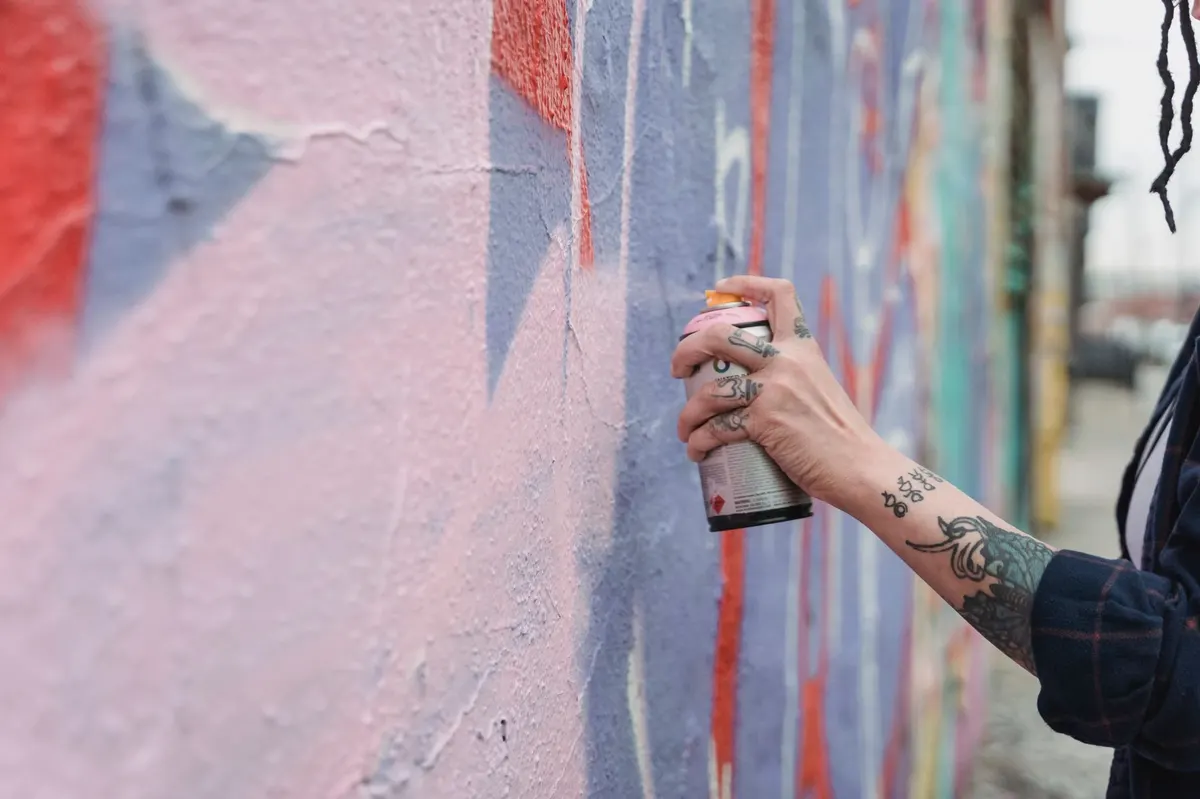
Flat gold spray paint looks cheap and fake. Real antique brass has depth, shadows, and highlights. We are going to build those layers using spray paint and metallic wax.
- The shadow coat: Spray the primed caddy with a flat black or dark brown spray paint. This will act as our shadow coat. Ensure you get into all the tight joints and corners where the wires meet. Let this dry completely.
- The metallic mist: Grab a high-quality metallic gold spray paint. Hold the can about twelve inches away from the caddy and mist it lightly. Do not try to get solid coverage. You want the dark shadow coat to peek through in the corners and undersides of the wire. This immediately gives the metal a heavy, aged look.
- The hand-buffed highlights: Once the spray paint is dry to the touch, squeeze a tiny, pea-sized dab of Rub n Buff in Antique Gold onto your finger or a dry, stiff stencil brush. Lightly buff the wax onto the highest points of the wire: the front rails, the outer loops, and the decorative curves. This wax contains real metal flecks and catches the light beautifully, making the piece look like solid, heavy brass.
The Budget Breakdown
This project is incredibly budget-friendly because you only need a small amount of each paint and wax. Here is exactly what I spent to bring this piece to life. The total project cost came out to just nineteen dollars, using leftover paints and a fraction of a tube of metallic wax.
| Material | Source | Price |
|---|---|---|
| Thrifted Wire Shower Caddy | Thrift Store | $8.00 |
| Rust-Inhibiting Primer (partial can) | Home Depot | $4.50 |
| Flat Black Spray Paint (partial can) | Home Depot | $2.50 |
| Metallic Gold Spray Paint (partial can) | Home Depot | $2.50 |
| Rub n Buff Antique Gold (fraction of tube) | Michaels | $1.50 |
Styling Your New Vintage Hanging Organizer
Now that your caddy looks like a vintage heirloom, do not hang it back over the showerhead. Instead, mount it on a dry wall in your bathroom using two small brass screws or decorative cup hooks. This keeps the wax finish safe from direct water spray and turns the caddy into a gorgeous piece of wall furniture.
I styled mine by folding three white waffle-weave hand towels into the bottom shelf. On the top shelf, I placed two amber glass pump bottles filled with soap and lotion, along with a small, trailing English ivy plant in a tiny clay pot. The green leaves spilling over the bright brass wire look incredibly charming and instantly make the entire guest bathroom feel like a cozy, historic retreat.
You Might Also Like
- How to Turn a $10 Thrifted Wire Tiered Stand into a $380 Vintage Brass Bathroom Caddy for $24
- How to Turn an $8 Thrifted Wooden Shadow Box into a $360 English Cottage Apothecary Shelf for $22
- How to Turn a $9 Thrifted Wooden Tool Caddy into a $380 English Cottage Bath Tote for $22
Frequently Asked Questions
Can I use this inside the actual shower after painting?
It is best to use this in the dry zone of your bathroom for towels and styling pieces, as constant direct spray will eventually break down the wax finish and cause rust to return.
What is the best way to clean off stubborn rust before priming?
Soak a rag in white vinegar, wrap it around the rusty spots for an hour, and then scrub vigorously with a wire brush or steel wool.
Do I need to seal the Rub n Buff after applying it?
No, Rub n Buff contains its own wax binders and cures to a durable finish on its own, though you can buff it with a soft cloth after 24 hours for a gentle sheen.


0 Comments