

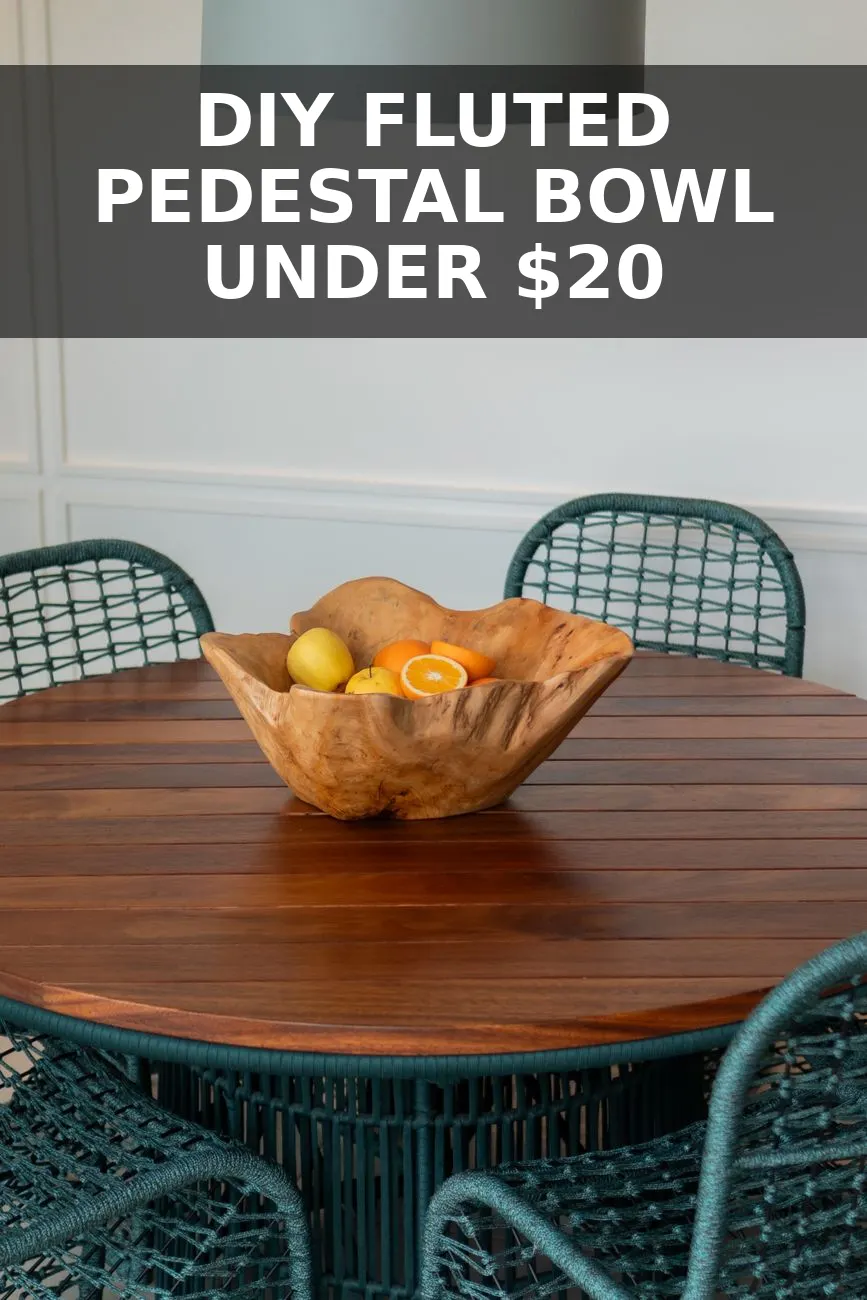
I spent twenty minutes staring at a $280 carved pedestal fruit bowl at a high-end home store last month, turning it upside down to see how it was constructed. When I realized the entire silhouette was just a wide salad bowl mounted to a fluted riser base, I walked straight out to my nearest thrift store.
Two days later, I found a scuffed $5 wooden salad bowl at Goodwill, paired it with a $2 wooden candle base, and wrapped it in slim half-round pine trim. The finished bowl sits in the center of my kitchen island holding fresh lemons, and everyone who walks in assumes it came from an upscale boutique catalog.
What You Need Before Starting
You can find the wooden components for this project in almost any thrift store or craft aisle. You do not need power saws or heavy machinery; a simple hand miter saw and a bottle of strong wood glue get the job done in an afternoon.
- A wide wooden bowl: Look for thrifted salad bowls made of solid wood, preferably with a smooth exterior and a flat bottom at least three inches wide.
- A sturdy wooden base: A small wooden bowl, a thick wooden block, or an inexpensive unfinished wood candle pedestal from Michaels or Hobby Lobby works perfectly.
- Half-round wood trim or dowels: 1/2-inch half-round moulding or split wood craft sticks give the base its architectural fluting.
- Wood glue: Standard Gorilla Wood Glue or Titebond II creates a permanent bond stronger than the wood itself.
- 220-grit sandpaper: For removing old polyurethane varnish and prepping the raw wood surface.
- Finishing supplies: Dark walnut gel stain, black milk paint, or clear matte wax, depending on the look you want.
Cost Breakdown: Boutique Price vs. Real Budget
High-end retailers charge upwards of $250 for solid footed bowls because pedestal shapes feel architectural and sculptural. By sourcing the wood secondhand and adding the fluting yourself, you skip the massive retail markup entirely.
| Material | Where to Buy | Cost |
|---|---|---|
| Thrifted wooden salad bowl | Goodwill / Thrift Store | $5.00 |
| Unfinished wooden pedestal base | Michaels / Craft Store | $2.50 |
| Half-round pine trim strips | Home Depot | $4.50 |
| Wood glue (allocated cost) | Hardware Store | $2.00 |
| Matte finish gel stain & wax | Home Depot | $4.00 |
All in, this came out to about $18. That is roughly a 93% savings compared to the designer version I had been eyeing online.
Step-by-Step: Building the Pedestal Bowl
- Strip the old finish: Most thrifted wooden bowls have an old, glossy orange coat of lacquer on them. Take a sheet of 120-grit sandpaper to knock off the glossy sheen, then smooth everything down with 220-grit paper. Wipe the wood completely clean with a tack cloth or damp rag.
- Measure and cut the fluted trim: Measure the height of your base pedestal cylinder. Using a cheap hand miter box and pull saw, cut your half-round wood trim pieces to that exact height. For my four-inch diameter base, I needed about 24 small pieces.
- Attach the fluting to the base: Run a thin line of wood glue down the flat side of each trim piece and press them vertically around the perimeter of your base piece. Keep them flush side-by-side. Wrap a tight rubber band or painter tape strip around the cylinder to hold them firmly in place while the glue dries for two hours.
- Sand the top and bottom edges: Once the glue cures, run your 220-grit sandpaper along the top and bottom rim of your new fluted column to make sure all edges are completely flush and uniform.
- Join the bowl to the pedestal: Find the exact center of the bowl bottom by measuring across the flat base from two opposing points. Apply a generous swirl of wood glue to the top edge of your fluted base, center it on the bowl bottom, and press firmly. Place a couple of heavy books or a hand weight inside the bowl and let the joint cure undisturbed overnight.
- Apply your finish: Once the bowl and pedestal are permanently bonded, apply your stain or paint. I wiped on a single coat of dark walnut gel stain with a lint-free cloth, allowed it to dry for 24 hours, and buffed on a layer of clear matte paste wax to give it a velvety, hand-carved look.
Pro tip: If your thrifted bowl has subtle dings or minor surface cracks, do not try to fill them with plastic wood filler. Those slight imperfections absorb stain deeply and make the piece look like a genuine vintage European antique rather than a brand-new craft project.
How to Style Your Pedestal Bowl
Because the pedestal lifts the bowl three to four inches off the table, it brings height and dimension to flat surfaces without taking up excessive table space.
- Kitchen island focal point: Pile it high with real lemons, green bosc pears, or garlic bulbs next to your stove.
- Entryway catchall: Style it right on top of a fluted console table to hold spare brass keys, matchboxes, and sunglasses.
- Coffee table centerpiece: Place it on a burl wood accent table layered over a couple of thick linen-bound art books.
- Seasonal accent: Fill it with dried moss and brass taper holders in winter, or fresh garden clippings in early spring.
Next time you are browsing the wooden kitchenware aisle at the thrift store, look past the scratched varnish and weird 1980s shapes. With a few strips of basic trim and a little wood glue, you can build a heavy, custom centerpiece that looks like an heirloom find.


0 Comments