

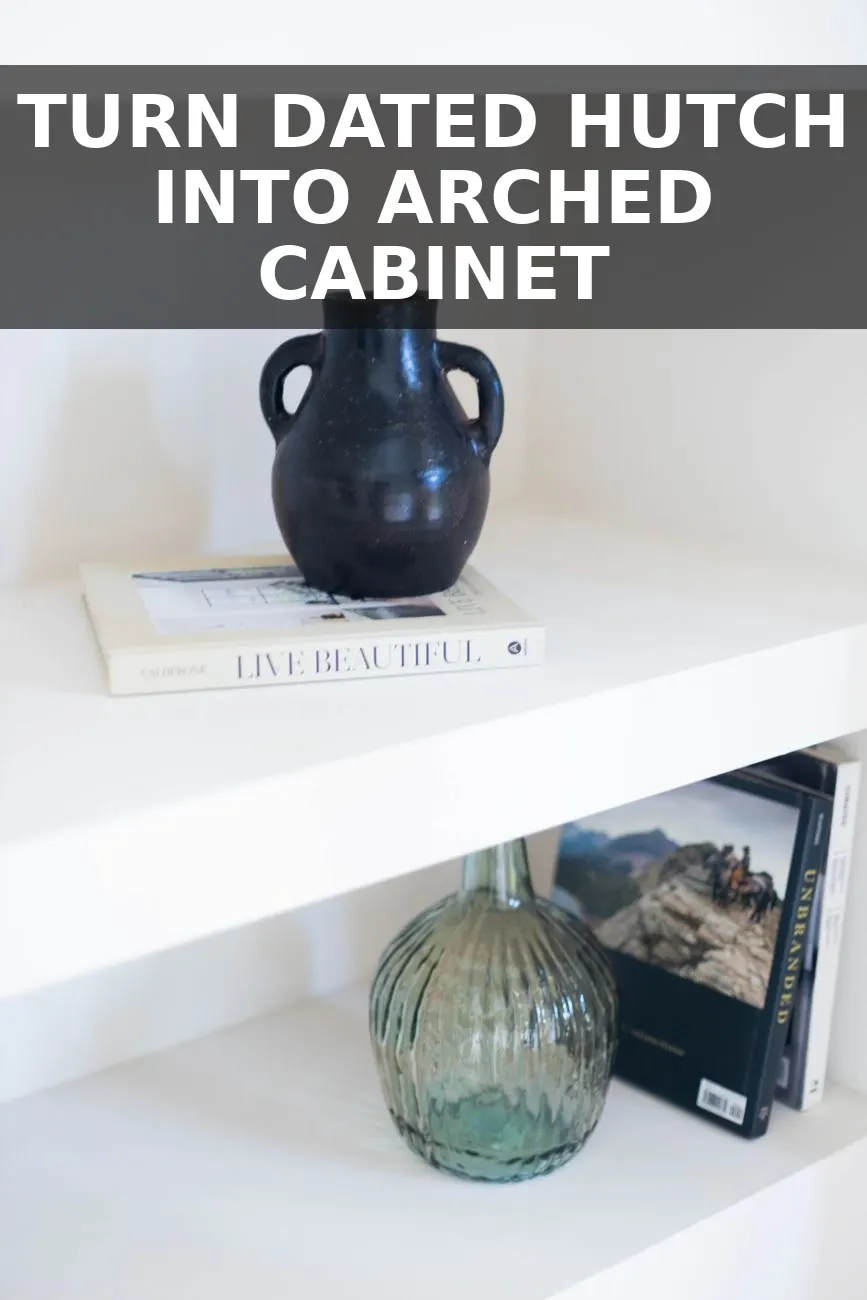
I spent three solid months staring at a $1,400 arched cabinet from Crate & Barrel before sanity kicked in. It was stunning, but paying that much for a single piece of accent furniture felt ridiculous. So instead, I found a heavy, dark 1980s honey-oak hutch on Facebook Marketplace for $25, took a jigsaw to it in my driveway, and turned it into a sleek built-in display piece that looks straight out of a high-end designer catalog.
What to Look For on Facebook Marketplace
You do not need an advanced woodworking setup or years of carpentry experience to pull off this build. You just need a solid wood or heavy veneer hutch with straight lines and decent construction. Search terms like 'wood hutch,' 'china cabinet,' or 'vintage wall unit' usually bring up tons of cheap listings because sellers are practically begging someone to haul away their bulky oak furniture.
Keep these specific details in mind while searching:
- Two-Piece Units: Look for hutches where the top display cabinet detaches cleanly from the bottom buffet base. This makes transport easier and gives you flexibility while working.
- Flat Outer Trim: Avoid intricate, curved Mediterranean scrollwork across the very top unless you are willing to saw the entire header off flush. Flat top trim is much easier to modify.
- Minimum Depth: Make sure the interior shelves are at least 11 inches deep so standard books, large serving bowls, and pottery fit comfortably without hanging over the edge.
Supply List & Budget Breakdown
Most of the cost for this project goes toward paint and the sheet of hardboard used to create the arch. If you already have paint primer or wood glue sitting in your garage, your total will be even lower.
| Item | Source / Details | Price |
|---|---|---|
| 1980s Oak Hutch | Facebook Marketplace | $25.00 |
| 1/4-inch Hardboard Sheet (4x8 ft) | Home Depot | $14.50 |
| Zinsser Bulls Eye 1-2-3 Primer (Quart) | Target / Home Depot | $11.20 |
| Behr Premium Satin Paint (Quart) | Home Depot (Color: Underground) | $18.50 |
| Brass Cabinet Knobs (4-pack) | Amazon | $8.99 |
| Painter's Caulk & Wood Filler | Home Depot | $6.50 |
| Sanding Sponges (120 & 220 grit) | Hardware Store | $4.25 |
All in, this project came out to $88.94. Compared to buying a luxury brand version, I saved over $1,300 for about five hours of active labor spread across a weekend. If you tried our project where we converted a thrifted dresser into an apothecary cabinet, this build uses very similar prep techniques with a quick custom woodworking step added in.
Step-by-Step Arch Construction
Here is how to take an outdated rectangular cabinet opening and turn it into a soft, modern arch.
- Strip down the frame: Take off all cabinet doors, glass inserts, adjustable shelves, and old brass hardware. Set the screws aside in a small bowl so you do not lose them. Wash the wood down thoroughly with TSP substitute to remove decades of furniture wax and grime.
- Remove upper trim and glass tracks: Many 80s hutches have decorative plastic trim inserts or sliding glass door tracks inside the top frame. Pry these out carefully using a flathead screwdriver and a putty knife. You want clean, flat outer frame edges to attach your new arch overlay.
- Measure and mark your arch template: Measure the exact width of the upper interior cabinet opening. Mark that exact length onto your sheet of 1/4-inch hardboard. Find the center point along that line. Drive a tiny nail into the center point, attach a piece of string equal to half your total width, tie a pencil to the end, and swing it across the board to draw a perfect semi-circle arch.
- Cut the arch panel with a jigsaw: Clamp your hardboard down securely to a workbench. Using a fine-tooth wood blade on your jigsaw, slowly follow the pencil line to cut out your arch insert. Take your time on the curve so the edge stays smooth. Sand the cut edge with a 220-grit sanding sponge.
- Install the front arch face: Apply wood glue along the back edges of your hardboard arch panel. Slide it into position against the front upper frame of your hutch. Secure it in place using 5/8-inch brad nails or a heavy-duty staple gun from the backside.
- Caulk and sand every joint: Smooth wood filler over the nail heads and any tiny gaps along the outer edges. Once dry, sand smooth. Run a thin bead of paintable acrylic caulk along the entire seam where the new arch insert meets the original cabinet frame. This critical step makes the arch look like it was built right into the original cabinet frame rather than tacked on afterward.
- Scuff sand and prime: Rub down the entire hutch frame with 120-grit sandpaper. You do not need to sand down to bare wood; you just need to break the glossy factory topcoat so your paint grabs onto the surface. Wipe away dust with a tack cloth, then apply one thorough coat of shellac-based or oil-based primer to seal in the dark varnish.
- Paint and finish: Apply two coats of high-quality satin or eggshell paint using a microfiber mini roller for flat areas and a angled brush for corners. Deep muted charcoal, warm alabaster cream, or dark forest green give this shape an immediate high-end feeling. Once cured, screw on your new brass knobs and slide your shelves back into place.
Styling Tips for Display Cabinets
After spending time on paint prep and cutting, do not rush the final styling. The trick with arched cabinets is keeping the interior uncluttered so the curve of the top frame remains the main focal point.
- Mix organic textures: Balance smooth ceramic pots with rough woven baskets on lower shelves. If you want even more warm texture inside, consider using a trick from our build where we turned an Ikea Kallax into a cane credenza by adding natural cane webbing behind the lower door cutouts.
- Vary object heights: Avoid putting objects of the exact same height next to each other. Pair tall brass candlesticks with short stoneware bowls to create visual interest across each shelf level.
- Layer vintage art: Lean small, framed landscape prints or vintage thrift store sketches against the back wall of the cabinet behind smaller ceramic pieces.
- Flip book spines backward or wrap hardcovers: If bright book spines clash with your color scheme, turn them around so the warm cream pages face outward, or remove plastic dust jackets to expose classic linen cloth covers beneath.
A Weekend Project with Big Impact
You do not need a massive budget or custom cabinetry skills to bring architectural character into your space. A simple sheet of hardboard, a jigsaw, and a fresh coat of paint completely erase thirty years of dated varnish. Next time you see a dark wood hutch sitting at a thrift store with a throwaway price tag, snatch it up before someone else realizes its potential.


0 Comments