

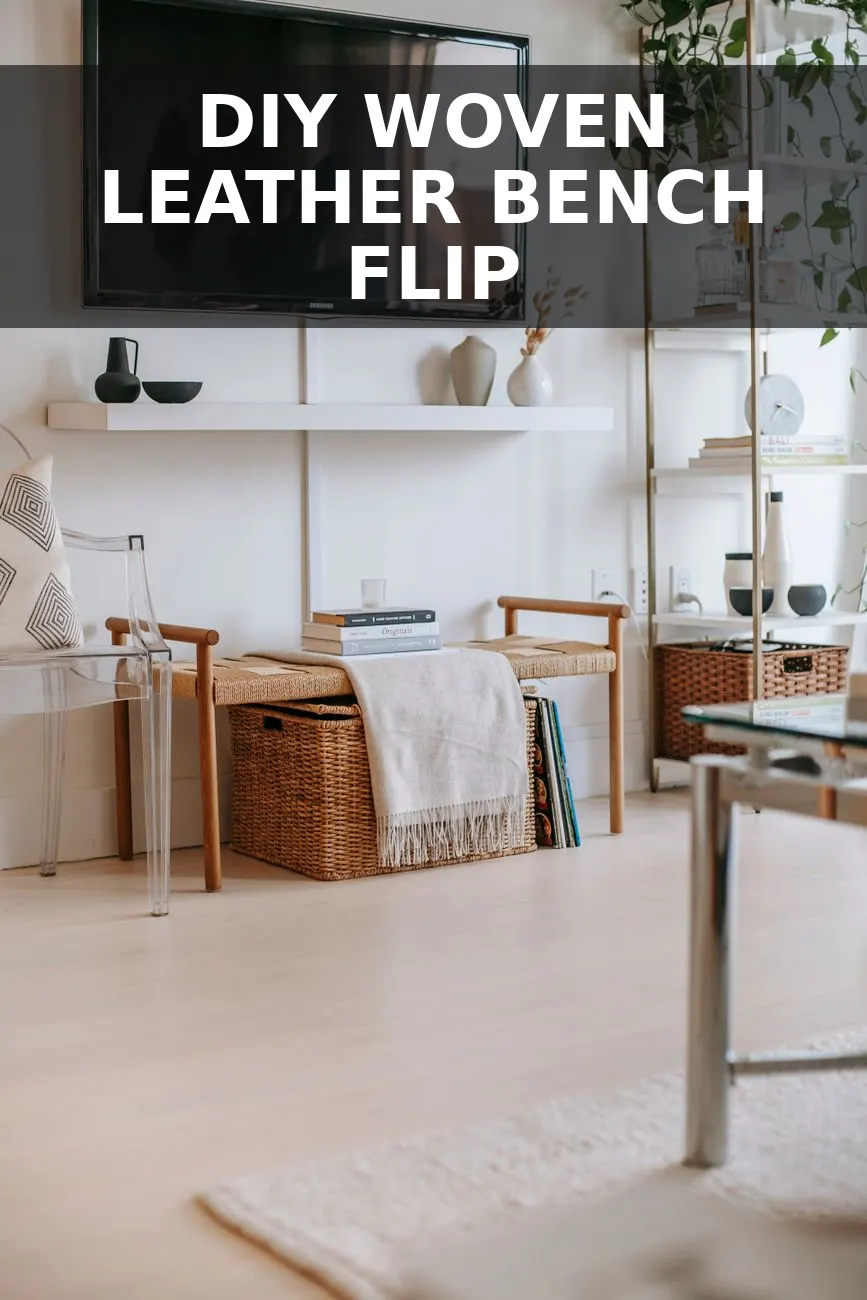
I walked into my local Habitat Restore last Tuesday expecting nothing, but there it was: a dated, scratched-up 1990s wooden bench with a faded floral fabric seat sitting in the clearance corner for twenty dollars. Most people saw a church pew rejection, but I saw the exact structural framework of those high-end woven leather entryway benches sitting in high-end design catalogs for six hundred dollars right now.
Why Pay $600 When You Just Need a Frame and Staple Gun?
High-end furniture stores charge absurd amounts for woven leather benches mostly because of perceived craftsmanship. But here is a secret: the actual construction of a woven bench is straightforward. You do not need joinery skills or an expensive woodworking shop. You simply need a solid hardwood base, a roll of sturdy leather strapping, and a pneumatic or heavy-duty manual staple gun.
If you have ever attempted basic upholstery before, this project is actually far simpler. Much like when I transformed a $15 thrifted chair into a $500 bouclé accent chair, the hardest part is getting the tension uniform. Once you get into a rhythm with the weave, the whole process moves surprisingly fast.
The Real Cost Breakdown
I already had a staple gun, staples, and clear topcoat in my garage, so my out-of-pocket spending stayed well under forty dollars. Here is exactly what went into this project:
| Item | Where I Got It | Cost |
|---|---|---|
| Thrifted Wooden Bench | Habitat Restore | $20.00 |
| Cognac Leather Strapping (1.5-inch width, 25 yards) | Amazon Craft Supply | $12.50 |
| Minwax Wood Stain (Special Walnut) | Home Depot | $4.50 |
| Heavy-Duty 3/8-inch Staples | Garage Stash | $0.00 |
| Clear Satin Polyurethane Spray | Garage Stash | $0.00 |
| Total | $37.00 |
All in, this came out to about $37.00. Comparable retail versions sell between $550 and $700 online, meaning I saved roughly $560 by spending two hours on a Saturday working on my porch.
Step 1: Strip Away the Decades
- Remove the padded seat. Flip the bench upside down and locate the corner screws attaching the seat pad to the frame. Back those out with a cordless drill and pull off the old cushion entirely. You won't need it.
- Clean off grease and dust. Wipe the entire bare frame down with warm water and a splash of dish soap. Thrift store wood usually carries years of grime and furniture polish buildup.
- Sand off the clear coat. Use an orbital sander with 120-grit sandpaper to remove that glossy 90s orange finish. Take it down to bare wood. Switch to 220-grit paper for a smooth finish that takes stain evenly.
Removing old varnish takes patience, but bare wood is worth every bit of work. If you remember my experience refinishing a $20 thrifted burl wood table, taking off that top layer completely changes the character of the wood underneath.
Step 2: Stain and Seal the Frame
With the thick factory finish gone, the bare wood frame was ready for a fresh color. I wanted an warm, organic oak tone that would complement the cognac leather, rather than contrast heavily against it.
I applied one thin coat of Minwax Special Walnut using a scrap piece of a cotton T-shirt, wiping off the excess immediately after two minutes so it did not turn too dark. After letting it dry for four hours, I applied two light coats of satin spray polyurethane to protect the wood from shoes and stray dog paws in my hallway.
Step 3: Measure, Cut, and Staple the Straps
This is where the transformation happens. Working with leather strapping is surprisingly forgiving if you follow a simple grid system.
- Calculate your strap spacing. Measure the length and width of the inner frame opening. My bench opening was 36 inches long by 14 inches deep. Using 1.5-inch wide leather straps, I planned for 12 vertical straps spaced roughly 1.5 inches apart, and 5 horizontal straps running the length.
- Attach the length-wise straps first. Wrap the end of a long leather strap around the underside of the inner frame lip by roughly one inch. Place four heavy-duty staples in a square pattern into the underside where nobody will ever see them.
- Pull taut and secure the opposite end. Stretch the strap tightly across the span to the opposite rail. Use leather pliers or just lean your weight into it to pull it rigid before stapling it underside again. Repeat for all horizontal straps.
- Weave the cross straps. For the shorter perpendicular straps, staple one end underneath the back rail. Weave over and under the existing horizontal straps in an alternating pattern. Pull tight toward the front rail, wrap underneath, and staple firmly.
A Quick Troubleshooting Tip on Leather Tension
My first attempt at weaving left a slight sag in the middle when I sat on it. Leather naturally stretches a bit under weight, so you want to pull each strap significantly tighter than you think you need to during installation.
If you notice a bit of slack after weaving, un-staple just one end of the loose strap, pull an extra quarter-inch of strap through, and restaple. Taking that extra five minutes makes the difference between a bench that looks custom-built and one that looks sloppy.
The Finished Look in My Entryway
I placed this right by our front door with a small basket underneath for stray shoes, and the modern warm tones completely changed the feel of the entry. Visitors immediately assume it is an expensive designer purchase from West Elm or CB2. It handles daily use without a single loose strap, and the wood finish looks warm and rich against our drywall.
If you see a sturdy bench sitting at a thrift shop with ugly upholstery, do not walk past it. As long as the joinery is solid, you are only thirty-seven dollars and a pair of scissors away from something beautiful.


0 Comments