

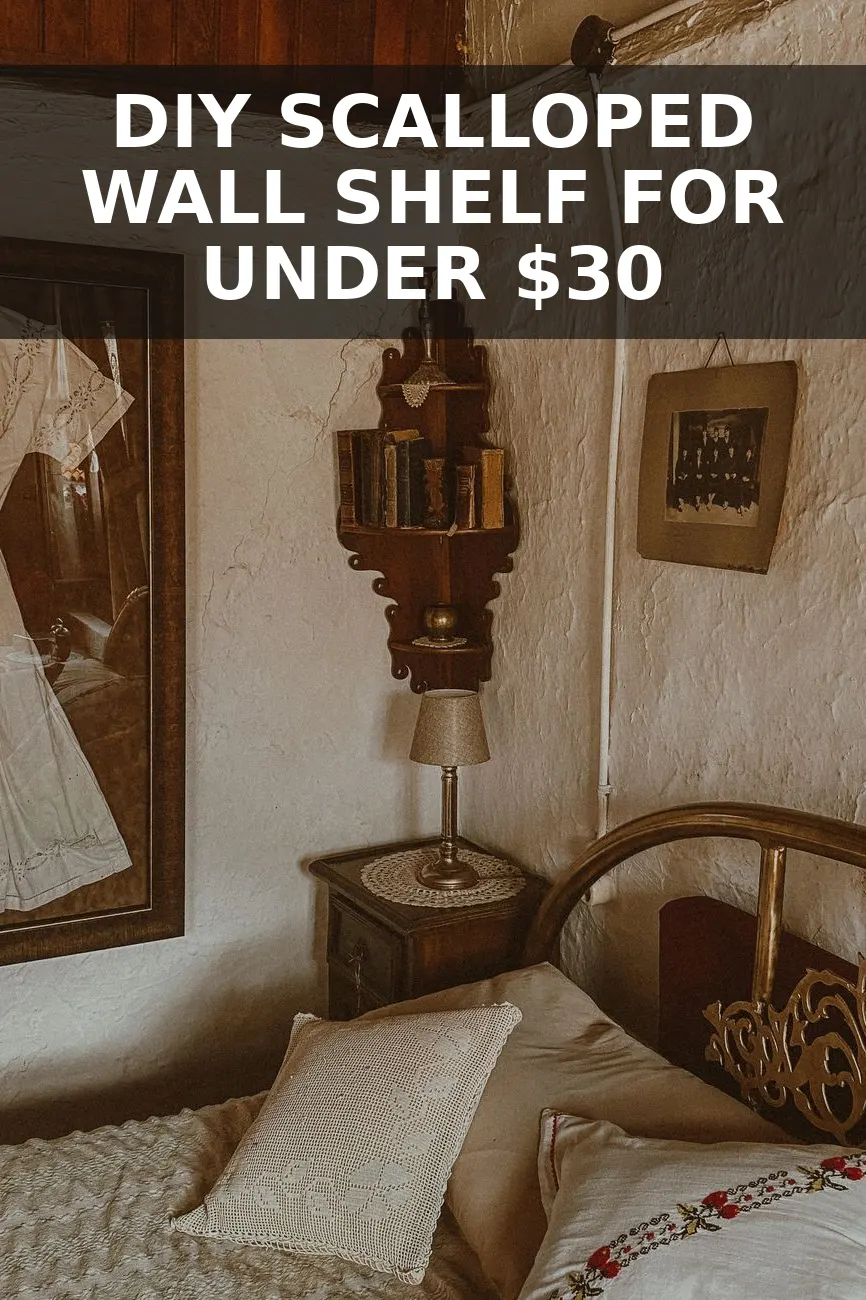
I spotted a scalloped wall shelf in a high-end designer catalog last month listed for $420, and I honestly laughed out loud. It was literally a simple pine board with a wavy bottom edge, painted in a muted French green. I knew right away I could make the exact same thing in an afternoon for less than thirty bucks. After a quick trip to Home Depot and a little time in my garage, I mounted my custom scalloped shelf right above my nightstand for a total of $26.
The Secret to Perfect Scallops Without Expensive Power Tools
Most people assume you need a CNC router table or complex wood-carving tools to get those smooth, repeating curves. You don't. You can buy pre-carved wooden scalloped trim at craft outlets, but if you want solid pine that matches your shelf depth perfectly, there is an old carpenter trick that costs almost nothing.
All you need is a standard 1x3 pine board, a tape measure, a pencil, and a 1.5-inch spade bit attached to a basic hand drill. By drawing a straight line down the center of the board and drilling holes at exact intervals, you create a perfect scalloped pattern when you cut the board in half lengthwise. It takes about fifteen minutes, costs around three dollars in raw wood, and produces two matching scalloped trim pieces.
If power tools make you nervous, do not worry. You can buy flexible wooden scalloped molding online or at specialty lumber stores for about $11. Either way, the assembly process is identical.
Tools and Materials You Will Need
Here is what I picked up to build a 36-inch scalloped wall shelf:
- One 1x6 select pine board: 36 inches long for the main shelf top ($7.80)
- One 1x3 select pine board: for cutting the scallops ($3.45)
- 1.5-inch spade bit: for drilling the scallop shapes ($4.00 if you do not own one)
- Wood glue: Titebond II or standard Gorilla Wood Glue
- 1-inch brad nails: or small finishing nails
- Lightweight wood filler: to hide the seams and nail holes
- Sandpaper: 120-grit for shaping and 220-grit for smoothing
- Shellac-based primer: Zinsser BIN is my go-to for sealing pine knots
- Latex paint: I used a satin finish in 'Card Room Green'
- Keyhole hanging brackets: for hidden mounting
Step-by-Step Construction Guide
- Mark and drill your scallop pattern: Lay your 1x3 pine board flat on a sturdy workbench. Draw a straight line right down the center, 1.25 inches from the edge. Mark a dot every 1.5 inches along that line. Center your 1.5-inch spade bit over each mark and drill straight down through the wood. You will end up with a row of clean, circular holes running down the length of the board.
- Rip the board in half: Clamp the board firmly to your work table. Using a jigsaw or circular saw, cut straight down that center pencil line right through the middle of all the drilled holes. As the saw splits each circle in half, uniform semi-circle scallops instantly appear along both edges. Smooth out any tiny rough spots inside the curves using a piece of 120-grit sandpaper wrapped around a thick wooden dowel or broom handle.
- Attach the trim to the main shelf: Lay your 1x6 top shelf board flat on your workspace. Apply a thin bead of wood glue along the top edge of your new scalloped trim piece. Press the trim firmly against the front underside of the main shelf board so it sits flush with the top surface. Secure it with 1-inch brad nails spaced every six inches. Wipe away glue squeeze-out immediately with a damp paper towel.
- Fill seams and nail holes: Pine has minor imperfections and grain texture that show through paint if you skip surface prep. Fill all nail heads and the tiny seam where the scalloped trim joins the main shelf with lightweight wood filler. Much like when I built my fluted console table from cheap plywood, taking five extra minutes to sand the joints smooth is what makes basic lumber look like a solid piece of high-end millwork. Let the filler dry for 30 minutes, then sand everything smooth with 220-grit sandpaper.
- Prime and paint: Raw pine bleeds natural oils through water-based paint, which leaves yellowish stains over time. Coat the entire shelf with one coat of shellac-based primer. Once dry (about 45 minutes), lightly sand with 220-grit paper to knock down any raised wood grain. Apply two thin coats of your acrylic latex paint using a high-density foam roller for a flat finish, using a small round artist brush to get inside the scalloped curves.
- Install keyhole hardware: Flip the shelf over to the backside. Use a chisel or drill bit to make two small shallow recesses, then screw metal keyhole hanging plates flush into the back edge. Measure twice, set two anchor screws into your wall studs, and slide the shelf down onto the screw heads. It sits flush against the drywall with zero visible brackets underneath.
Total Cost Breakdown
Here is the exact price breakdown for this project. I already had paint, wood glue, and sandpaper in my garage, but even if you need to buy paint sample pots, you will stay well under thirty dollars.
| Item | Source | Price |
|---|---|---|
| 1x6 Select Pine Board (36 inches) | Home Depot | $7.80 |
| 1x3 Select Pine Board (for scallops) | Home Depot | $3.45 |
| Wood Filler & Sandpaper Pack | Hardware Store | $4.50 |
| Zinsser BIN Primer (Quart Can) | Home Depot | $5.50 |
| Keyhole Brackets (2-pack) | Hardware Store | $5.00 |
| Total Cost | $26.25 |
All in, this shelf came out to $26.25. Compare that to the $420 retail price tag, and you keep nearly $400 in your bank account. Plus, you get to select the exact length and paint shade to match your room perfectly.
Styling Tips for Scalloped Accent Shelves
Scalloped details bring an instant touch of English cottage charm to a room. Because the shelf itself features a prominent decorative pattern, keep the objects on top somewhat minimal so the display does not feel overcrowded.
- Mix natural textures: Pair painted wood with raw ceramic or stone. A small bud vase or an earthenware bowl creates a soft contrast against the crisp painted scallops. It looks especially cozy hung right above a rustic English country peg rail with shelf in a hallway or entryway nook.
- Vary object heights: Place a tall tapered candle holder next to a low stack of two hardback books to keep the eye moving across the arrangement.
- Pair with decorative mirrors: Hanging a scalloped shelf beneath a statement mirror—like a handmade bobbin frame mirror—creates a focal point on a small bedroom wall without taking up any floor space.


0 Comments