

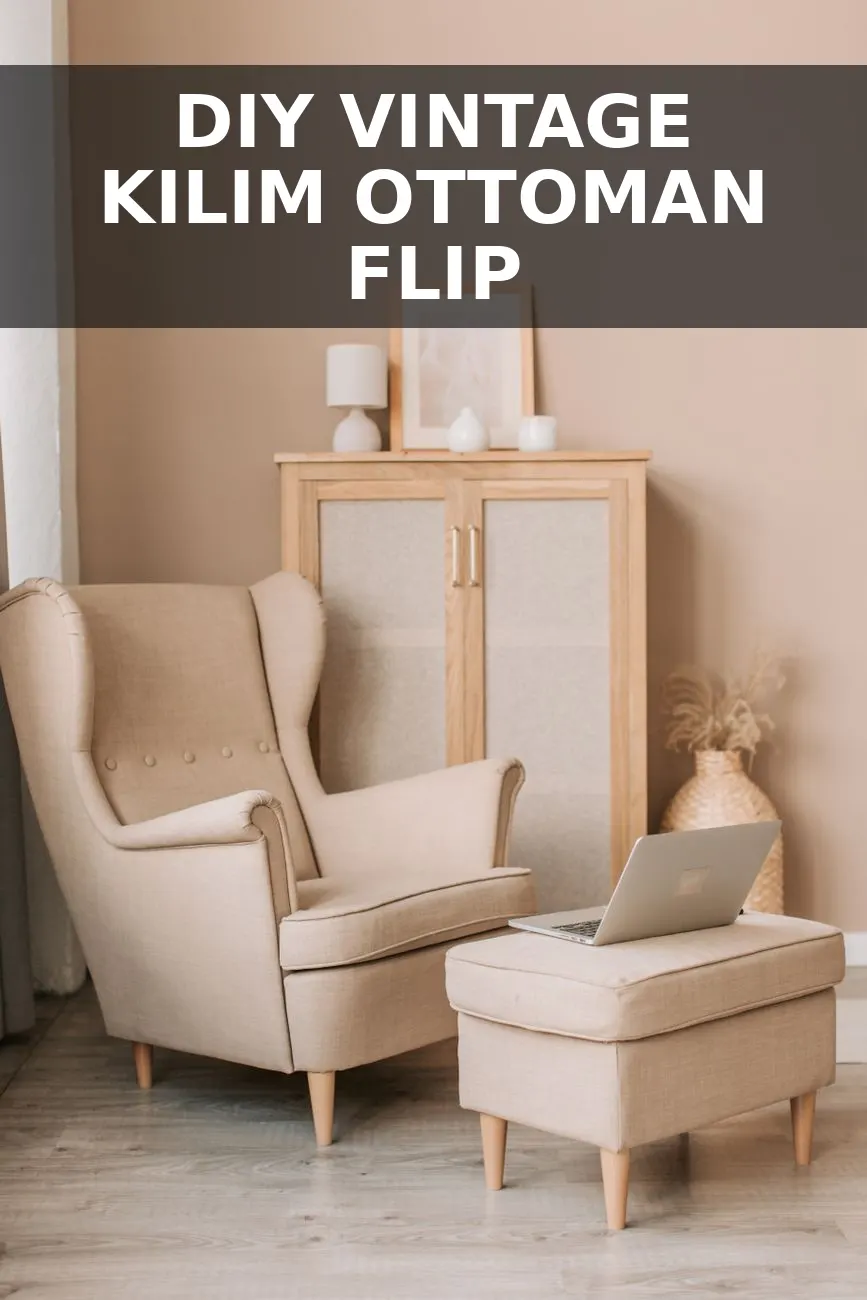
I almost walked past this clunky, floral-print footstool at Goodwill last Tuesday because the 1990s chintz fabric was so faded, but the solid wood turned legs underneath were completely solid. High-end designer shops charge anywhere from $350 to $600 for those gorgeous vintage Turkish rug ottomans, yet you can build the exact same layered, collected look in about an hour for less than the cost of takeout dinner.
Why Vintage Rug Upholstery Always Looks Expensive
Walk into any high-end boutique hotel or browse an Amber Interiors project, and you will spot small upholstered benches and footstools wrapped in thick, textured flatweave textiles. The heavy weave of a wool or cotton Kilim runner adds instant warmth and pattern that thin printed store fabrics just cannot replicate. It hides pet hair, holds up to real feet resting on it daily, and gives a room that lived-in, curated feel without feeling fussy.
You do not need a genuine antique Turkish heirloom either. Look for small 2x3 foot flatweave accent rugs on clearance at Target or World Market, vintage wool placemats, or second-hand wool runner scraps on eBay. As long as the weave is pliable enough to fold over a 90-degree corner, it works beautifully.
The Supplies You Actually Need
Here is the honest breakdown of what I spent to make this happen. I already had a heavy-duty staple gun and some wood wax in my garage, so my out-of-pocket cost stayed super low.
| Item | Where I Got It | Price |
|---|---|---|
| Thrifted solid wood footstool | Goodwill | $15.00 |
| Small woven flatweave Kilim rug (2x3 ft) | Target clearance / Thrift | $9.00 |
| 1-inch high-density foam scrap | Craft store | $4.00 |
| Heavy-duty upholstery staples & glue | On hand (garage) | $0.00 |
| Antique dark briwax / wood stain | On hand | $0.00 |
All in, this came out to exactly $28. Compare that to the $450 version sitting in my saved Pinterest folder, and it feels like highway robbery in the best way possible.
Step-by-Step: From Dated Chintz to Designer Statement
If you have ever been intimidated by upholstery, a small footstool is the absolute best beginner project. Much like when I tackled reupholstering a thrifted chair into bouclé, the secret comes down to pulling everything tight and keeping your corners clean.
- Strip the old piece down to the frame: Flip the footstool over and unscrew the padded seat from the wooden base. Most older stools have four simple corner screws holding the top to the apron. Use a flathead screwdriver and pliers to pull out the old staples, stripping away the dusty floral fabric and crusty batting until you have just the bare wooden board.
- Refresh the wood legs: While the seat is off, give the wooden base a quick scuff-sand with 220-grit sandpaper. If the wood is orange or overly glossy, wipe on a thin coat of dark walnut wax or gel stain using an old rag. This cuts the dated 90s sheen instantly and gives the turned legs that muted, aged European oak look.
- Build your cushion base: Lay your wooden board on top of the high-density foam, trace around it with a Sharpie, and cut it out using a serrated bread knife (it cuts foam smoother than scissors ever will). Spray a light dusting of spray adhesive to bond the foam to the wood so it will not shift around while you work.
- Center and cut your rug: Lay your flatweave rug pattern-side down on the floor. Place your padded board foam-side down right on top, centering the pattern. Cut the rug so you have about 3 to 4 inches of excess material on all four sides. Do not cut it too close; you need that extra fabric to pull firmly.
- Staple with firm tension: Start in the center of one long side. Pull the rug snugly around the edge and fire a staple into the wood about an inch from the border. Move to the opposite side, pull tight, and staple. Repeat on the short sides. Work your way outward from the centers toward the corners, keeping your staple spacing around 1 inch apart.
- Nail the hospital corners: Corners can get bulky with thick woven rugs. Pull the corner point straight inward over the wood, staple it down, then fold the two side flaps neatly over each other just like wrapping a present. Hammer the staples flush if they do not seat completely into hard timber.
- Reattach the base: Set your freshly wrapped cushion back onto the wooden base, line up your screw holes, and screw the pieces back together tightly.
Pro Tips for a Finished, Custom Look
- Test the rug fold before buying: Some cheap modern flatweaves have thick rubberized backings. Avoid those because they create bulky, messy corners that will not lay flat. Look for flexible, woven cotton or wool weaves that bend easily between two fingers.
- Trim excess corner bulk: If the corner fabric stacks up too high and prevents the seat from sitting flat against the base, snip away small inner triangles of the rug under the fold before putting down your final staples.
- Add furniture glides: Pop four small felt or brass glides onto the bottom of the stool legs. It protects your floors and gives the finished stool just a hair of added height and polish. Similar to the finish on my woven leather bench project, small details like feet and rich wood tones make a thrifted base look like high-end furniture.
Tuck this beside an armchair with a stack of design books on top, or slide two of them together under a console table for extra seating when friends visit. It took one afternoon, cost under thirty dollars, and completely changes the texture of the living room.


0 Comments