

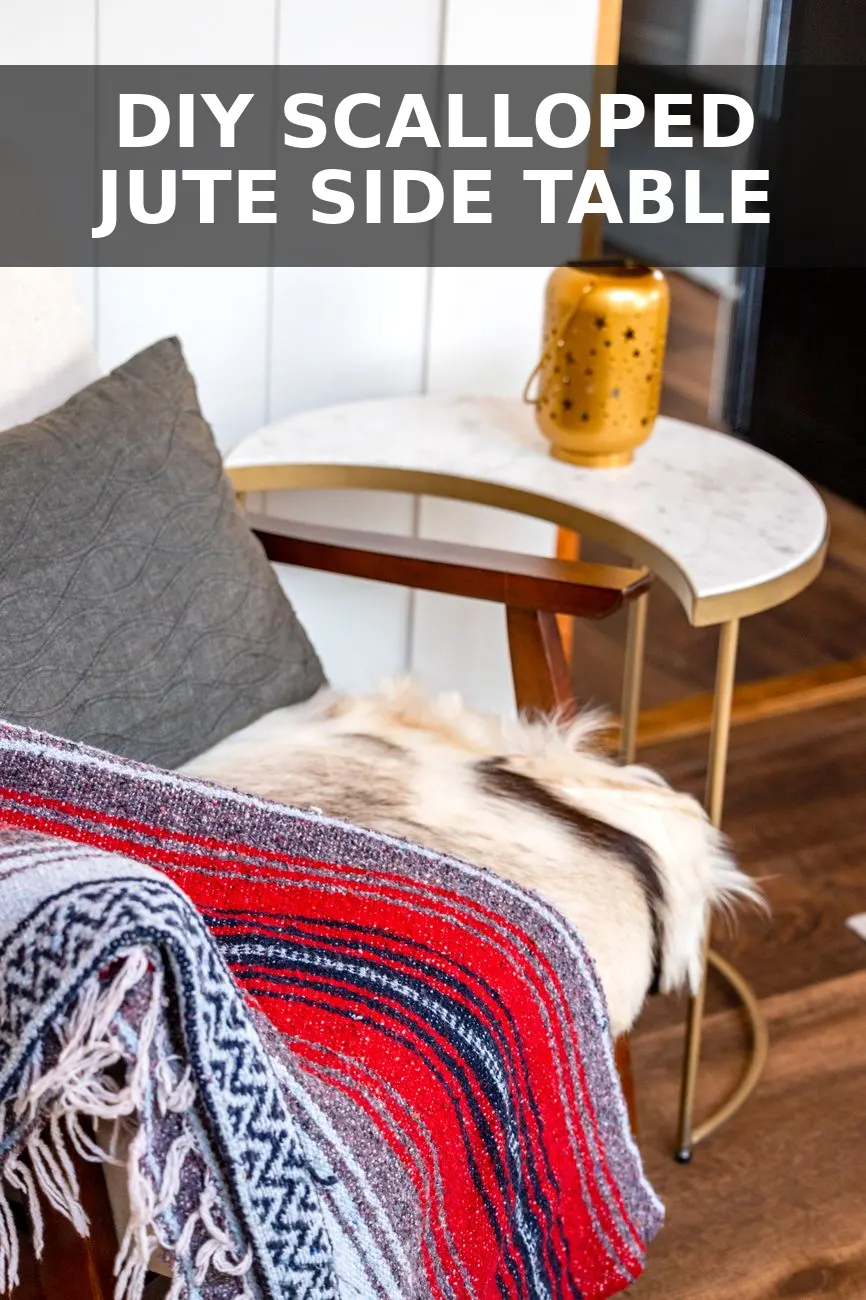
I fell hard for a scalloped jute drum table in a coastal boutique catalog last month, right up until I spotted the $420 price tag on the listing page. It was literally just a woven cone with a wooden lid and wavy detail along the bottom edge, so I drove straight to Target to grab a tapered metal wire laundry basket and figured out how to build the exact same piece in an afternoon.
The Materials You Actually Need
The trick to making this look like high-end woven furniture instead of a fifth-grade summer camp craft is the thickness of the rope. Skip the skinny 1/4-inch sisal twine from the hardware aisle; it takes forever to wrap and leaves tiny gaps showing the metal wire underneath. Go with 3/8-inch or 1/2-inch twisted jute rope instead. It gives the table weight, covers the frame in fewer passes, and creates that chunky Serena & Lily texture.
Here is the exact cost breakdown from my receipt:
| Material | Source | Price |
|---|---|---|
| Round Tapered Wire Hamper | Target / Walmart | $14.00 |
| 3/8-Inch Twisted Jute Rope (100 ft) | Home Depot | $8.50 |
| 15-Inch Round Pine Craft Board | Lowe's | $6.25 |
| Heavy Duty Hot Glue Sticks | Craft Bin / Dollar Store | $0.50 |
All in, this project came out to $29.25, and I still had enough scrap wood stain and clear sealer left over from when I made this custom scalloped floating shelf to finish the tabletop without spending another dime.
Step 1: Prep and Flip the Wire Base
Start by flipping your wire hamper upside down on a flat work surface. The wider rim should rest on the floor, while the narrower base becomes the top support for your wooden lid. This tapered shape keeps the table grounded so it will not tip over when you set down a coffee mug or a stack of books.
If your wire basket came with fabric liners or faux leather handles, snip them off with wire cutters. Wipe down the metal frame with rubbing alcohol to remove any warehouse grease so the hot glue grabs firmly onto the wire.
Step 2: Wrap the Frame with Jute Rope
Plug in a high-temp hot glue gun. Do not use low-temp craft glue here—it cools too fast on cold metal and will pop loose the second someone brushes past the side table.
- Anchor your starting row: Dab a nickel-sized blob of glue along the bottom rim (the widest point). Press the end of your jute rope firmly into the glue, holding it in place with a scrap piece of cardboard for 10 seconds so you do not burn your fingers.
- Wrap and cinch tight: Coil the rope tightly around the frame, working your way up row by row. Put a dab of glue every three to four inches along the vertical wire ribs to lock each row in position.
- Keep your tension uniform: Pull the rope snug as you go. You do not want sagging loops in the middle of a row, but you also do not want to pull so hard that the wire ribs distort.
- Join a new coil cleanly: When you reach the end of a rope bundle, cut the tip at a 45-degree angle right against a wire rib. Cut the new bundle at the opposite 45-degree angle, add a dab of glue, and butt them tightly together. The seam disappears right into the jute texture.
- Finish the top rim: Wrap all the way to the top edge, tucking the final tail under the top lip with a generous dollop of glue.
Step 3: Build and Attach the Scalloped Skirt
The scallop along the bottom rim is what gives this piece its high-end designer character. If you skip this part, you just have a rope-wrapped bucket, so do not rush this step.
- Cut the scallop backing: Take a thin cereal box or stiff cardstock and cut a 2-inch wide strip. Trace a round bottle cap across the strip to create repeating 2-inch half-circles, then cut them out with sharp scissors.
- Wrap the scallops in jute: Glue thinner 1/4-inch jute or cotton piping cord following the curved outline of each scallop, layering rows until the cardboard backing is completely hidden.
- Secure to the base: Hot glue the finished scalloped trim along the bottom outer ring of the hamper, letting the bottom curves rest just a quarter inch above the floor so they do not drag.
Step 4: Stain and Mount the Solid Wood Top
You could leave the wire top open, but adding a real 1-inch pine edge turns this into a functional piece of accent furniture. Sand your 15-inch pine round with 220-grit sandpaper to soften the sharp factory edges.
Apply one thin coat of natural wax or a warm oak stain to highlight the grain without turning it orange. Once dry, flip the wood top upside down. Position your wrapped wire frame centered on the underside of the wood round.
To lock the top in place permanently, you have two easy choices:
- Option A (No power tools): Run a heavy bead of construction adhesive (like Gorilla Max Strength) along the top metal rim, press the wood round onto it, and set a heavy dumbbell on top for two hours.
- Option B (Rock solid): Screw three small plastic cable clamps or 3/4-inch conduit straps into the underside of the pine board directly over the top metal rim.
I went with construction adhesive, and it has stayed rock solid through kids, pets, and three room re-arrangements. Slide it next to your favorite armchair, pop a stoneware lamp or a small potted plant on top, and enjoy the fact that you saved nearly four hundred dollars on an afternoon project.


0 Comments