


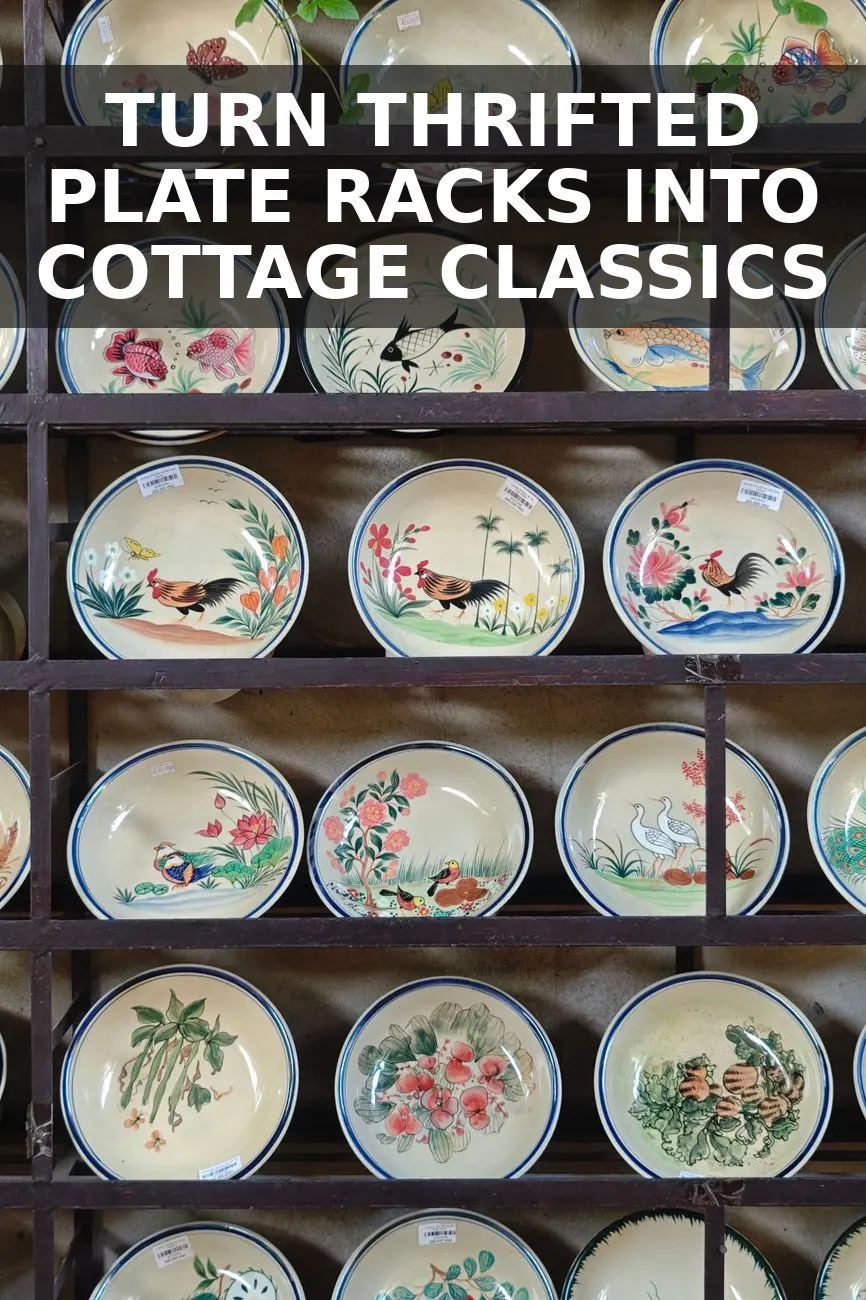
Every thrift store has that one clunky, high-gloss orange oak plate rack hanging crookedly on the back wall, usually wedged between a cracked bread basket and an abandoned toaster. Most people walk right past them because the 1980s country-kitchen honey stain screams outdated, but underneath that thick varnish, the bones are almost always solid pine or oak.
If you look at high-end English bespoke kitchens from brands like deVOL or Plain English, wall-mounted plate racks are everywhere. They add depth to blank kitchen walls, keep everyday dinnerware within reach, and bring that lived-in, layered charm you cannot get from standard upper cabinets. Buying one brand new from an artisan maker will easily run you $400 to $500. With an afternoon of elbow grease, a sample pot of heritage paint, and a handful of brass hooks, you can recreate that exact historical look for pocket change.
What to Look for at the Thrift Store
Plate racks pop up constantly at Goodwill, Habitat ReStores, and flea markets for $8 to $12. Before you hand over your cash, inspect a few critical structural details:
- Solid wood construction: Check the sides and shelves. You want real pine, oak, or birch. Skip anything made of paper-veneered particle board, which swells if water ever touches it.
- Groove depth: Run your finger along the shelf grooves. They should be at least a quarter-inch deep so plates rest securely without sliding forward.
- Spacing between bars: Ensure your actual dinner plates fit between the front retaining dowels and the back wall. Standard racks hold plates up to 11 inches tall, but it helps to measure your favorites before shopping.
- Tight joinery: Give the frame a firm wiggle. If the joints are slightly loose, wood glue fixes them fast. If the whole frame is twisted or bowed, pass and wait for the next one.
Materials and Budget Breakdown
You do not need expensive specialty supplies for this. A simple sample pot of good interior paint from the hardware store provides more than enough coverage for two full coats.
| Item | Source | Price |
|---|---|---|
| Thrifted wooden plate rack | Local thrift store | $10.00 |
| 120-grit and 220-grit sanding sponges | Home Depot | $3.50 |
| 8 oz paint sample (satin finish) | Hardware store | $6.50 |
| Solid unlacquered brass cup hooks (pack of 4) | Amazon or hardware store | $3.50 |
| Clear paste wax or matte poly sealer | Already owned / prorated | $2.50 |
All in, this project came out to about $26. Considering high-end reproduction versions start around $420, making your own leaves plenty of room in the budget for pretty vintage ironstone plates to fill it.
Step 1: Prep and Cut the Gloss
The secret to keeping paint from chipping off vintage furniture is breaking the factory seal. You do not have to strip this down to bare, raw wood, but you do need to remove the slick sheen.
- Scrub the wood: Kitchen pieces pick up decades of grease. Wipe down every inch with warm water and a splash of dish soap or mild degreaser, then let it dry thoroughly.
- Scuff sand the entire surface: Take a 120-grit sanding sponge and rub down every face, dowel, and interior groove. Sponges bend around round spindle dowels much easier than rigid sandpaper sheets. You are looking for a completely matte, chalky surface.
- Vacuum and tack: Vacuum the dust out of the grooves, then wipe the whole piece with a damp microfiber cloth to pick up residual particles.
Step 2: Choose the Right Historical Tone
Color choice makes or breaks this flip. Stark bright white makes a thrifted rack look like mass-produced flat-pack furniture. To get that moody, understated English pantry aesthetic, choose earthy, muted tones with gray or brown undertones:
- Pantry Drab: A deep, earthy olive-brown that grounds light tile and white drywall.
- Aged Stone: A warm, creamy greige that reads soft and historic rather than sterile modern gray.
- Chalky Off-Black: A charcoal shade with warm undertones that mimics aged wrought iron or blackened oak.
If you love this muted European kitchen feel, you can pair this rack nearby with an aged pedestal cutting board on the countertop or a classic English country peg rail with shelf on an adjacent wall to keep the whole room feeling cohesive.
Step 3: Paint in Thin, Controlled Layers
Plate racks have lots of corners and narrow channels where wet paint loves to pool into ugly drips. Use a quality 1.5-inch angled synthetic brush and apply thin coats.
- Start with the interior corners and plate slots, brushing out excess paint toward the front edge.
- Coat the dowels using long, continuous strokes from top to bottom.
- Finish with the flat outer sides and top shelf.
- Let the first coat dry for two to three hours, give it a quick, feather-light scuff with 220-grit paper to knock down raised grain, and apply your second coat.
A quick tip: Keep an eye on the bottom plate grooves for the first ten minutes after painting. If paint pools there, drag a dry foam brush along the track to pull up the excess before it skins over.
Step 4: Add Brass Hooks for Function
Most basic thrifted racks stop at plate storage, but adding utility hooks along the bottom apron makes the piece look custom-built. Solid unlacquered brass hooks provide that warm metallic glint against dark paint.
- Measure the bottom rail and mark out evenly spaced intervals. Three to four hooks spaced about four inches apart usually looks balanced.
- Use a tiny drill bit (slightly narrower than the hook screw) to drill pilot holes into your marks. Real wood can split easily near edges, so never screw brass hooks into dry wood without pilot holes.
- Thread the hooks in by hand until the base sits flush against the wood.
Step 5: Secure Mounting and Styling
Full-size ceramic plates get heavy fast. Do not rely on picture-hanging wire or flimsy drywall anchors for this. Locate at least one wall stud and screw directly through the rack's upper support rail into the stud using 2.5-inch wood screws. If the rack doesn't line up with two studs, use heavy-duty toggle bolts rated for 50 pounds or more on the other side.
Once it is firmly anchored to the wall, load it up. Mix creamy antique ironstone plates with patterned transferware saucers. Hang your favorite handmade ceramic mugs or a pair of striped linen kitchen towels from the bottom brass hooks. It immediately turns an empty kitchen wall into a warm, hardworking focal point that looks like it has been part of your home for a century.


0 Comments