

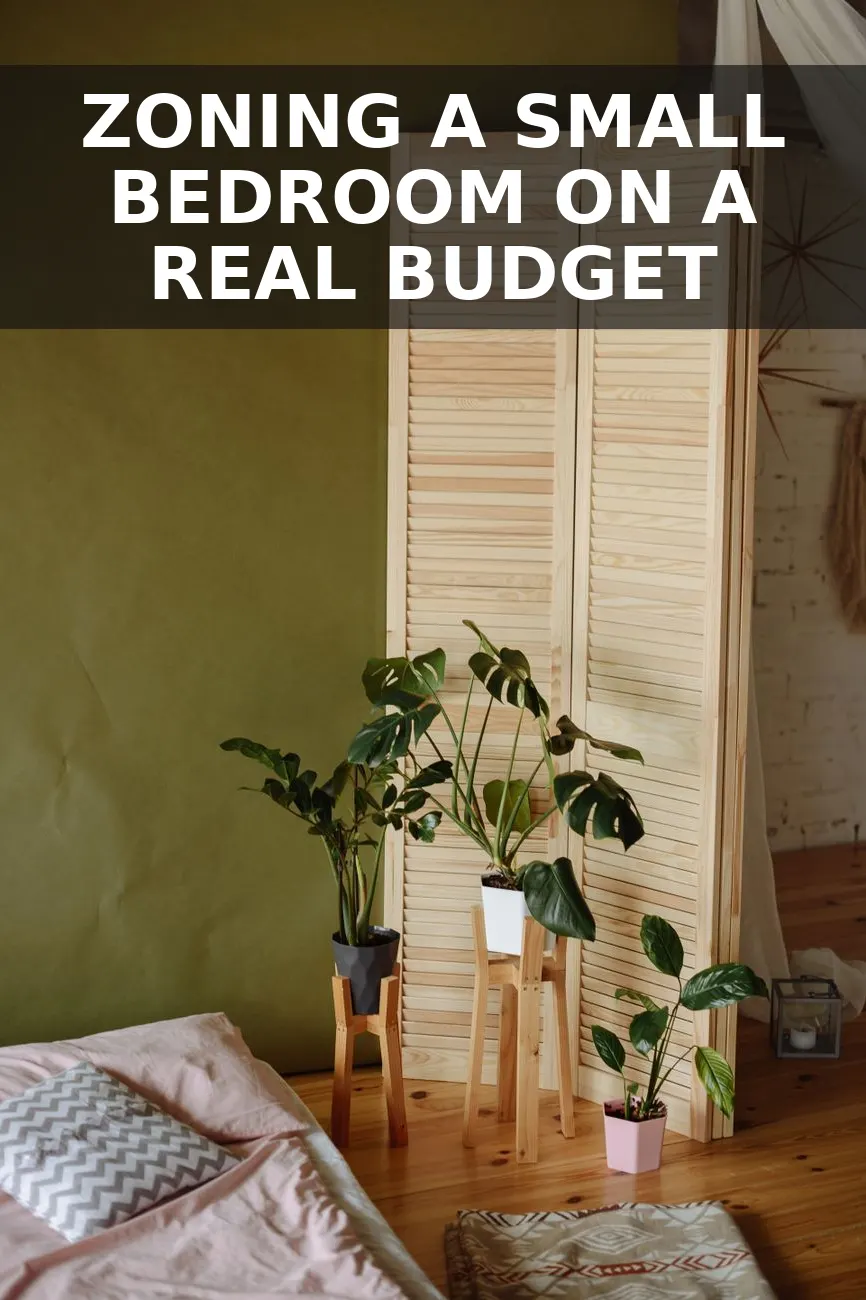
Dividing a tight bedroom into separate zones without closing off the light can completely change how the entire room functions.
Most people struggle with awkward layouts where the bed, a wardrobe, and a makeshift desk all fight for the same few square feet. High-end room dividers and custom partition walls often sell for $300 to $500, which blows the budget instantly. A smart refresh plan focuses on creating distinct functional zones using budget-friendly materials and strategic furniture placement, all for about $52.
Step 1: Clear the Clutter and Map Your Zones
Before buying anything new, empty the room and look at how light moves through the space. Small bedrooms usually suffer from wasted corners and poor traffic flow. Decide where you need separation most. Common zones include a sleeping area, a quiet reading corner, or a concealed dressing space.
Measure the exact width of the floor space where the partition will stand. Leaving at least three feet of walking clearance around major furniture pieces keeps the room feeling open. If you are struggling with spatial flow in other tight areas of your home, taking a look at 5 holiday decorating mistakes that make your small space look cluttered offers great perspective on keeping pathways clear.
A common mistake when mapping zones is placing the partition directly in front of a primary light source or a heating vent, which blocks airflow and makes the room feel drastically smaller. To fix this, always position your divider parallel to windows rather than perpendicular, ensuring sunlight streams uninterrupted across both newly created sections. When measuring your clearance, use a steel tape measure and mark exact floor boundaries with blue painter's tape before committing to hardware installations.
Step 2: Choose and Build Your Divider
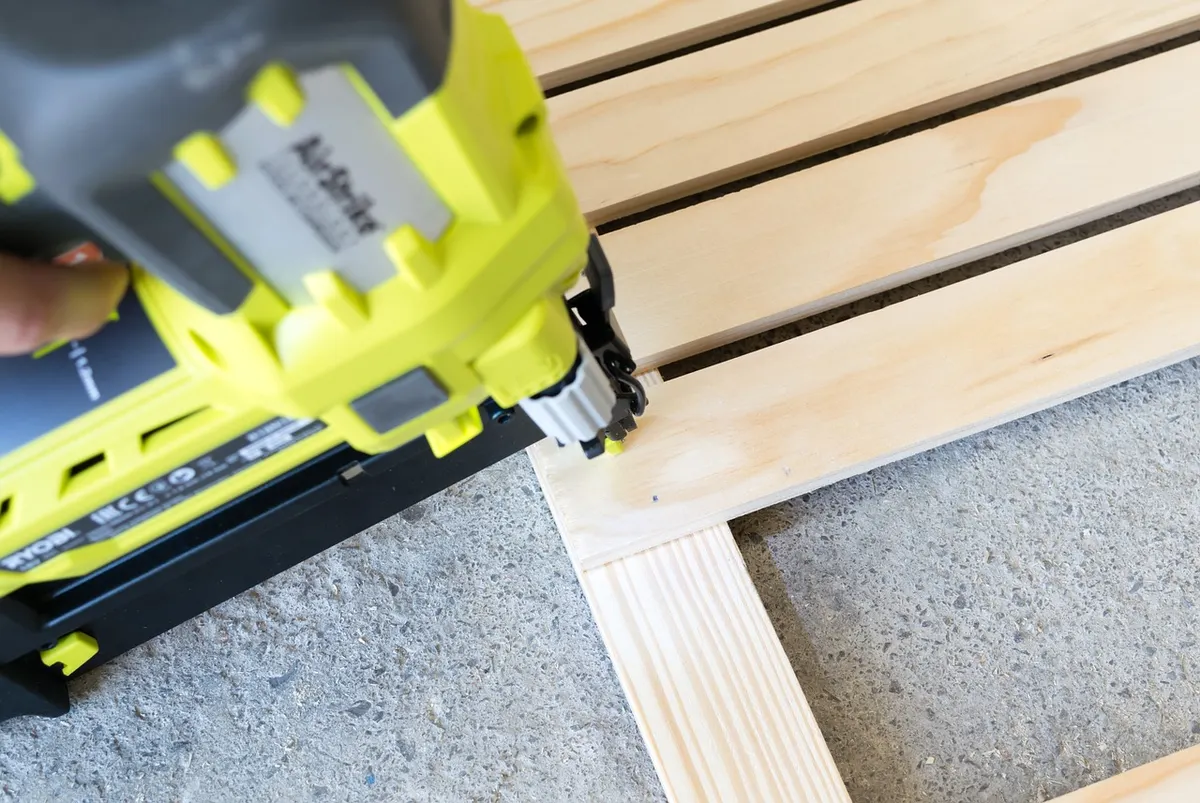
Skip the expensive folding screens from luxury catalogs. Instead, gather simple lumber and hardware from a home improvement store to build a custom slatted wood screen, or pick up a sturdy vintage folding frame from a thrift store and give it a fresh coat of chalk paint. A slatted design works best because it provides visual privacy while allowing natural light to filter through both sides of the room.
Sand any rough wooden edges smooth before assembly. Secure the panels with sturdy hinges so the screen folds flat or stands firmly in a zig-zag configuration for maximum stability on hardwood floors or low-pile carpet.
Here is what you will need for a standard three-panel wooden slatted room divider project:
| Item | Where to buy | Price |
|---|---|---|
| Three pine board frames (1x3 lumber) | A home improvement store | $24 |
| Wood lattice strips (pack of 10) | A home improvement store | $15 |
| A hardware store | $8 | |
| Chalk paint sample pot | A craft store | $5 |
Prices are estimates and vary by store and region.
All in, this came out to about $52. Take your time aligning the hinges so the panels fold smoothly without binding against each other.
When purchasing supplies, always buy straight boards by sighting down the edge of each piece of lumber at the store to check for warping, and skip pre-assembled decorative panels that cost double the price of raw materials. If you prefer a cheaper swap for the pine framing, use lightweight PVC molding or repurposed wooden shipping pallets sanded down to a clean finish, which drops your total material expense to under $30. For a unique variation, weave heavy-duty nylon webbing or natural jute rope horizontally through the frame slats instead of wood lattice, creating an organic bohemian texture that adds incredible visual warmth to a neutral bedroom scheme.
Step 3: Style and Balance the Surrounding Space
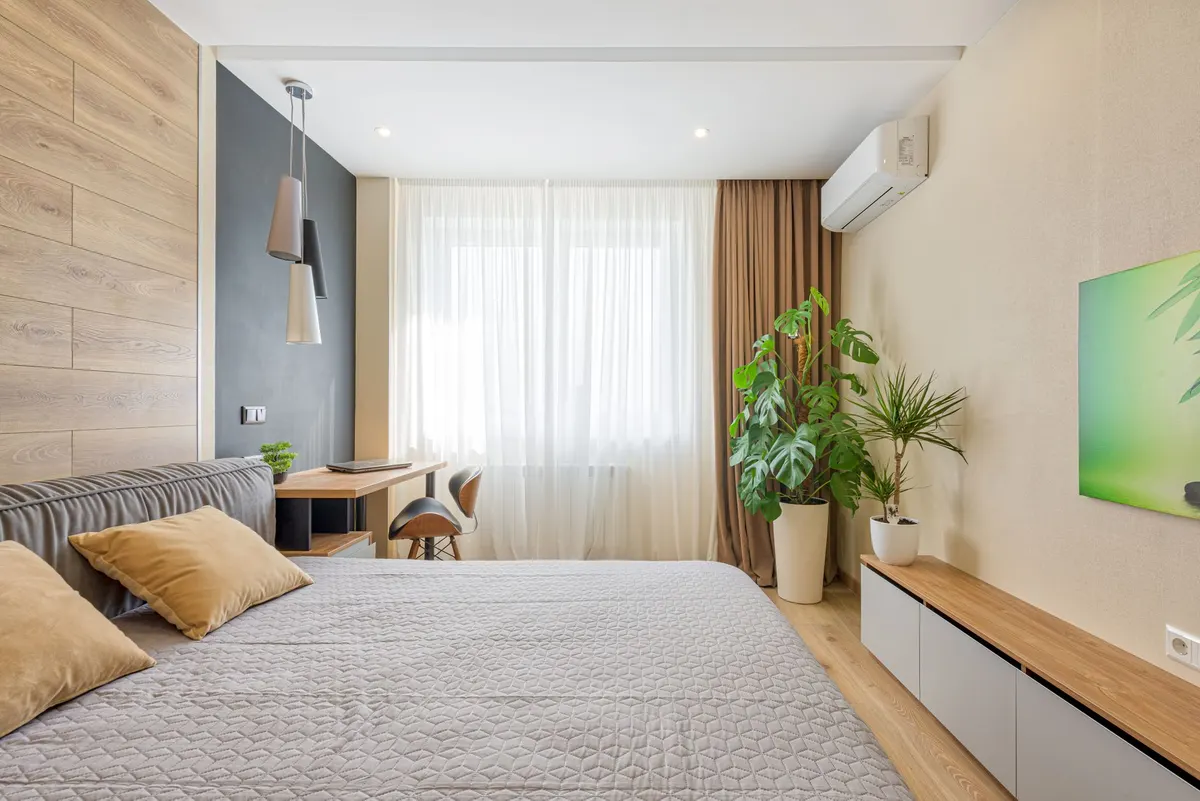
Once your divider is in place, anchor it with surrounding decor so it looks like an intentional architectural feature rather than an afterthought. Place a tall houseplant next to one end to soften the hard vertical lines of the wood. Toss a lightweight throw blanket over the lower section if you built a solid-backed screen, or hang a small woven basket from a wooden peg on the frame to hold reading glasses and small daily items.
Keep surrounding surfaces minimal. Too many small accessories near the partition will make the layout look busy. Let the new divider be the main focal point of your bedroom refresh.
To care for the finished wooden piece over time, dust the lattice slats weekly with a microfiber cloth and apply a clear matte beeswax sealer once a year to protect the paint finish from humidity and scuffs. Avoid using harsh chemical sprays or soaking the wood during routine cleaning, as excess moisture can cause the lightweight joints to warp or loosen. If a hinge begins to squeak, apply a tiny drop of mineral oil to the pin to keep the folding mechanism operating smoothly and silently for years.
You Might Also Like
- DIY Warm Wood Blanket Ladder for Cozy Fall Bedroom Throws
- What to Look For When Thrifting a Solid Wood Dresser
- Can a $12 Thrifted Plastic Basket Really Pass for a Cozy Boho Rope Blanket Bin?
Frequently Asked Questions
Can a room divider work in a bedroom without making the space feel cramped
Yes, as long as you choose a semi-transparent or slatted design that lets light pass through rather than a solid wall.
How do I keep a lightweight room divider stable on carpet
Use small felt pads under the feet to reduce sliding, or anchor the top corner discreetly to the wall with a clear adhesive clip if needed.
What is the best way to arrange furniture around a divider
Position the divider to carve out a specific zone like a dressing area or reading nook, keeping main walking paths clear of clutter.


0 Comments